Recycle Bin
Introduction:
Videos best viewed full screen at 1080p resolution.
Video Duration: 04:44
Step by Step Instructions:
Step 1: From the dashboard, you will find the Recycle Bin near the top right corner of the page.
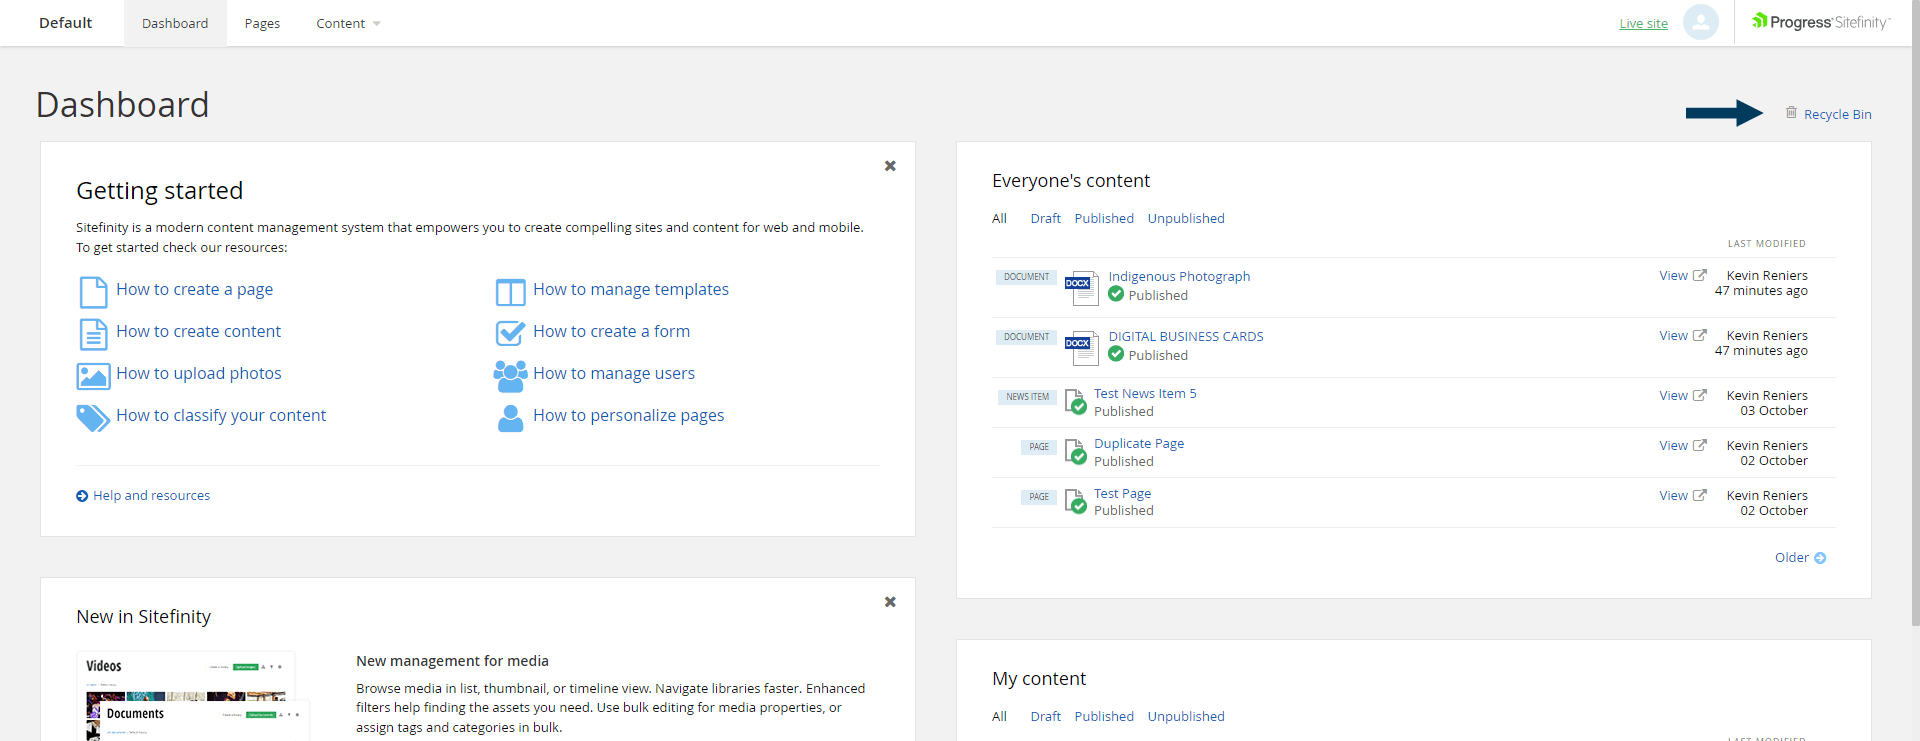
This will bring up a list of all deleted Pages and Content items. Deleted items remain here by default for 180 days.
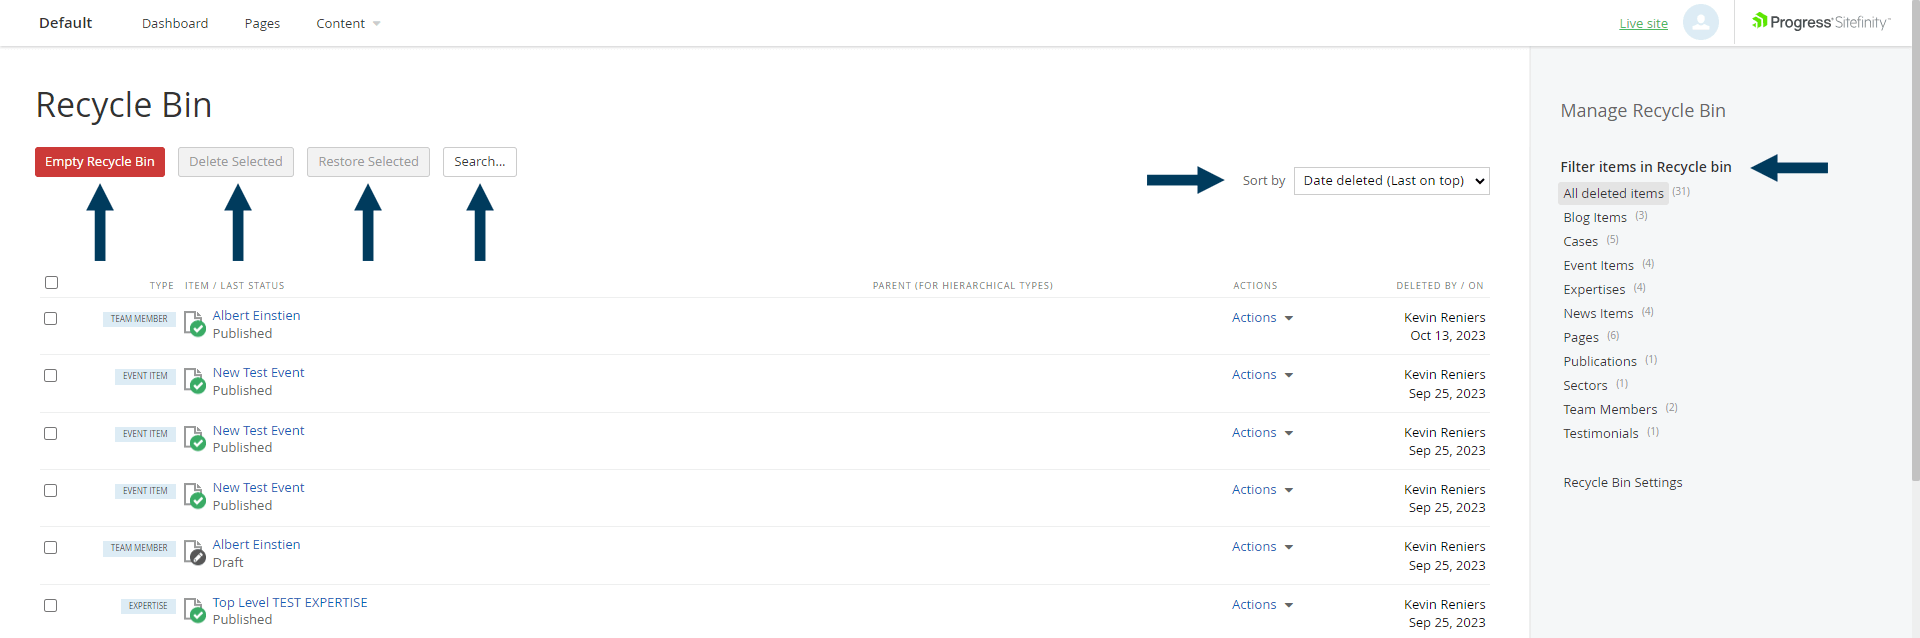
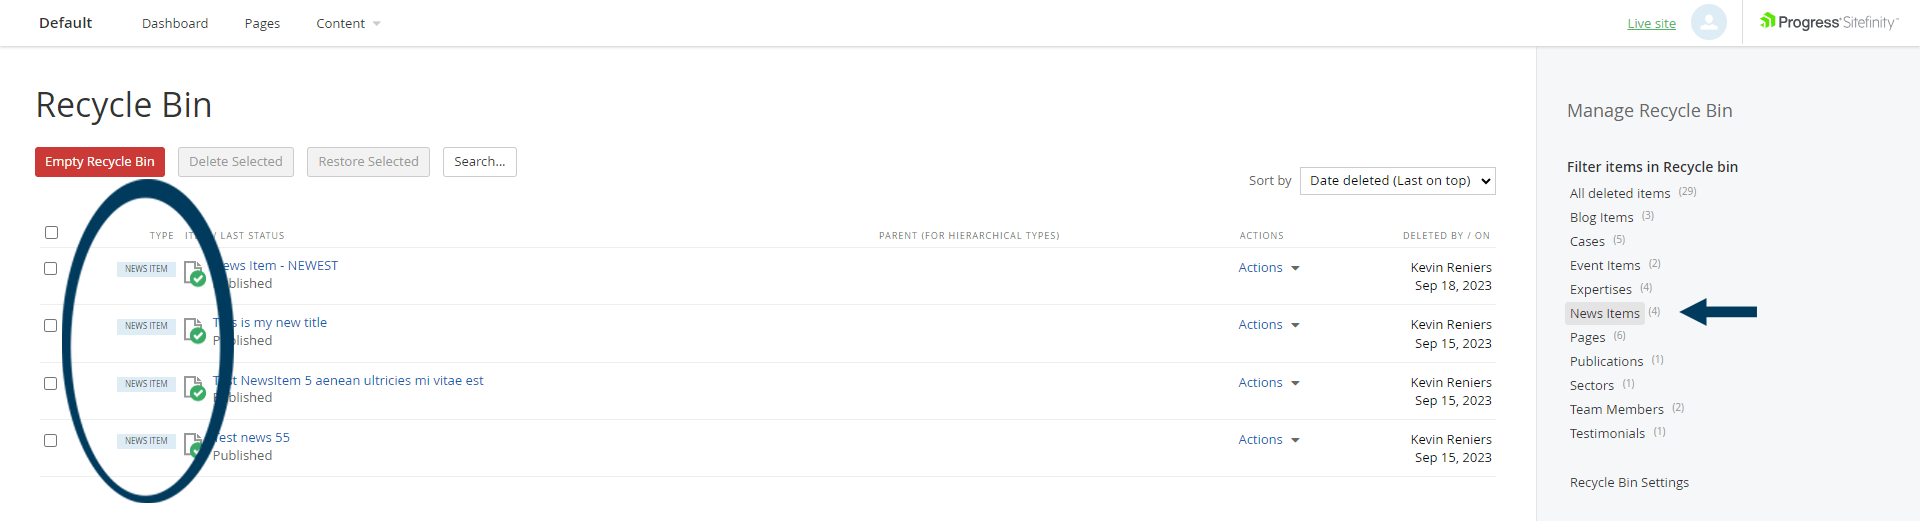
Step 2: Sort, Search or Filter List
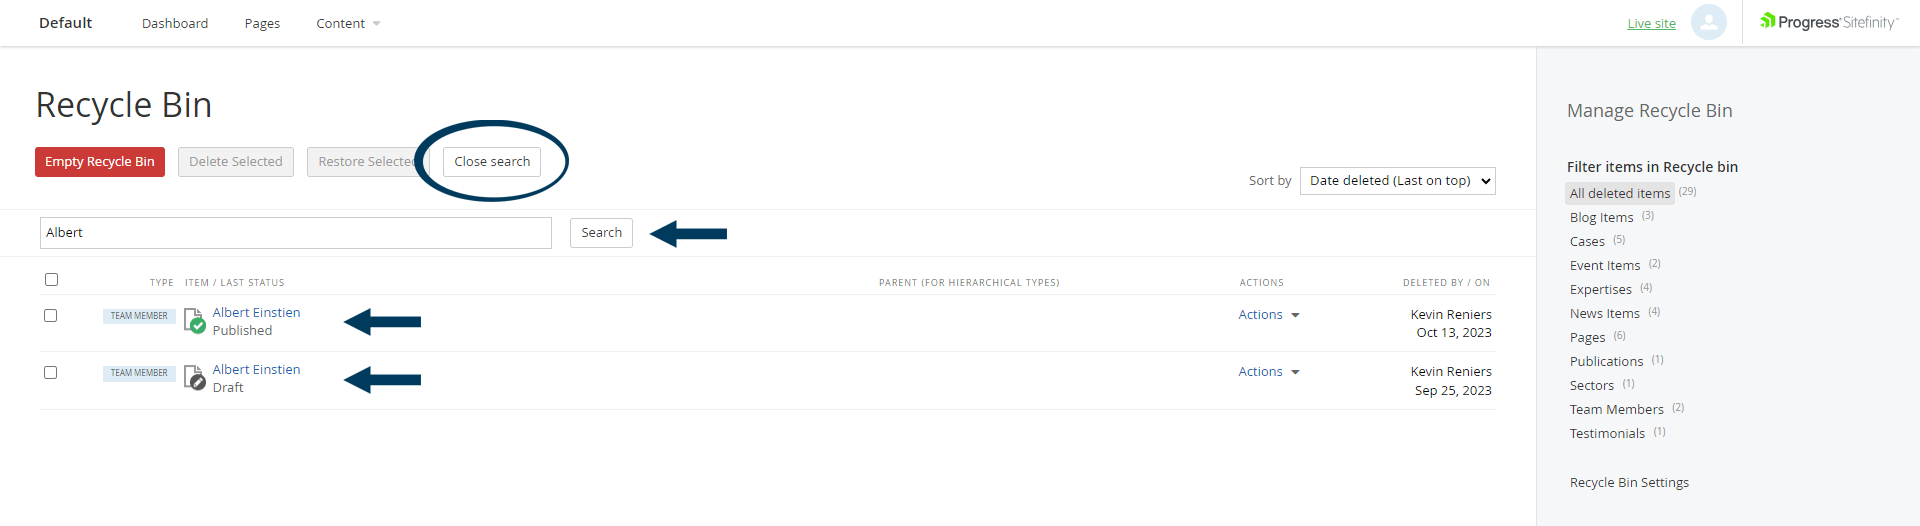
The list could be long. You could change the sort order if looking for a recently deleted item, filter to a particular type of content or to pages, or even use the search field to search by item name.
If you search, click the Close Search button to return to the full list of items.
Step 3: Permanently Delete or Restore an Item
Each item has an Actions menu available, with the options to Restore or Delete Forever. Restoring will remove the item from the Recycle Bin and return it to its original place within the Content Management System. Delete Forever will permanently delete the item (remove it from Recycle Bin).
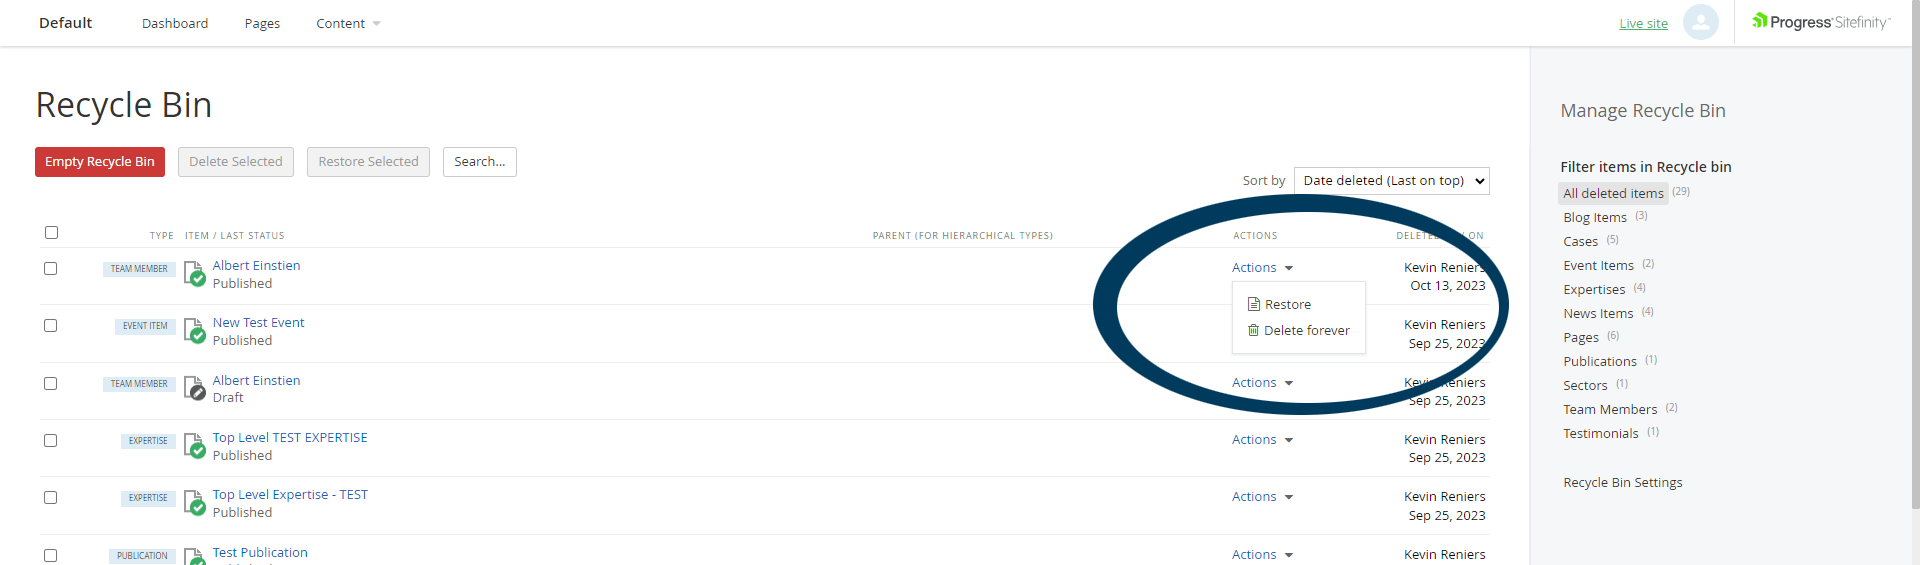
You could select multiple items at a time, and use the buttons next to the Empty Recycle Bin button to perform the action to all items selected.

Note: Use caution before deciding to 'Empty Recycle Bin' of all content as items will not be recoverable.
Related Videos
-
 03:45
03:45
