Create a Blog Post
Introduction:
Videos are best viewed full screen at 1080p resolution.
Video Duration: 05:35
Step by Step Instructions:
Step 1a: From the top navigation, click on the Content drop-down and then Blog Groups.

This will bring up the listing page that shows all Blog Groups (since a website can have multiple blogs). We must go one level further to create blog items (posts).
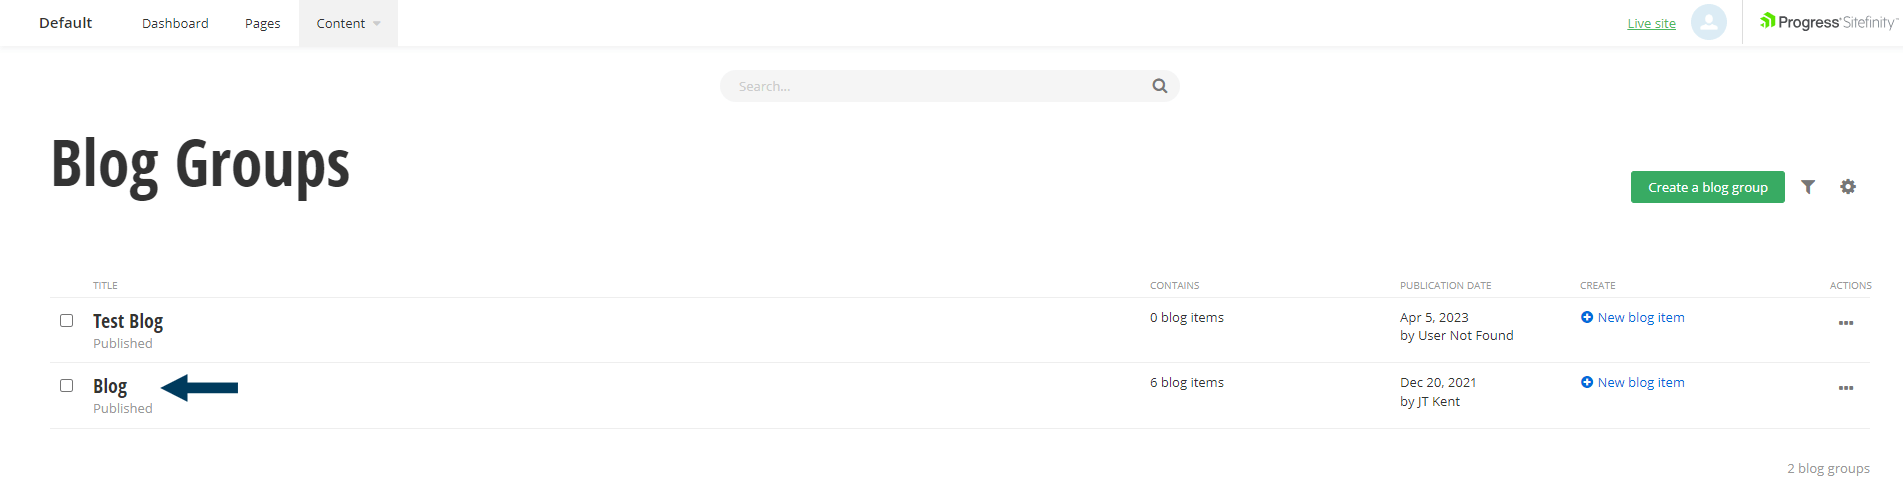
Step 1b: Click on the Blog Group title. This will bring up the listing page that shows all Blog Items with that blog group.

Step 2: To create a Blog Item (blog post), click on the Create a Blog Item button. The Create dialog will appear.
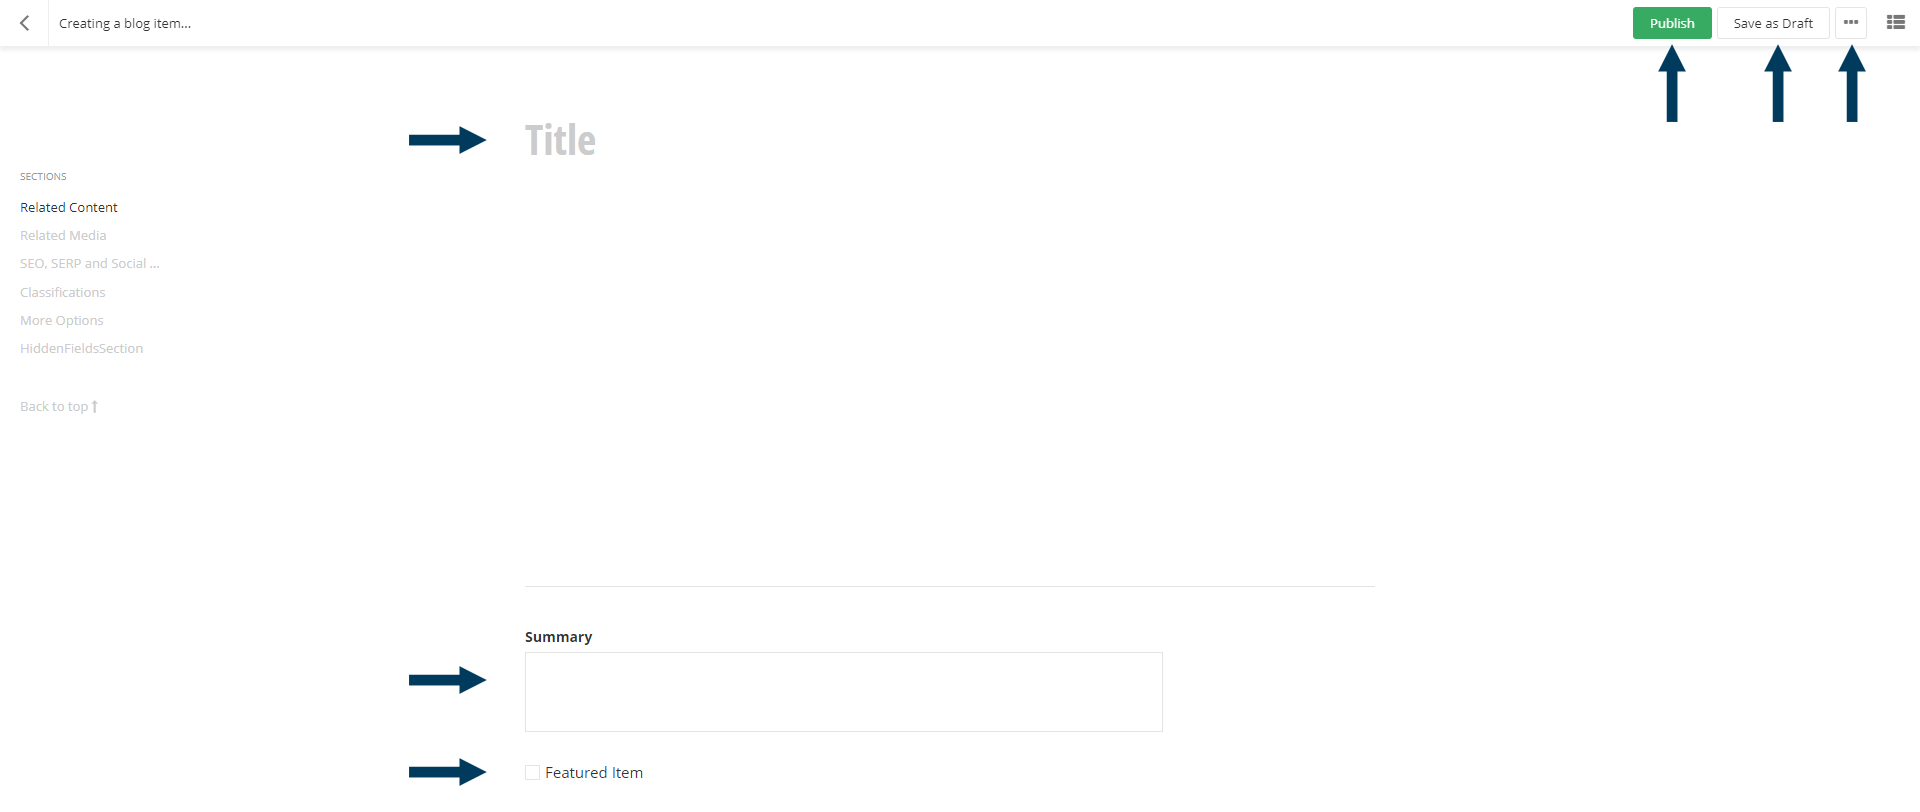
Step 3a: Fill out the main fields.
The mandatory fields are Title and Main Content (Rich Text Field). These fields are essentially the bare minimum that should be added when creating an item.
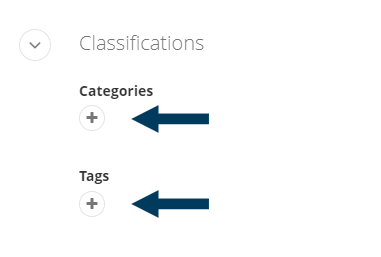
Step 3b: Fill out the content-specific fields.
The Classifications Section helps to further classify blog items for filtering. Complete this section as necessary.
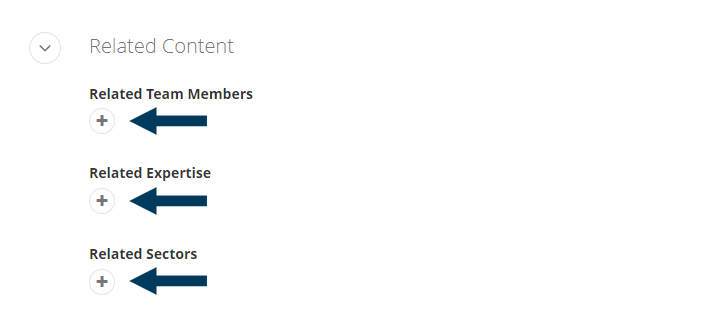
Step 3c: Fill out the optional interlinking fields.
For more specific instructions on how to complete the interlinking fields, refer to the Interlinking Content guides by clicking here.
Related Content:
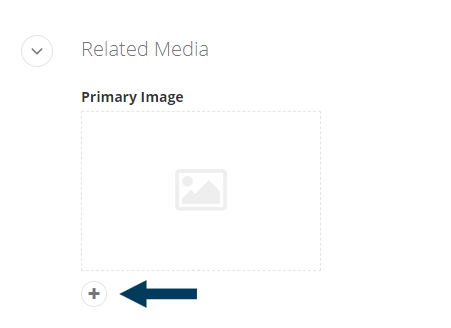
Related Media:
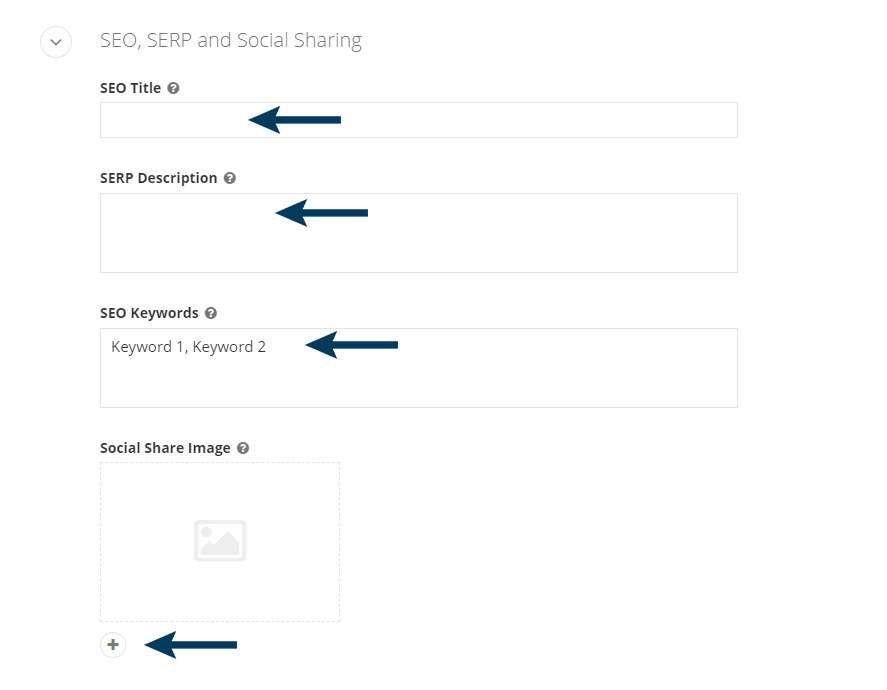
SEO Fields:
 Step 4: Status the Content
Use the status bar to make the content live on your website by clicking the Publish button.
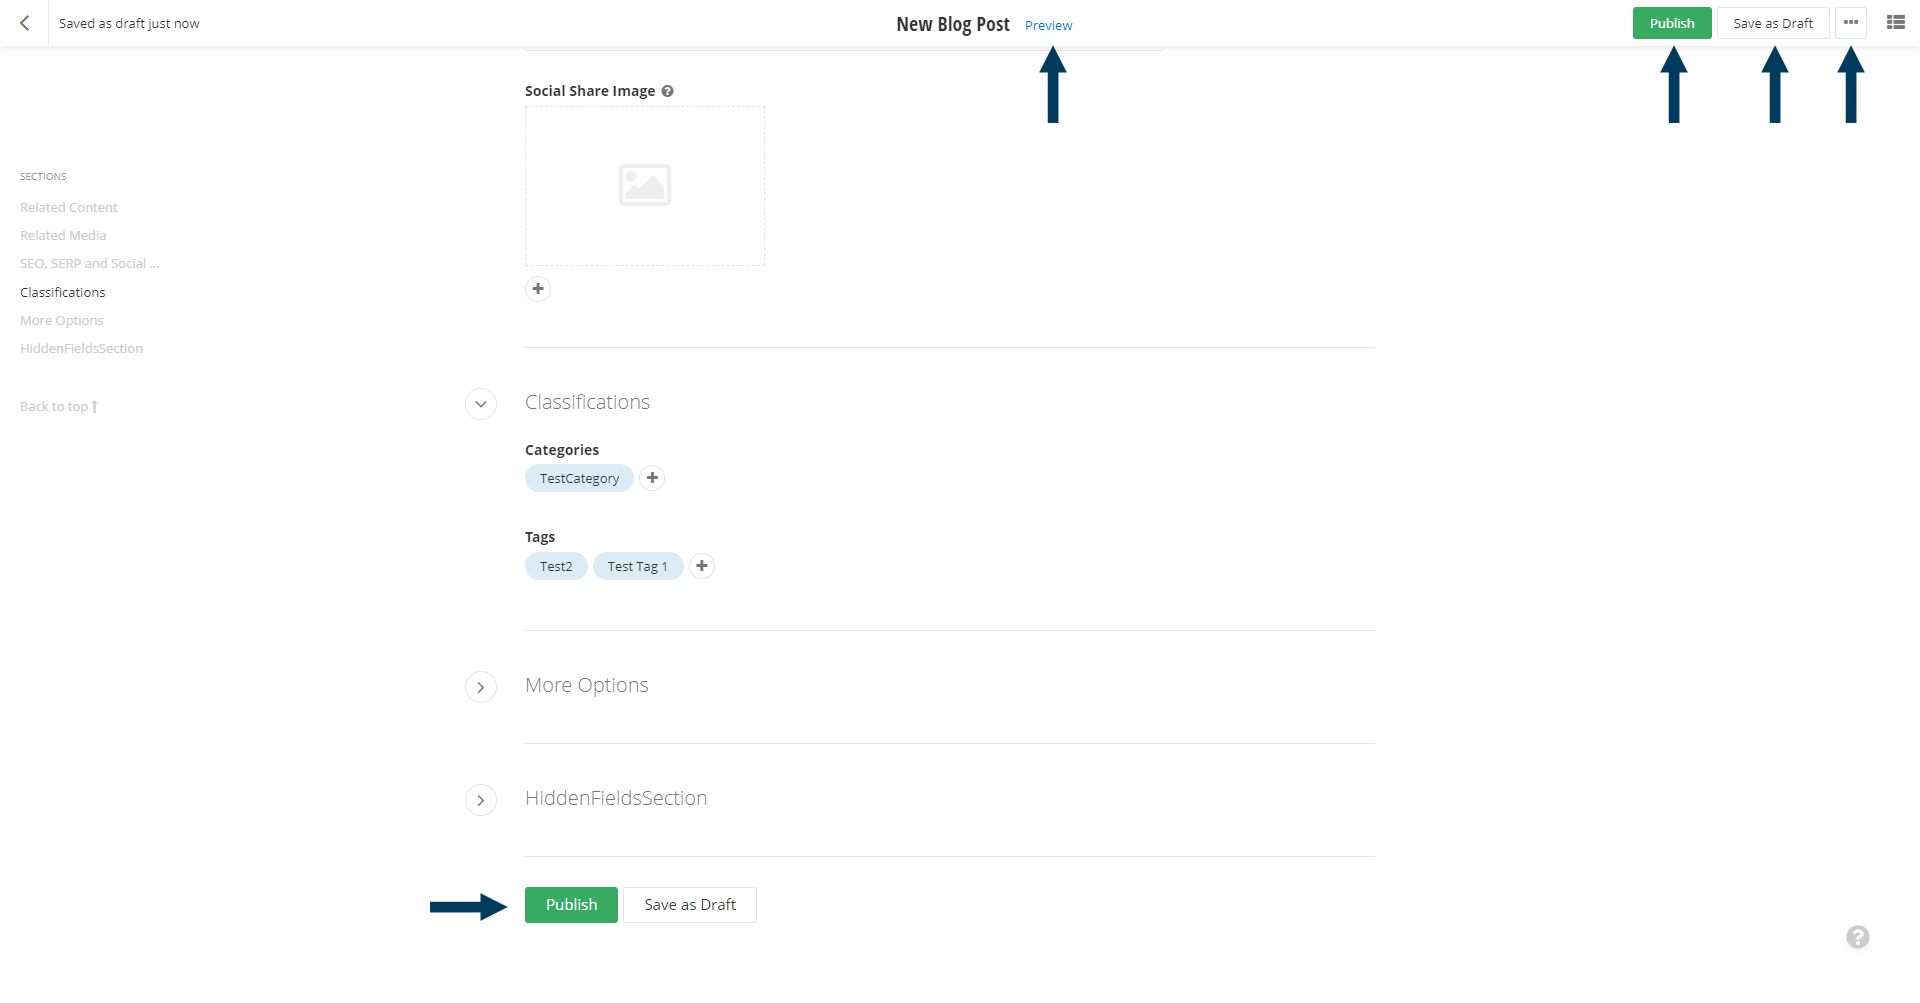
Note: To view the content prior to publishing, you can use the preview feature. This will show exactly how the content will look once published. To preview, click the Preview button (content must be statused as draft prior to previewing).
Related Videos
-
 02:57
02:57

