Duplicate a Testimonial
Introduction:
Videos are best viewed full screen at 1080p resolution.
Video Duration: 04:07
Step by Step Instructions:
Within Sitefinity, you have the ability to duplicate an existing content item as a starting point to creating new content instead of using the Create function. This is handy, as duplicating an item creates a new version of the past item with the same content and relations to other content already filled in. You then edit fields as necessary to make it new. The great part is you will see exactly what information you filled in for the previous content item of the same type. This is especially handy if you select a previous content item to duplicate that is very similar to the new content you wish to post - similar news topic, blog topic, expertise, same job position, etc.
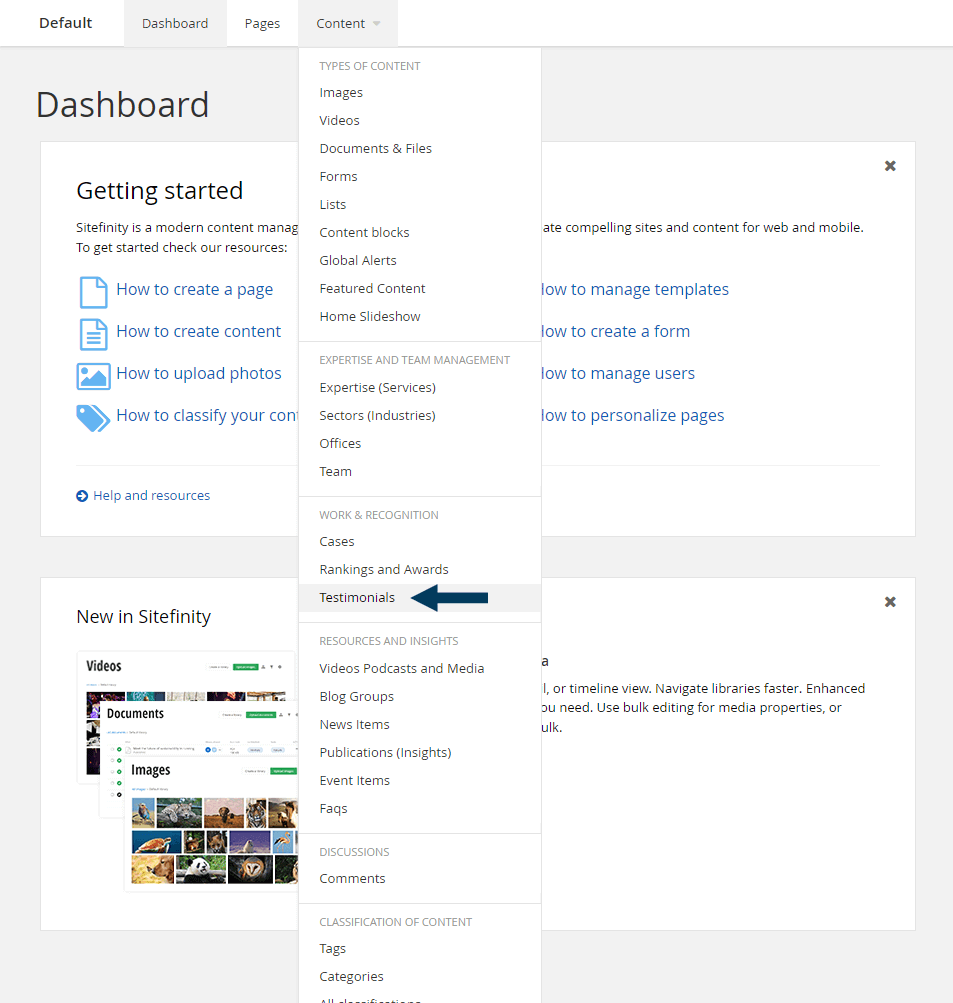
Step 1: From the top navigation, click on the Content tab and then Testimonials from the drop down menu. This will bring up a list of all publication content.
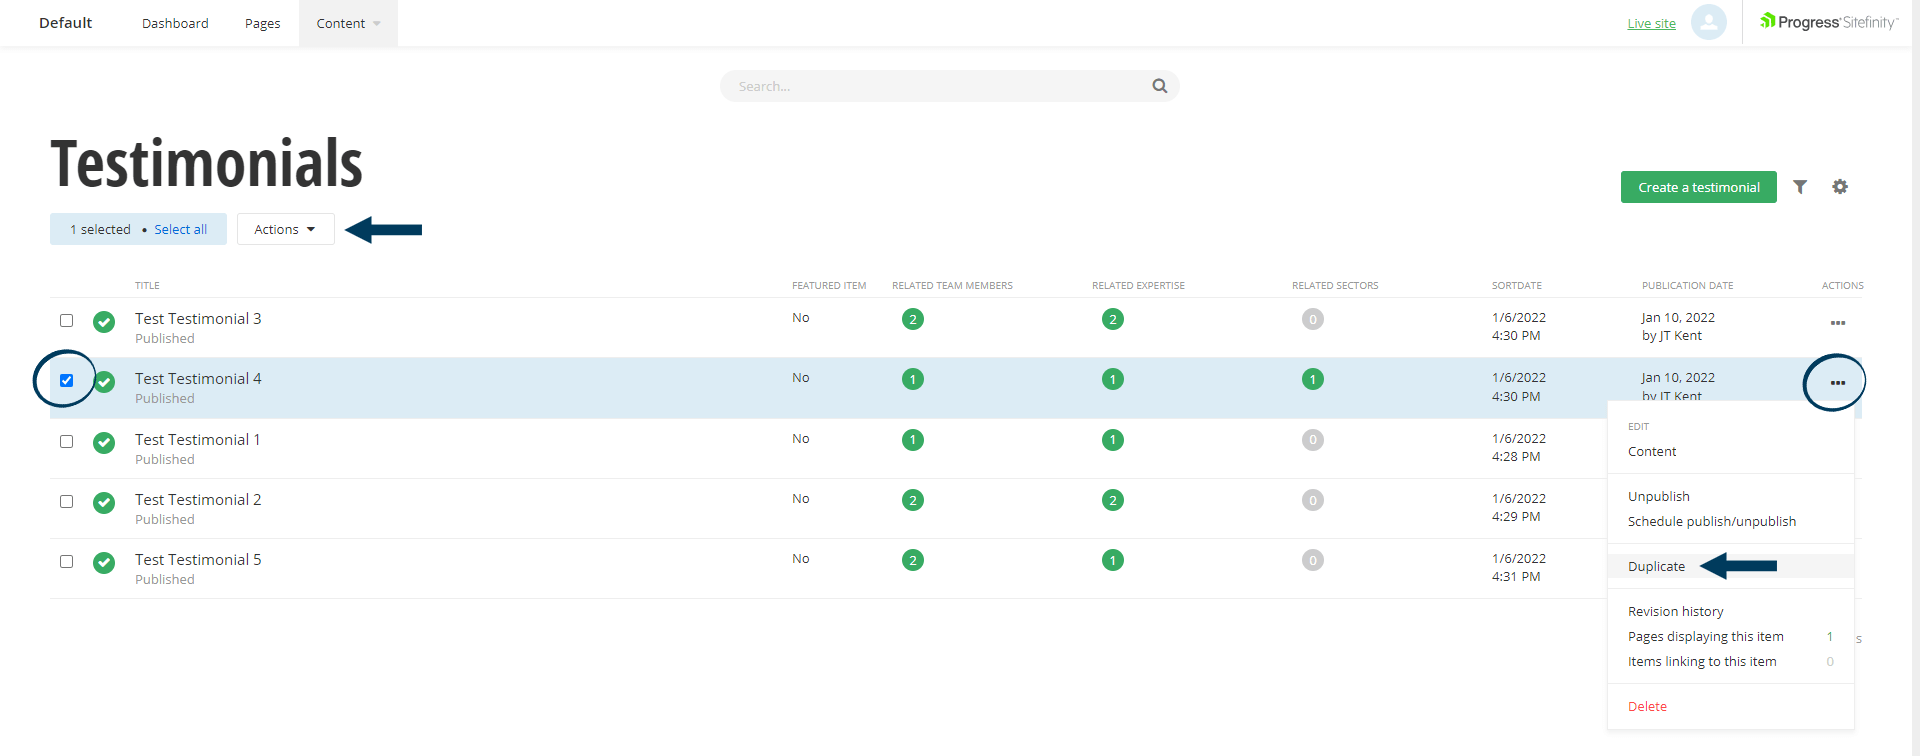
Step 2: Open a Testimonial in Duplicate mode.
If you know the title/name of the item you are going to duplicate you can use the search bar to enter part of the item title to filter the list of Testimonials to display only matching results. Then either click the checkbox next to the item Title to make the Actions drop down menu visible under the Testimonials headline, or use the Actions (3 dots) menu on the far right of the item row. Click on the 'Duplicate' hyperlink in the drop down menu.
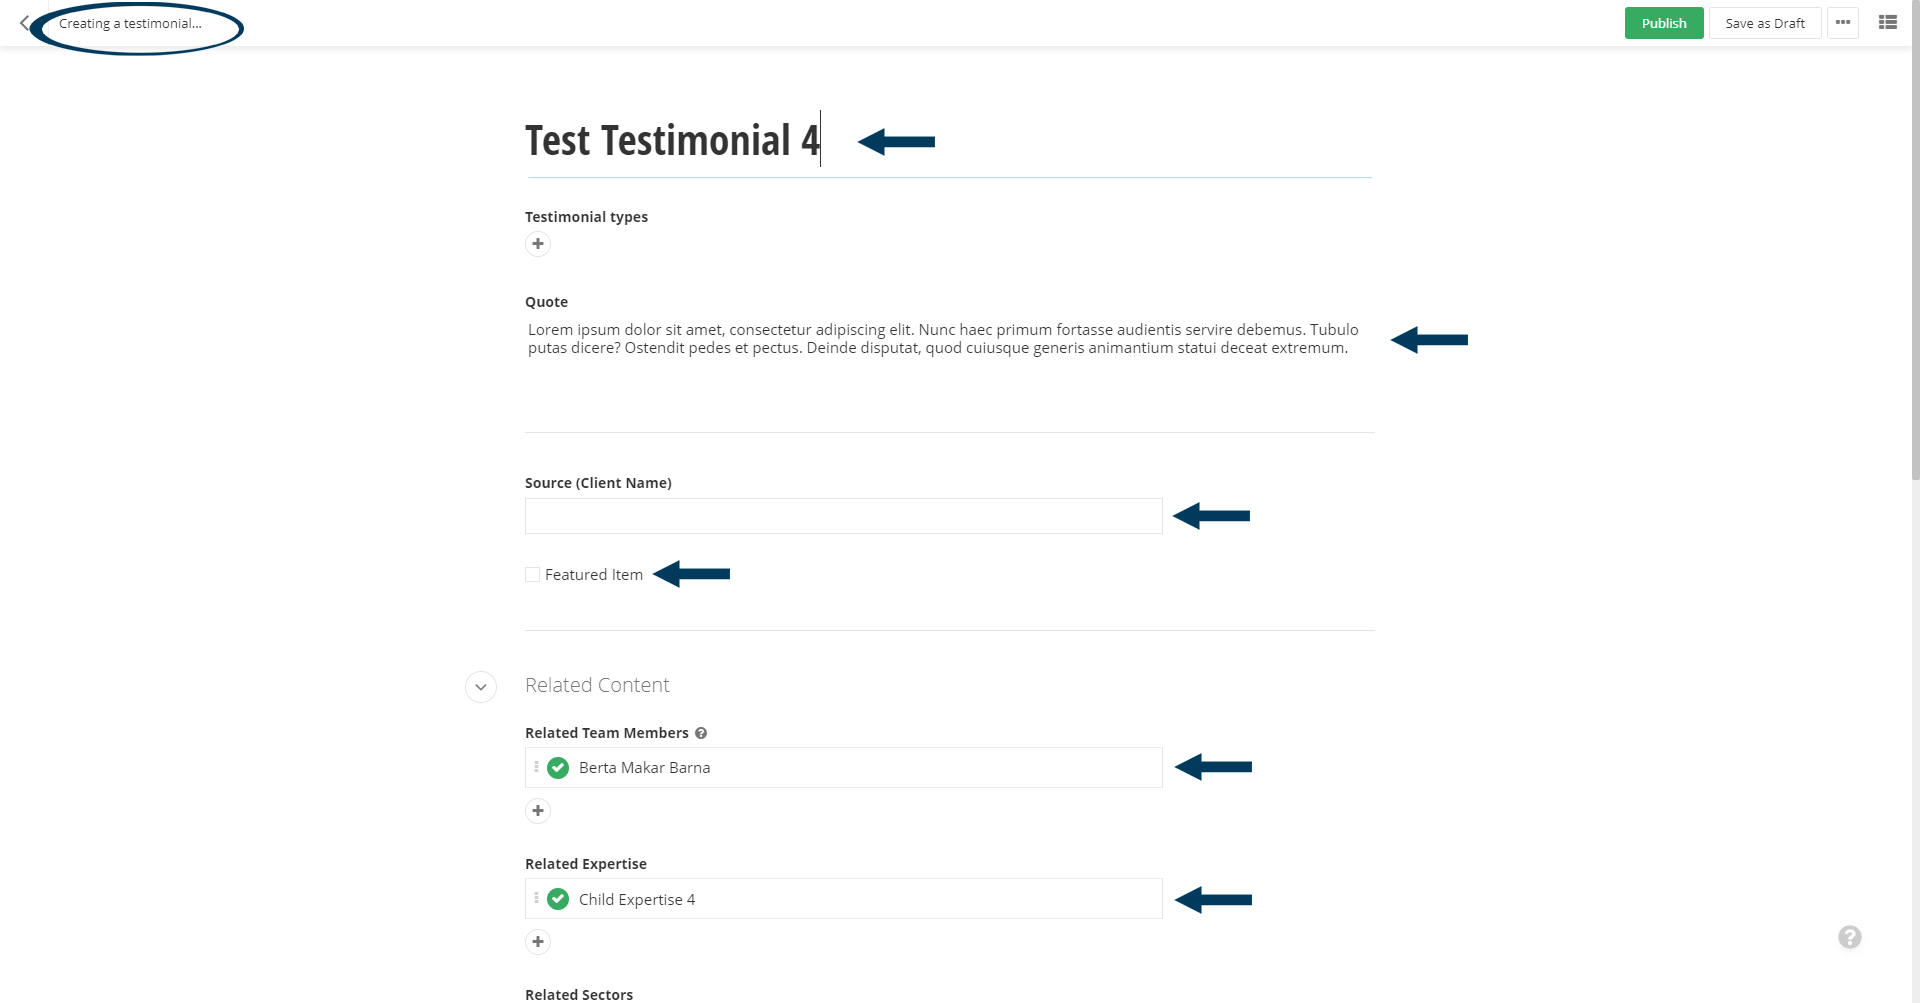
This will open a new Testimonial item in EDIT mode - that appears the same as the item you selected to duplicate.
Step 3: Edit the Testimonial item content.
Start by renaming the content/giving the content a new Title. Then check/change the Testimonial types. Edit the Quote and Source (Client Name) as necessary. Also check or uncheck the Featured Item box as you deem appropriate for your new content.
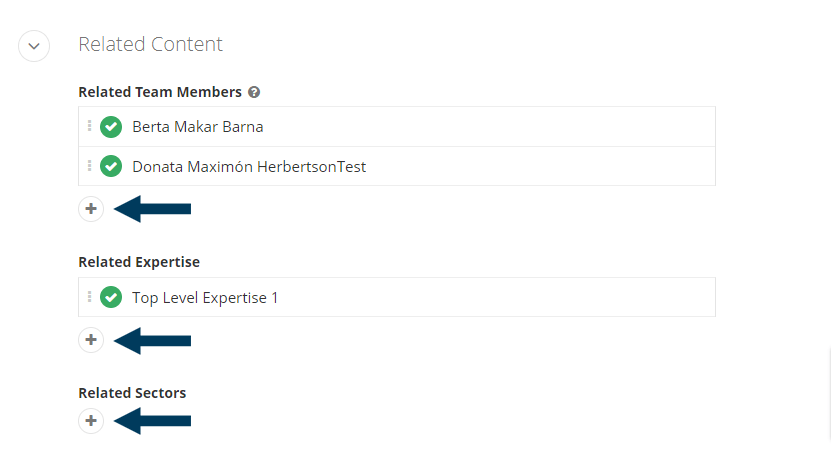
Step 4: Edit/Check Related Content.
Check to see if the duplicated Related Content is still relevant for your new Testimonial Item. If necessary edit these relationships. For more information and how to interlink or relate a testimonial to other content click here.
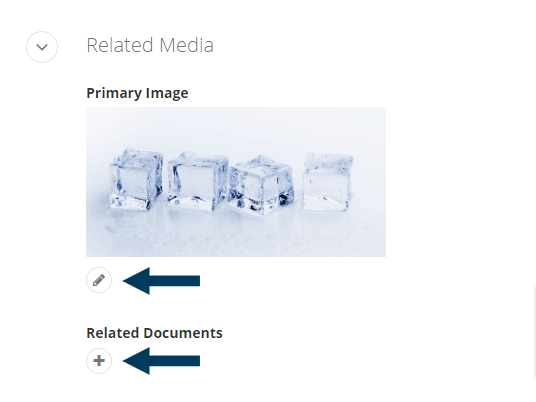
Step 5: Edit/Check Related Media.
Check to see if the duplicated Related Media is still relevant for your new content. If necessary edit these. For more information and how to interlink or relate an image to a content item click here. Interlinking or a relating a document to the content would work the same way.
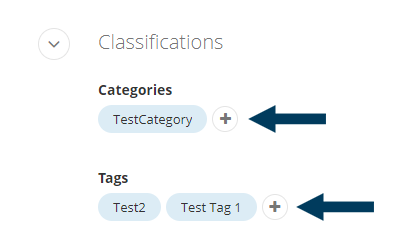
Step 6: Edit/Check Classifications.
Check to see if the duplicated Categories and Tags are still relevant for your new content. If necessary edit these. To remove a classifications hover over the category or tag name until an X icon appears and then click the X. To add more categories or tags click the + button and then select from the list of options, or create new.
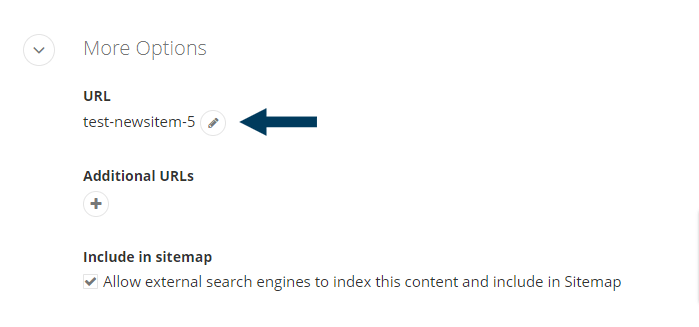
Step 7: Edit/Check Item URL.
Under More Options, this field likely contains the URL of the previous content item you duplicated. Click the pencil icon/button to edit this field and remove all text within it, then hit your Enter button. It will repopulate with a new URL for your new content item.
Step 8: Status the content.
Using the status bar make the content live on your website by clicking the Publish button. Click here for a further explanation of statuses.
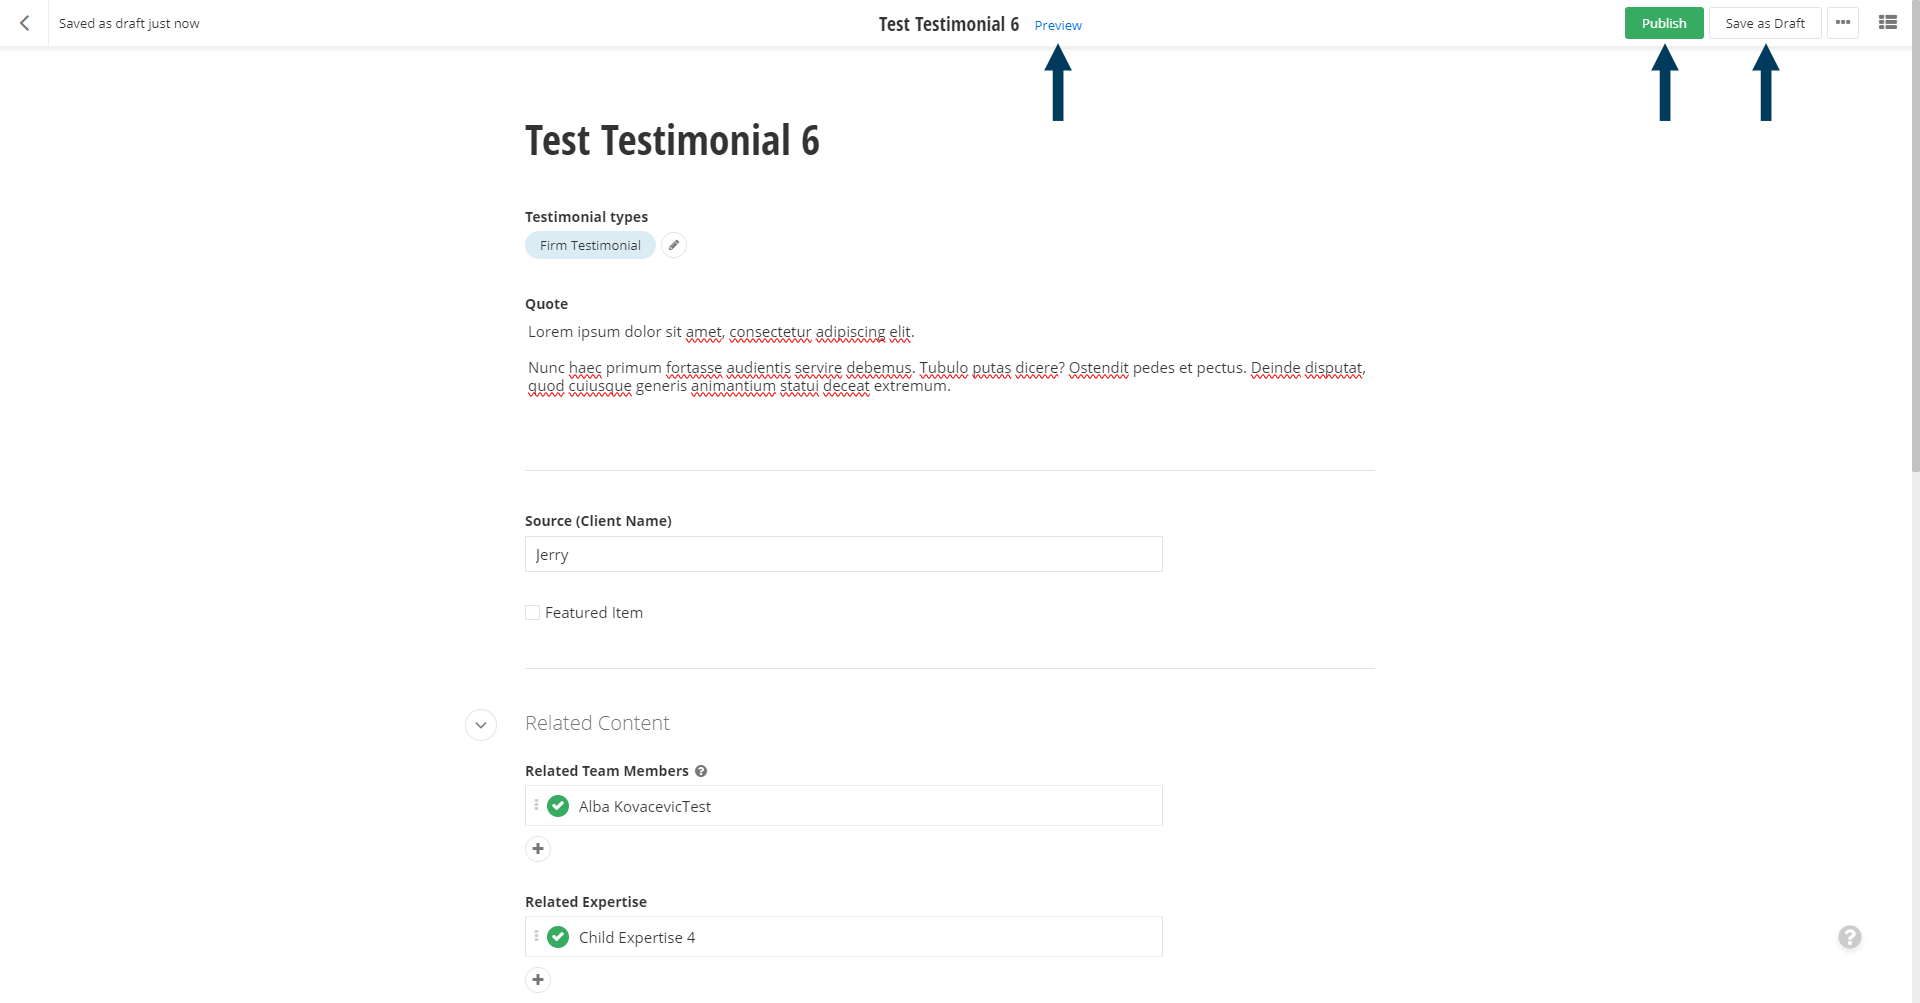
Note: To view the Testimonial Item prior to publishing, you can use the preview feature. This will show exactly how the item will look once published. To preview, click the Preview button (Content must be statused as draft prior to previewing).
Related Videos
-
 03:26
03:26

