Use Lists to Organize Content
Introduction:
Videos are best viewed full screen at 1080p resolution.
Video Duration: 07:04
Step by Step Instructions:
Using 'lists' to organize content on a page is a great way to condense a lot of information onto a single page.
You can use lists for various purposes. For example, you can create a list for your FAQ section, where each question is one list item and the content of the list item is the answer to the question. The answer can remain hidden until a website visitor clicks on the question - keeping the page length condensed on load but all the content is still accessible to users and search engine robots/crawlers.
For the following demonstration we will use a Blog post as an example, but this can be done with any type of content.
Step 1: From the top navigation, click on the Content tab and then Lists from the drop down menu under Content Types. This will bring up a list of all blog groups. Now browse into the blog group to see a list of blog post.

Step 2a: Create a List group
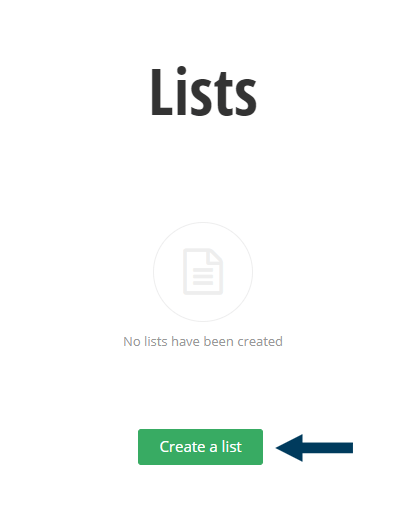
If you do not yet have any list groups created, you will be prompted to create one.
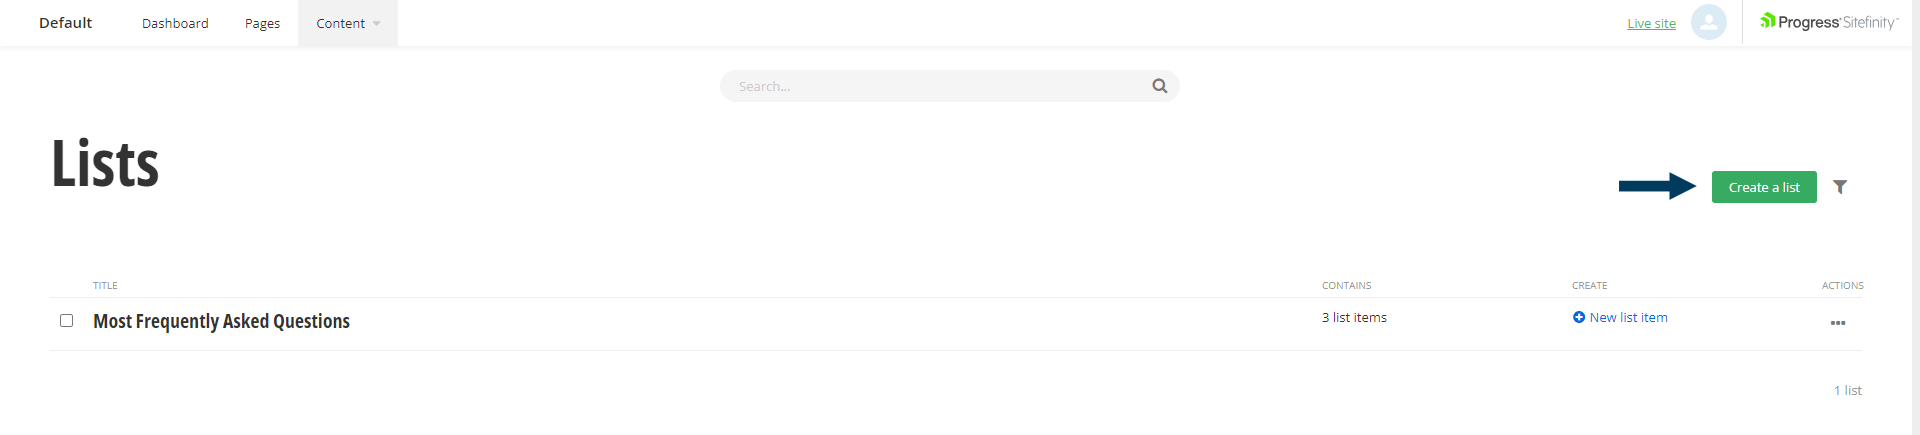
If you do have list groups already within your site, you will see a list of current Lists, and you can click on Create A List button to start a new list group.
Step 2b: Create a List group
Title your list group, and then click the Create button.

Step 3a: Create a List Item
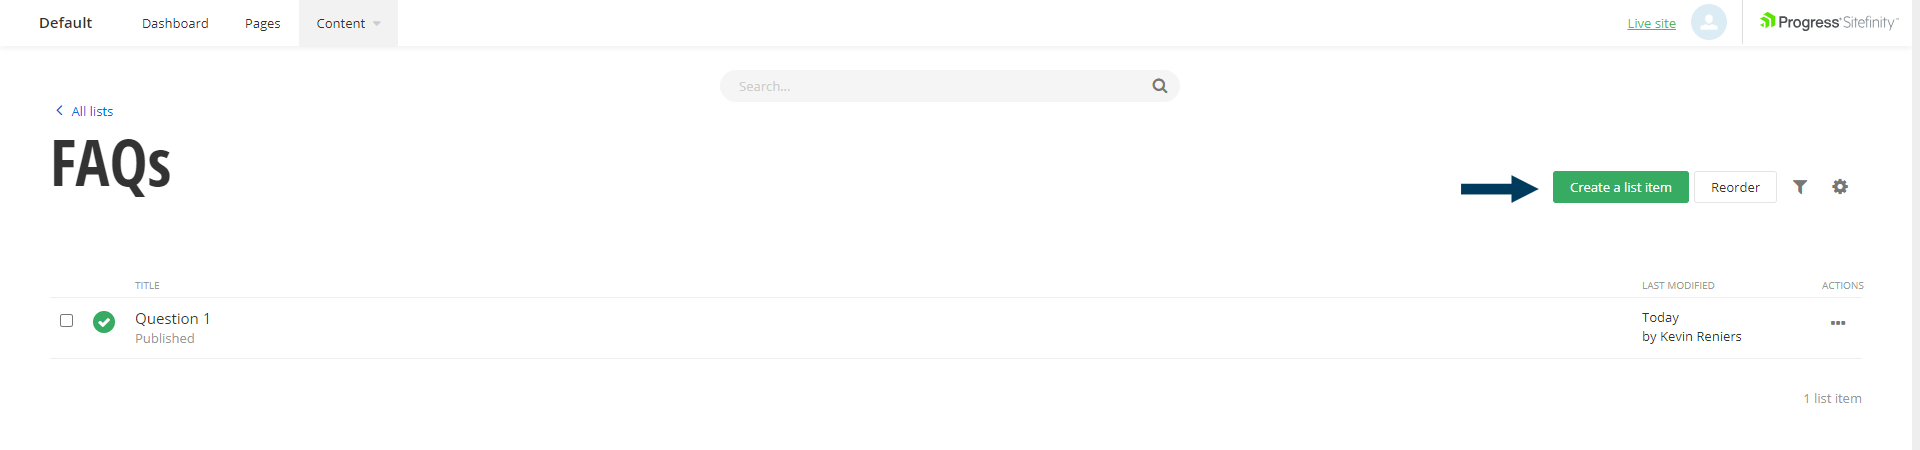
After creating a list group (or if you enter a list group without any list items inside it), you will be prompted to create list items for that group, click on the Create a list item button . 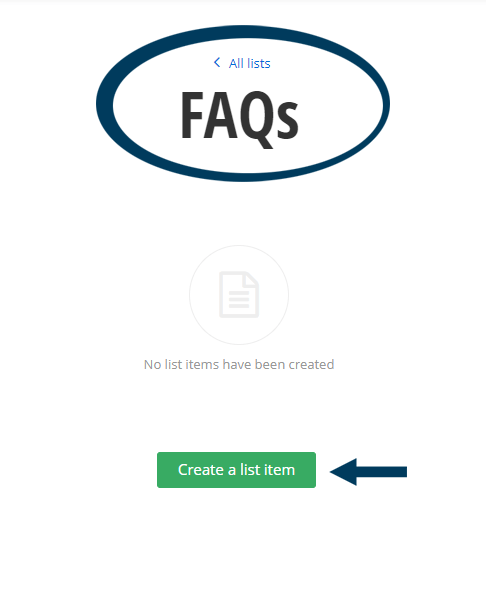
Step 3b: Create a List Item
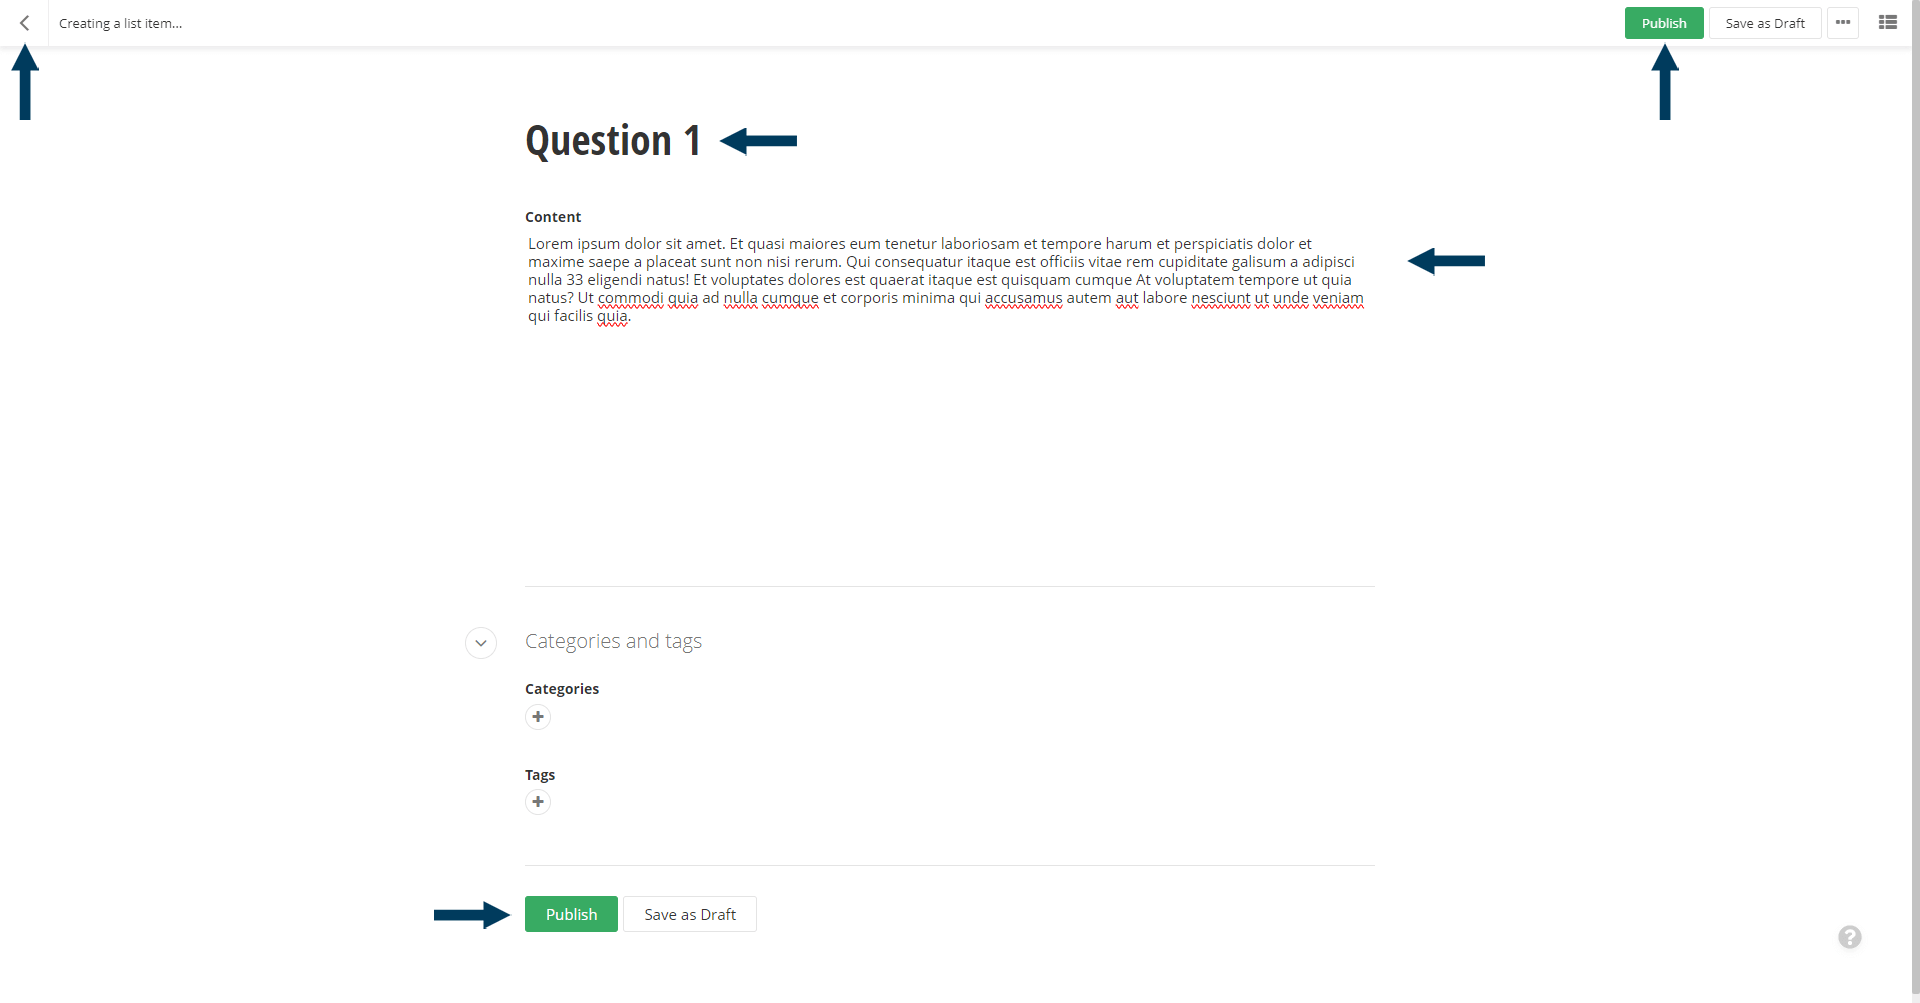
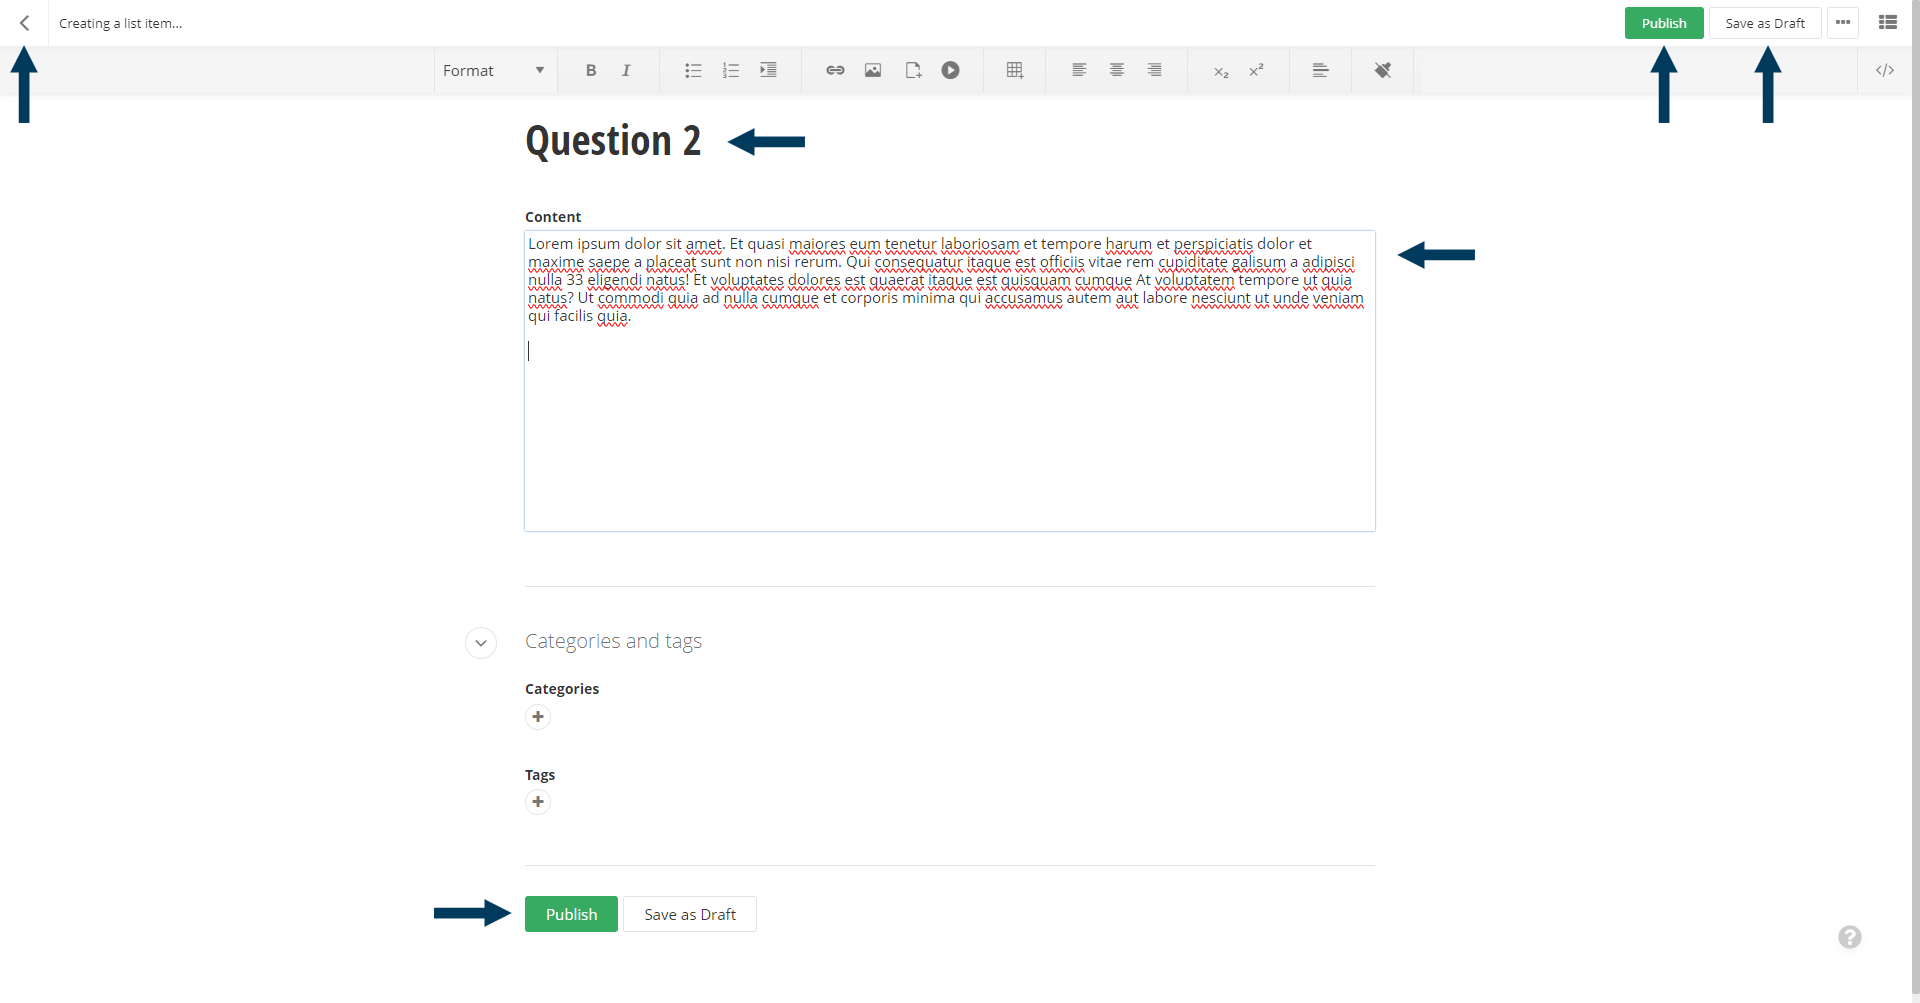
Title your list item (Ex: An FAQ question) and then add content (Ex: FAQ answer). Then click the Publish button to save this list item. Don't worry, no where on your website has been set to display this list or list item yet. Once the list item is saved, you can click the back arrow button in the top left corner to exit this list item.
Step 4a: Create more list items
You now have one list item in your newly created list. Now you can click the Create a list item button to create more items.
Step 4b: Create more list items
Enter a title and content for your second list item, then click the Publish button to save it. Use the back arrow in the top left of the window to return to the list of list items.
Step 5: Create even more list items
Repeat Step 4 as many times as necessary to create all your list items. Once complete, you'll have to find a page to add the list to.
Step 6: Open a Page to edit
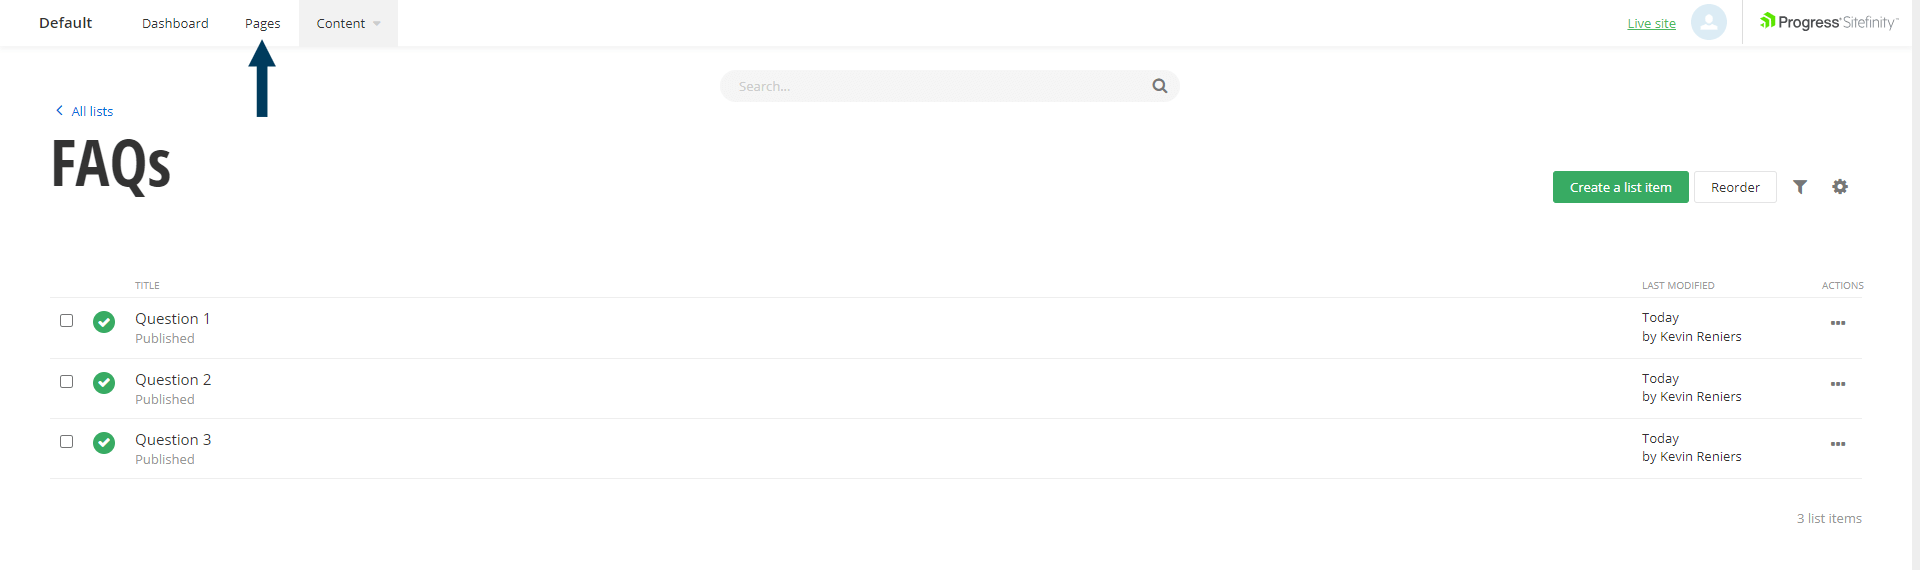
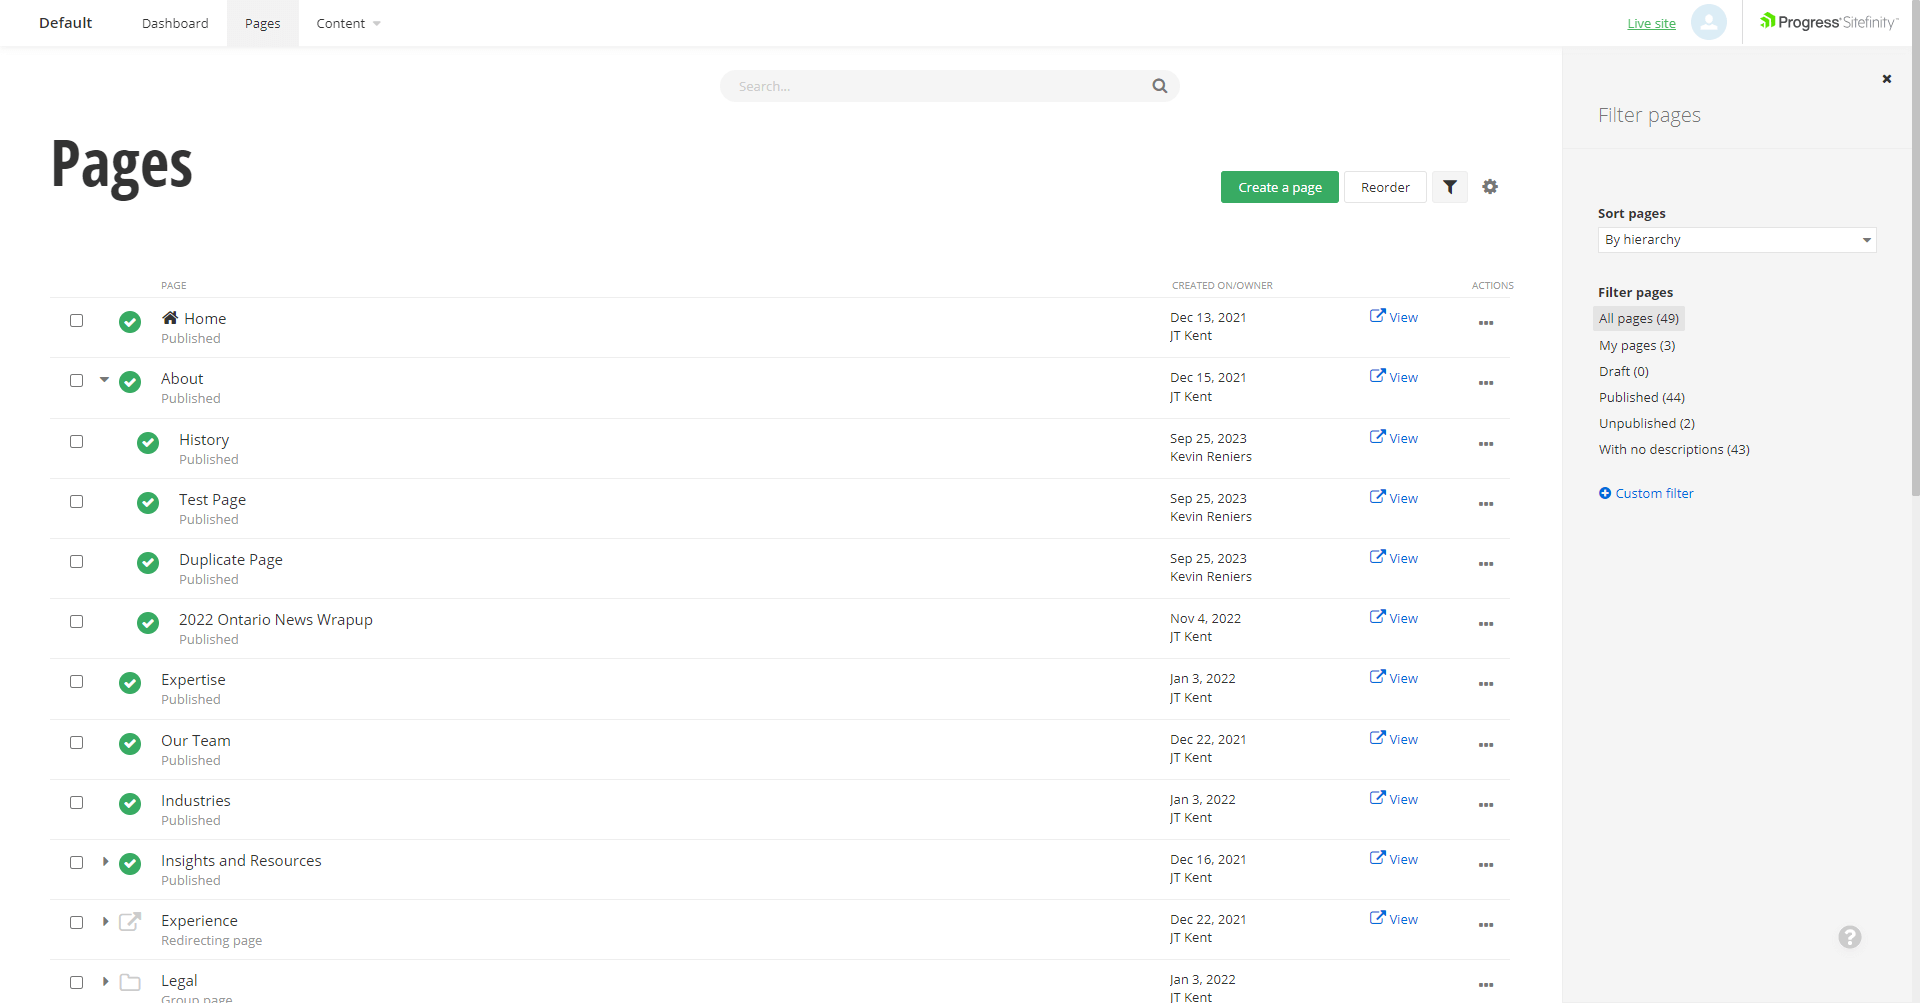
Click on Pages along the top Sitefinity navigation menu to bring up a list of pages on your website. Click on a page Title to open it in edit mode.
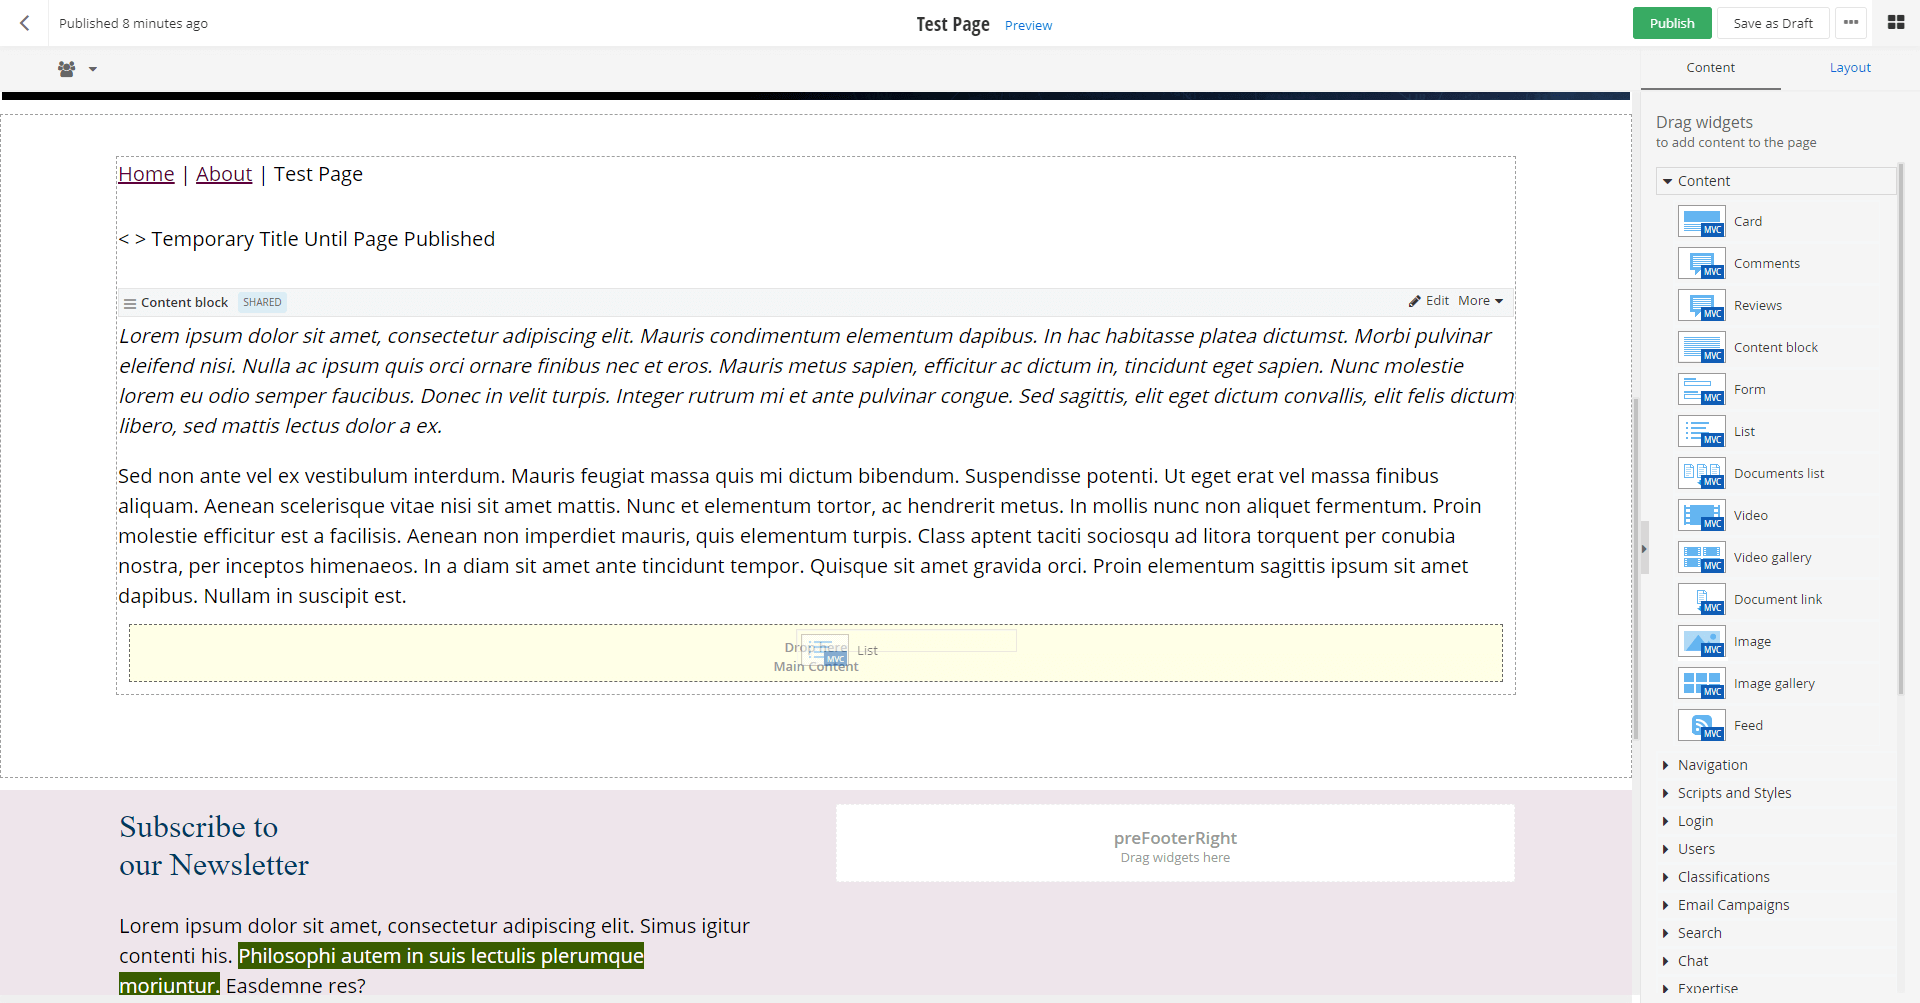
Step 7: Place a List Widget item on the page
From the content panel on the right, drag a List widget onto the page where you wish the list to be displayed.
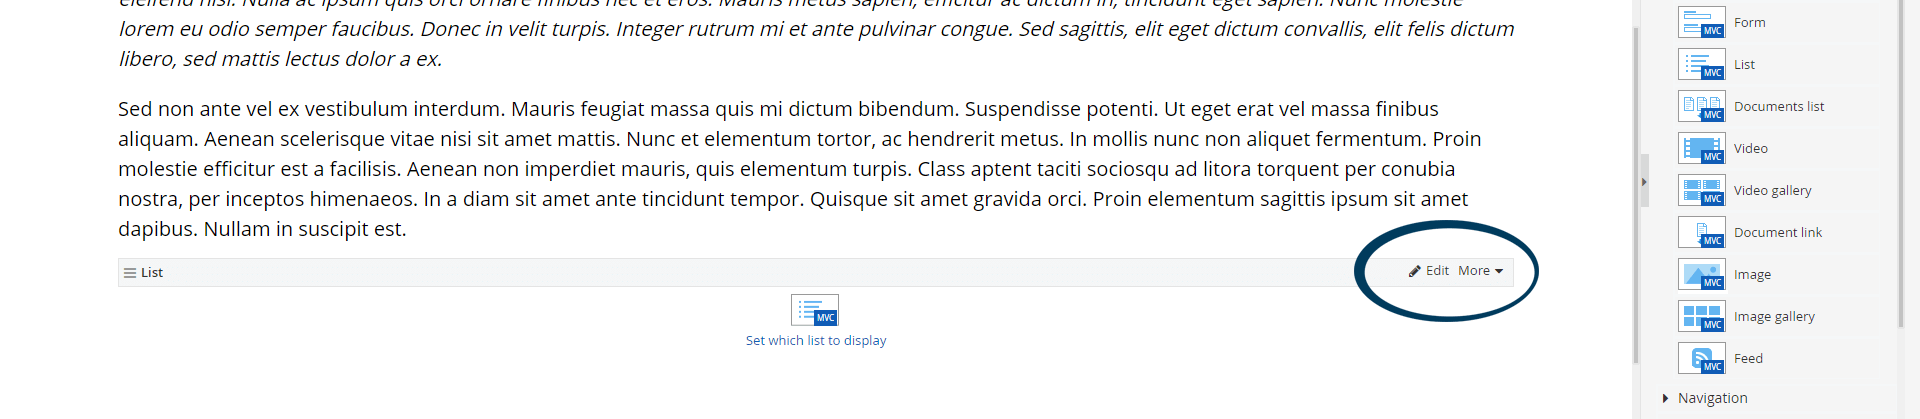
Step 8a: Select a List and display settings
Click on the Edit link for the list widget just placed on the page.
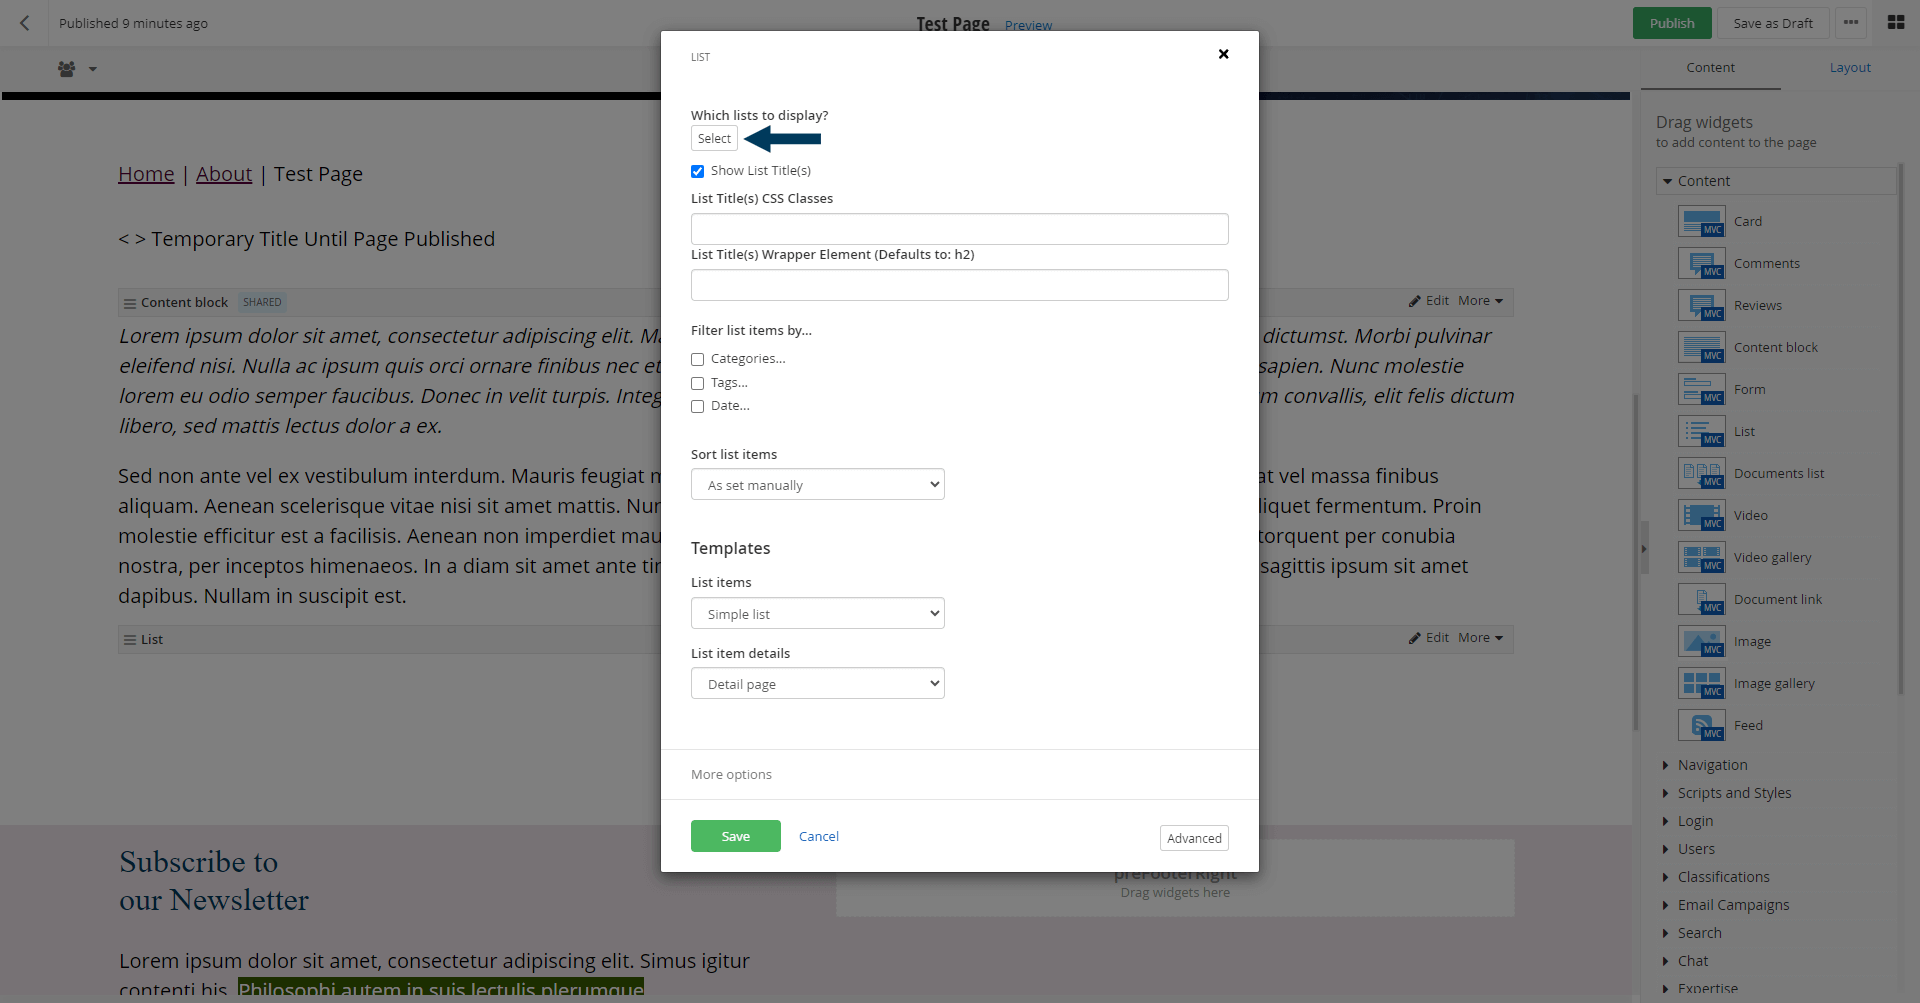
Step 8b: Select a List to display
Click on Select button to bring up a searchable list of Lists to chose from to display.
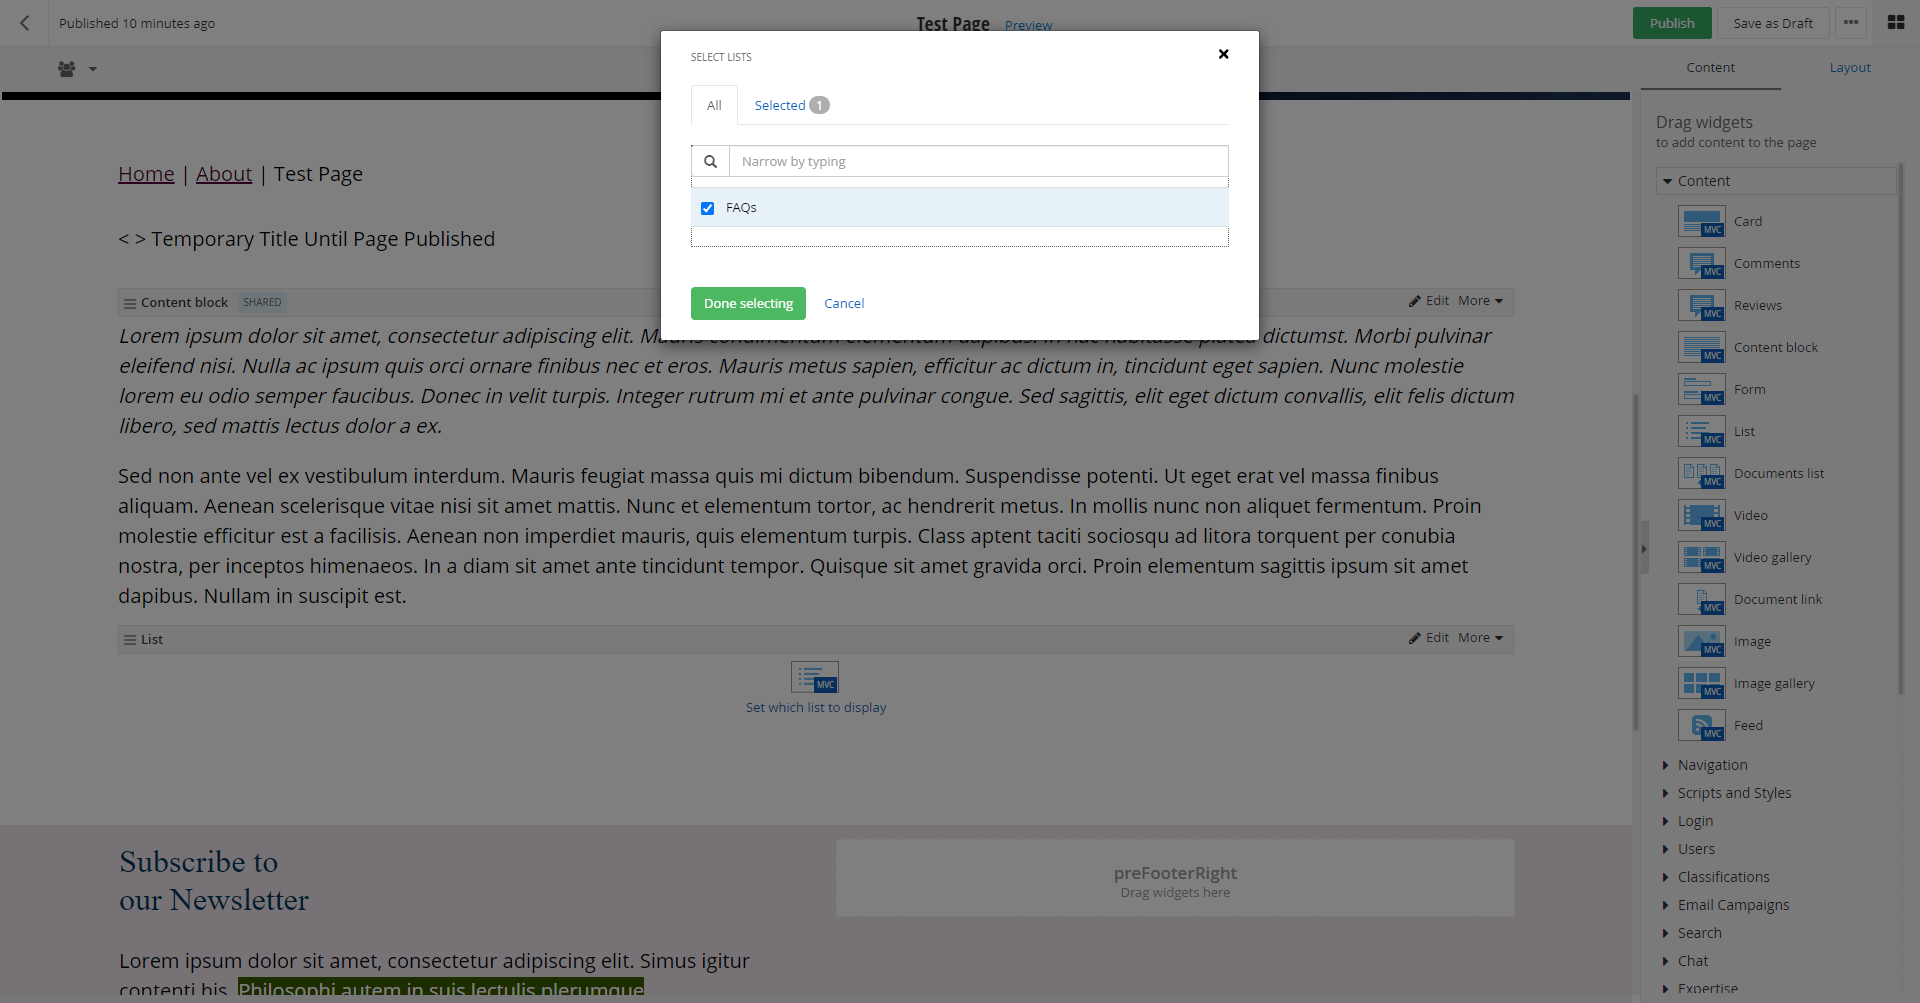
Select the list you wish to display on this page by clicking the check box next to the list title and then click the Done selecting button.
Step 9: Select the template to use to display the list
Under Templates, select the 'Expandible list' option from the first drop down called 'List items'.
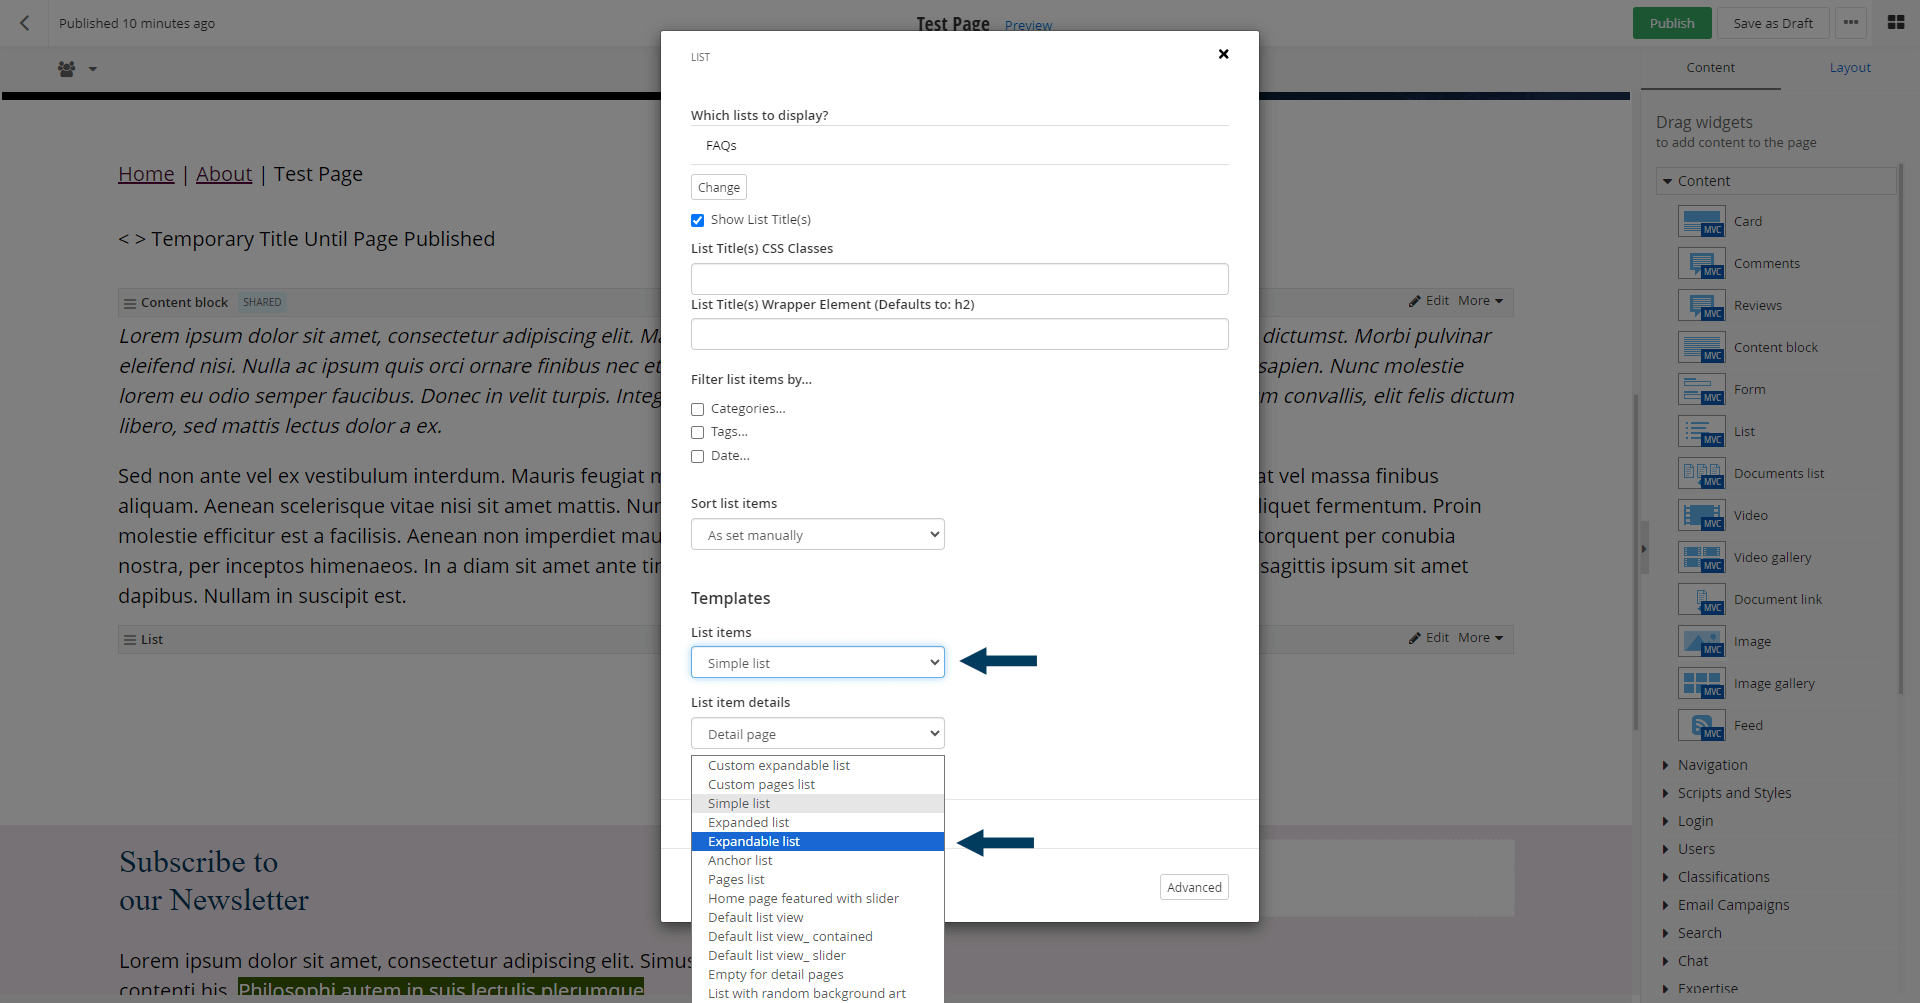
Now you have selected a list to display, and the template to use to display it. Click the Save button to exit the List Widget settings. You should now see a preview of your list on the page.
Step 10: Status the page
Using the status bar make the content live on your website by clicking the Publish button. If you want to save your changes without making them live click the Save as Draft button.
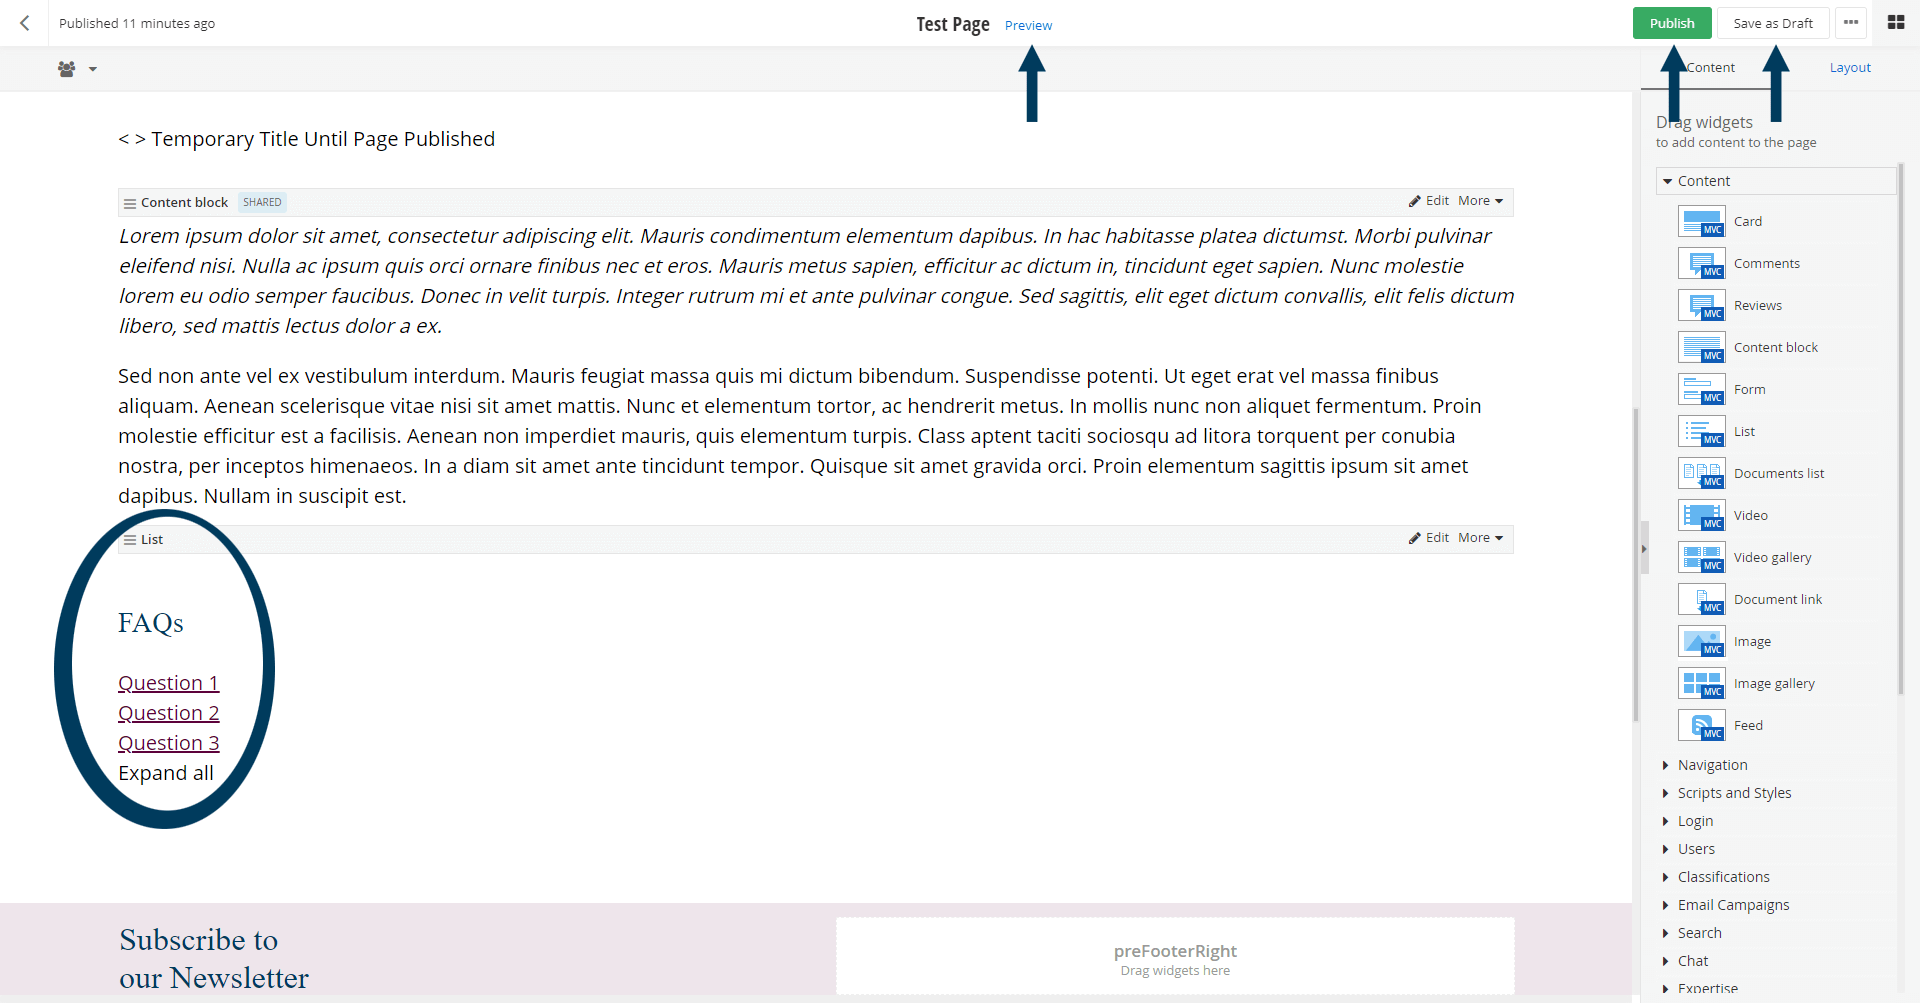
Note: To view the page/content prior to publishing, you can use the preview feature. This will show exactly how the page/content will look once published. To preview, click the Preview button (Page/Content must be statused as draft prior to previewing).

