Create an Expertise / Service / Practice Area
Introduction:
Videos are best viewed on a full screen at 1080p resolution.
Depending on the version of the CMS your website uses, the Content drop-down menu may display Services instead of Practice Areas or Expertise.
Video Duration: 03:52
Step by Step Instructions:
Step 1: From the top navigation, click on Content drop-down and then Expertise.
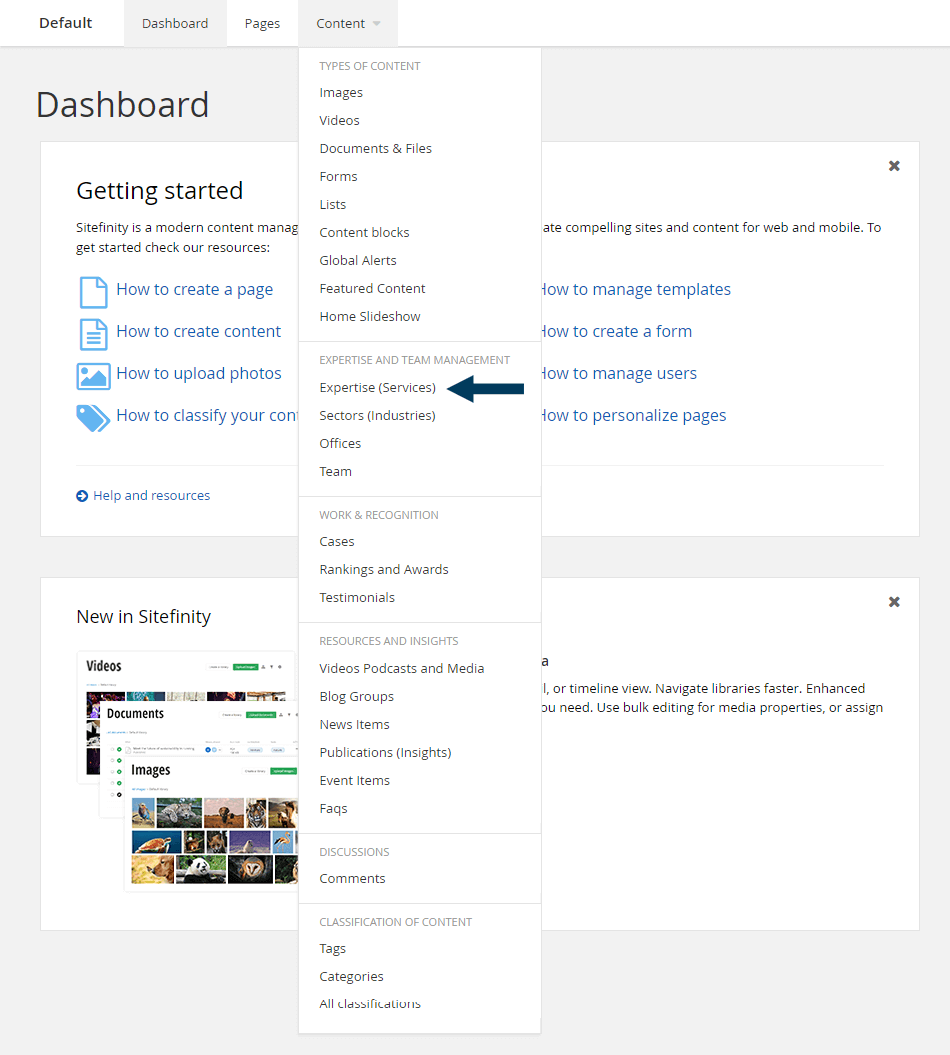
This will bring up the listing page that shows all Expertise/Practice Areas/Services.
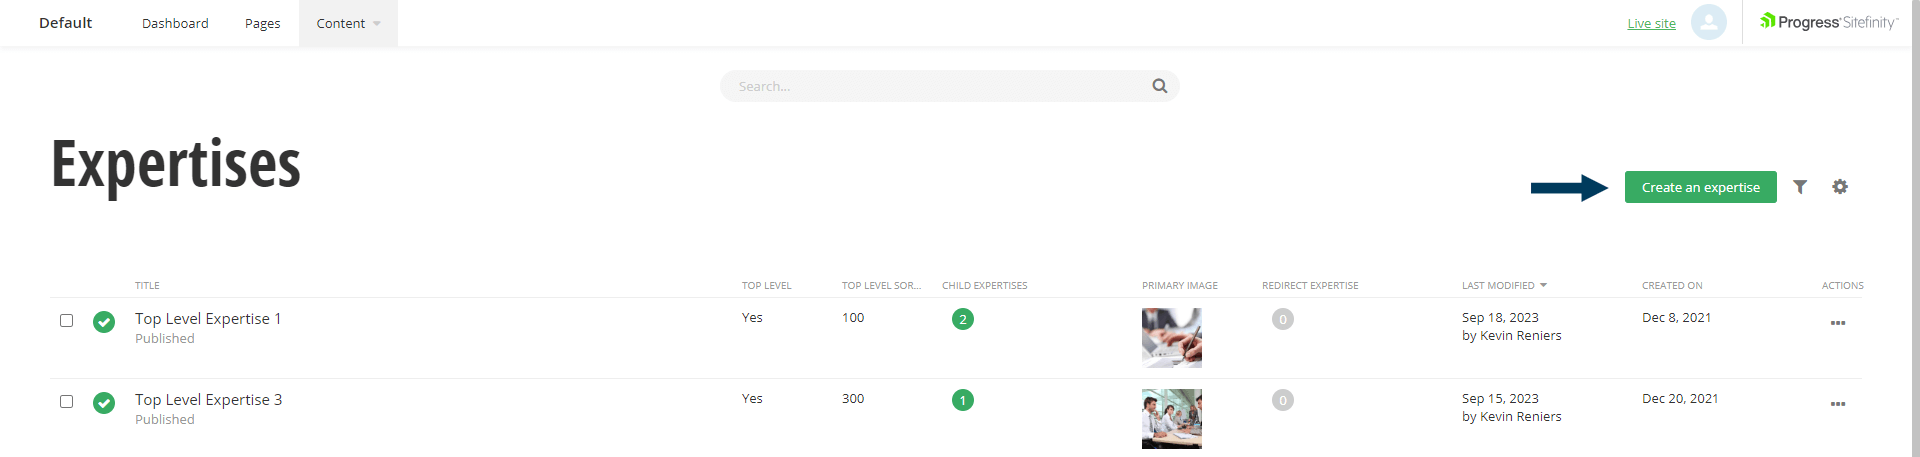
Step 2: To create an expertise, click the Create an Expertise button. The Create an Expertise dialog will appear.
Step 3: Fill out the fields.
The most common fields to fill out are the Title (mandatory) and the Content field which is the overview of the expertise.
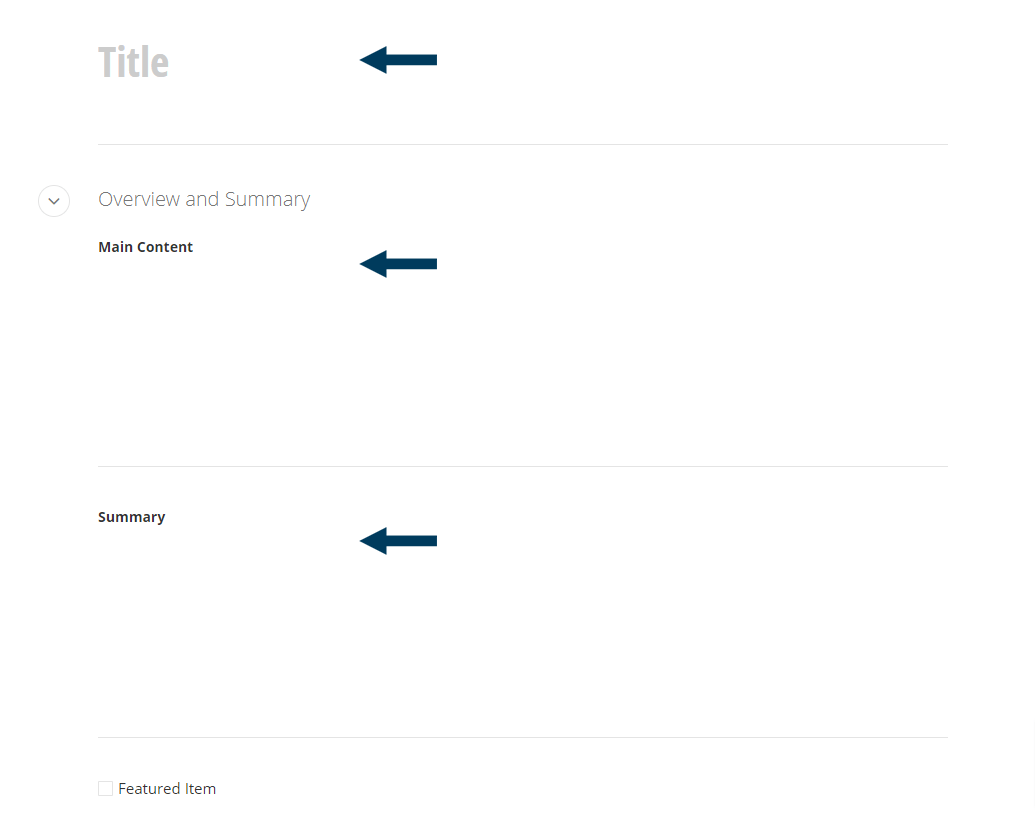
Note: The Title field is the only mandatory field and is used to create the unique URL.
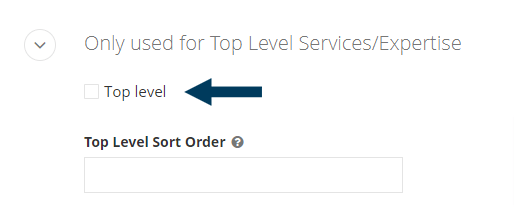
Step 3b: Top Level Services/Expertise.
Click the check box if the service or expertise you are creating is a core service - and not a child service or expertise of another practice area. Top level sort order determines the placement in your list of services. A low number in this field would make this service appear before any with a higher number here.
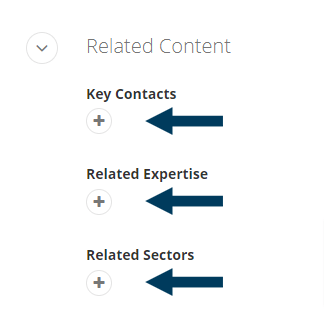
Step 3c: Fill out the optional interlinking fields.
Note: For more specific instructions on how to complete the interlinking fields, refer to the Interlinking Content guides by clicking here.
Related Content:
Related Media:

Step 4: Status the Content.
Using the status bar, make the content live on your website by clicking the Publish button.
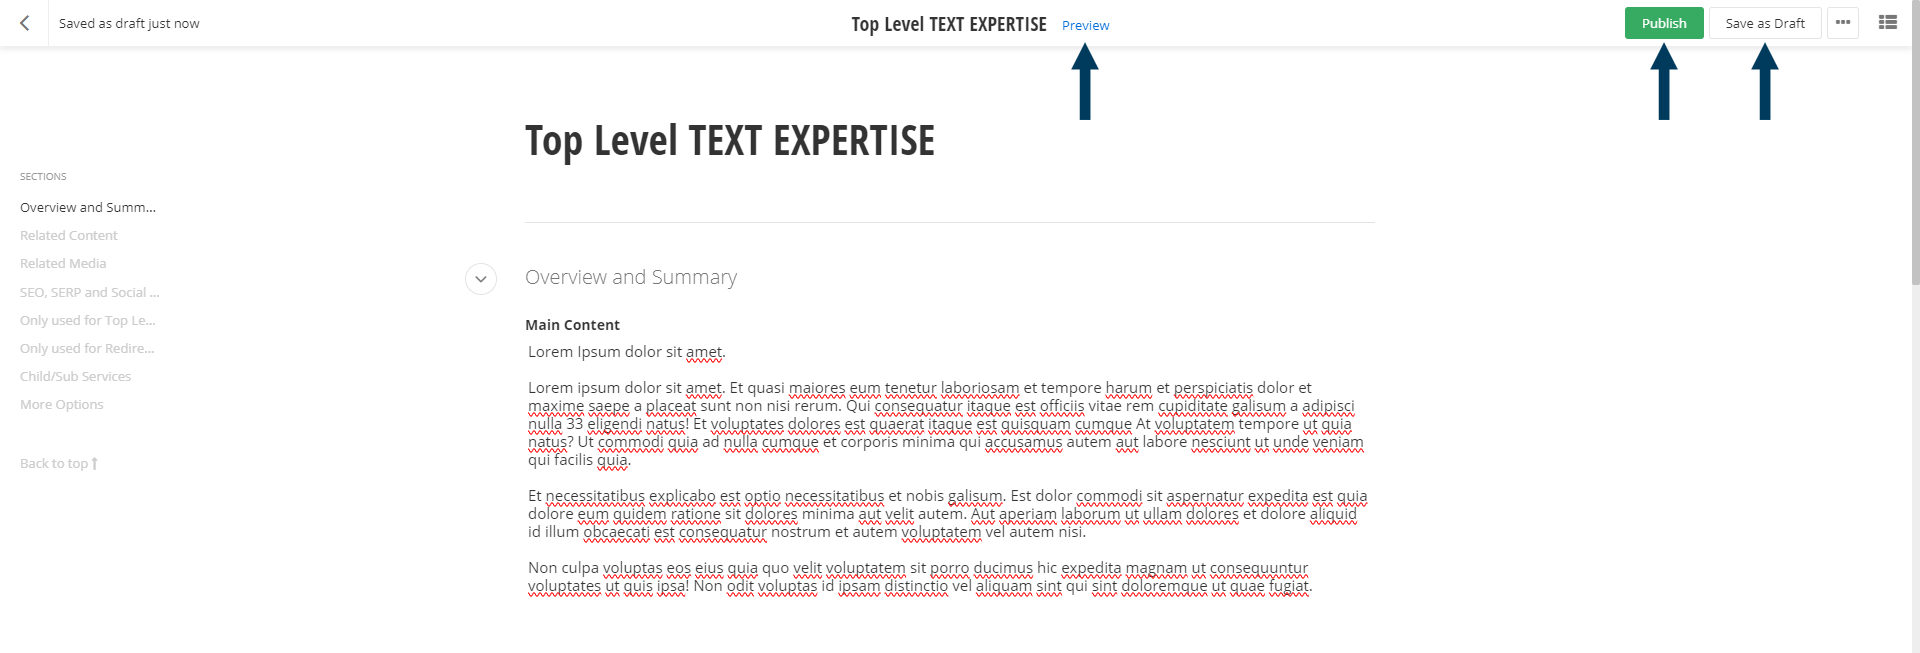
Note: To view the content prior to publishing, you can use the preview feature. This will show exactly how the content will look once published. To preview, click the Preview button (Content must be statused as draft prior to previewing).


