Create a Page
Introduction:
Videos are best viewed full screen at 1080p resolution.
Depending on what version of the CMS your website uses, the Content drop down may display Services instead of Practice Areas.
Video Duration: 04:28
Step by Step Instructions:
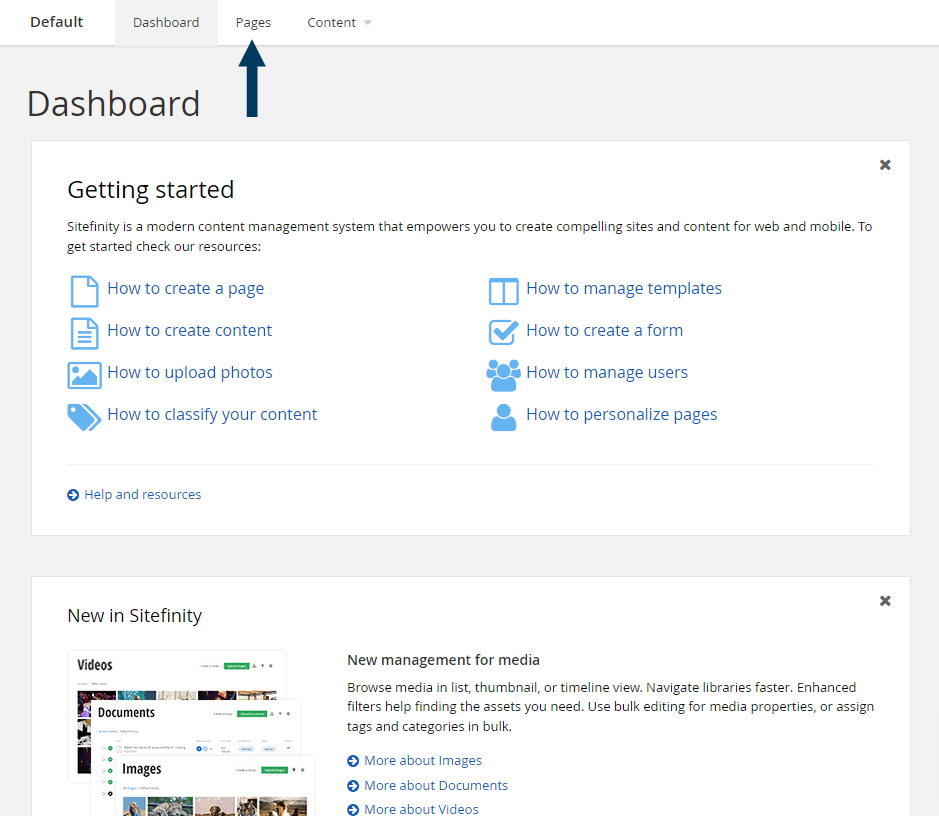
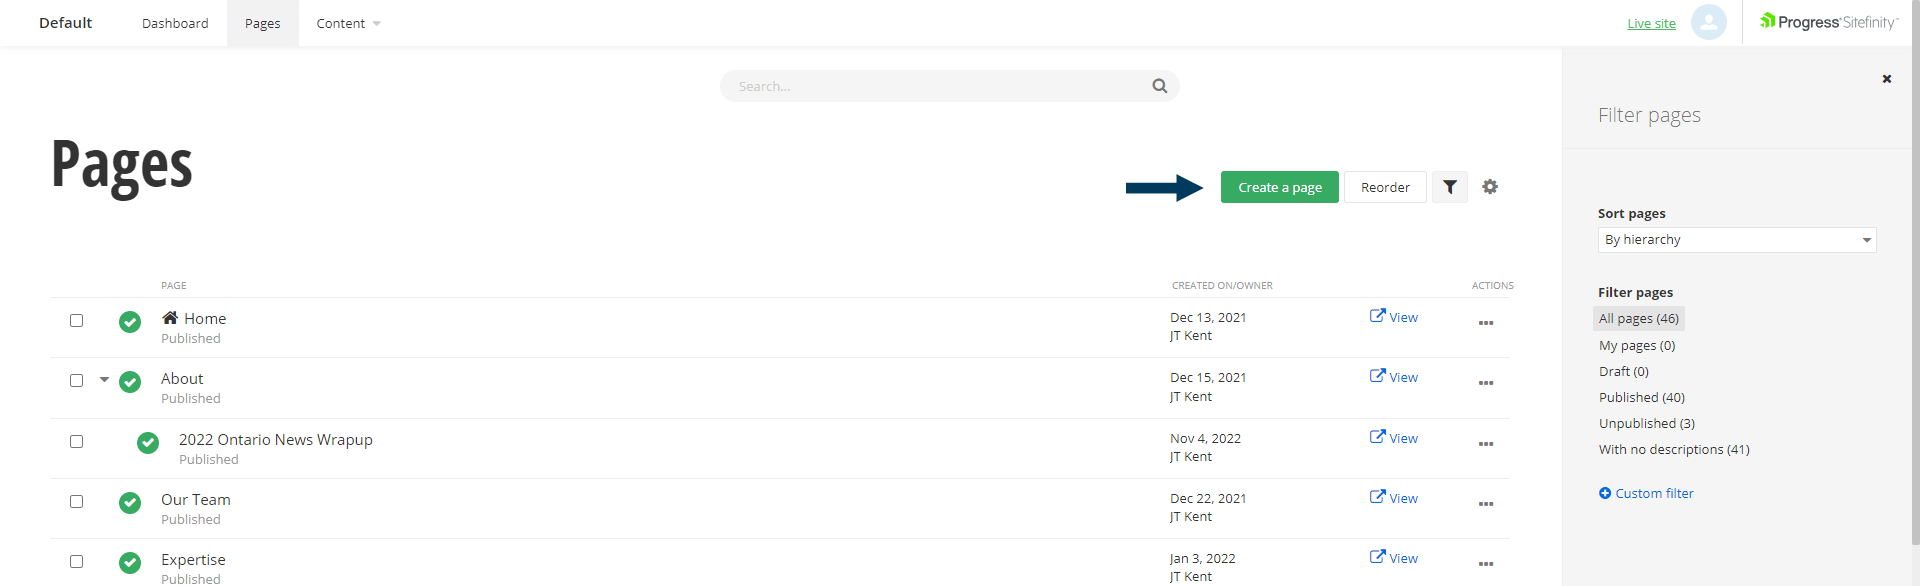
Step 1: From the top navigation, click on the Pages tab, this will bring up a list of all pages currently created in the CMS.
Step 2: To create a new page, click on the Create a Page button. The Create a page dialog will appear.
Step 3: Fill out all of the new page's properties.
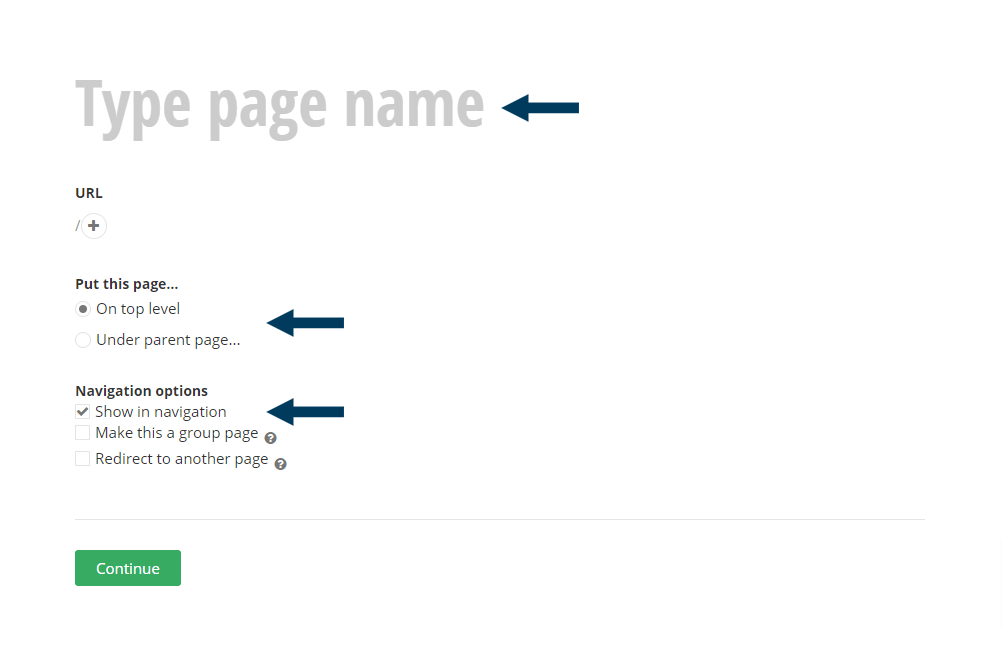
Step 3a: Complete the essential page properties.
| PAGE PROPERTY | OVERVIEW |
|---|---|
| Name | The page name you choose is used by the system to create auto-generated navigation links(The Page URL). It should be as concise as possible, and it will appear in the menu. |
| Url | The URL will be automatically generated by the CMS based on the Page Name. (This can be changed but is not recommended) |
| Put this page | This is a radio selection where you choose:
|
| Navigation | If you uncheck the “Show in navigation” checkbox, the page is not displayed in the automatically generated menu. The other commonly used option is “Use this page only to group other pages.” Checking this option means that this page will not have its own content but will automatically redirect to its first subpage. |
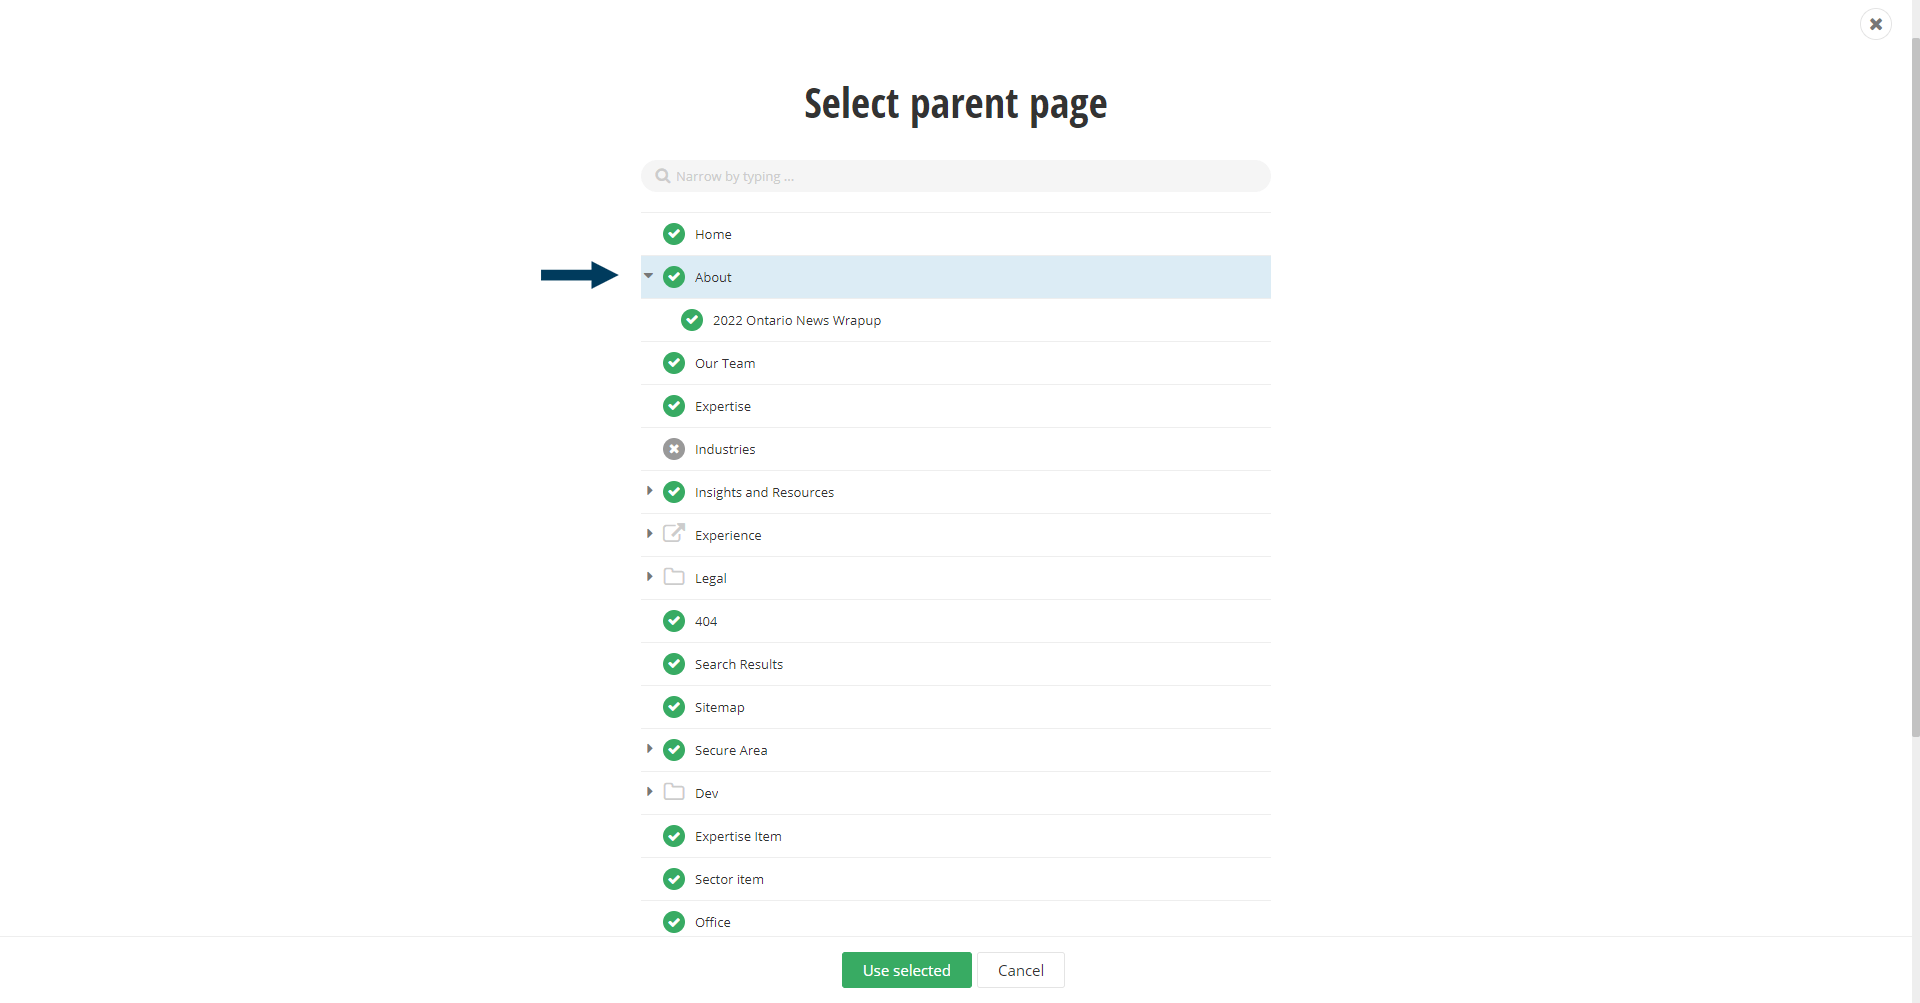
Step 3b: If placing the new page under a parent page in navigation, select the parent by clicking on the Parent Page title, then click the Use Selected button
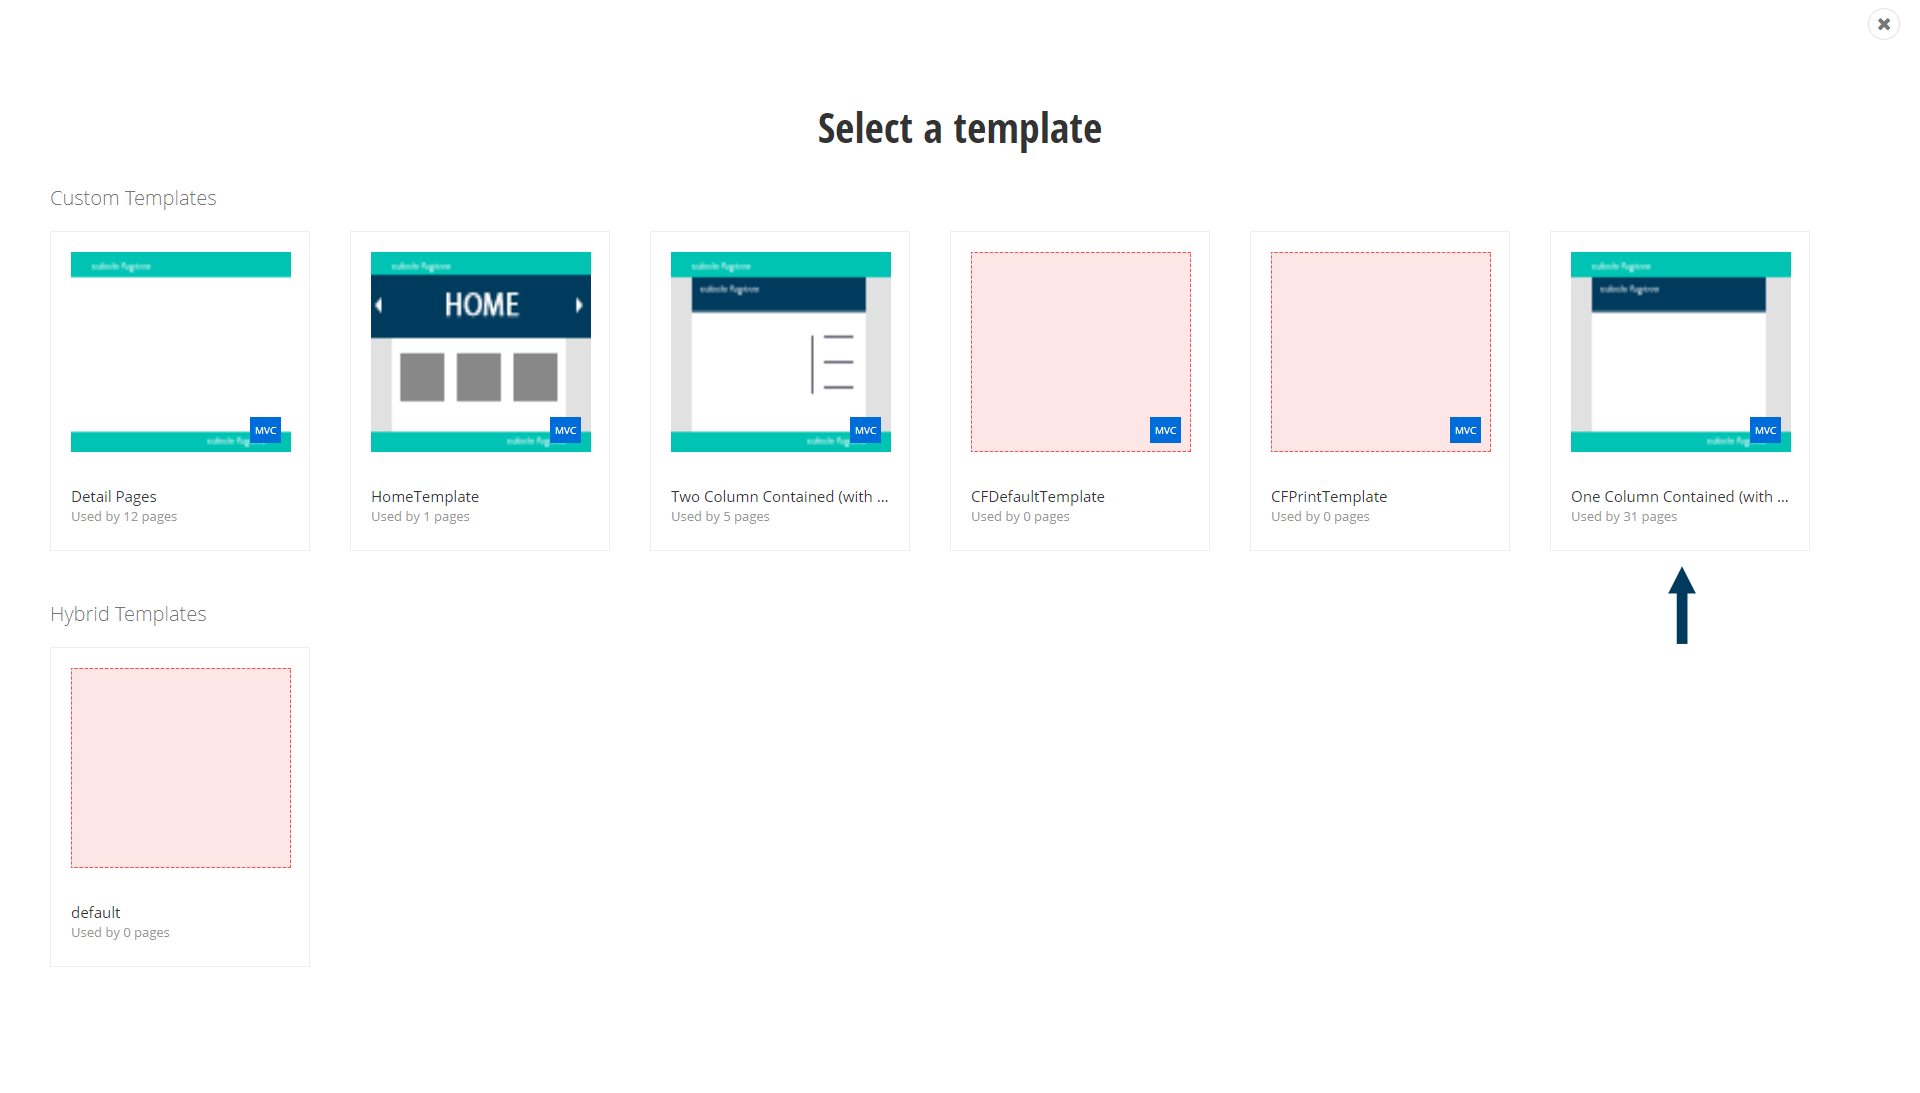
Step 3c: Choose the page template.
Each page on your site is based on a template that we have designed for you. Your site will have more than one template. We will have set the default template to be the most used and recommended when creating a new page. Hover over a template thumbnail, and a Select Template button will appear.
 Step 4: Add content to the page.
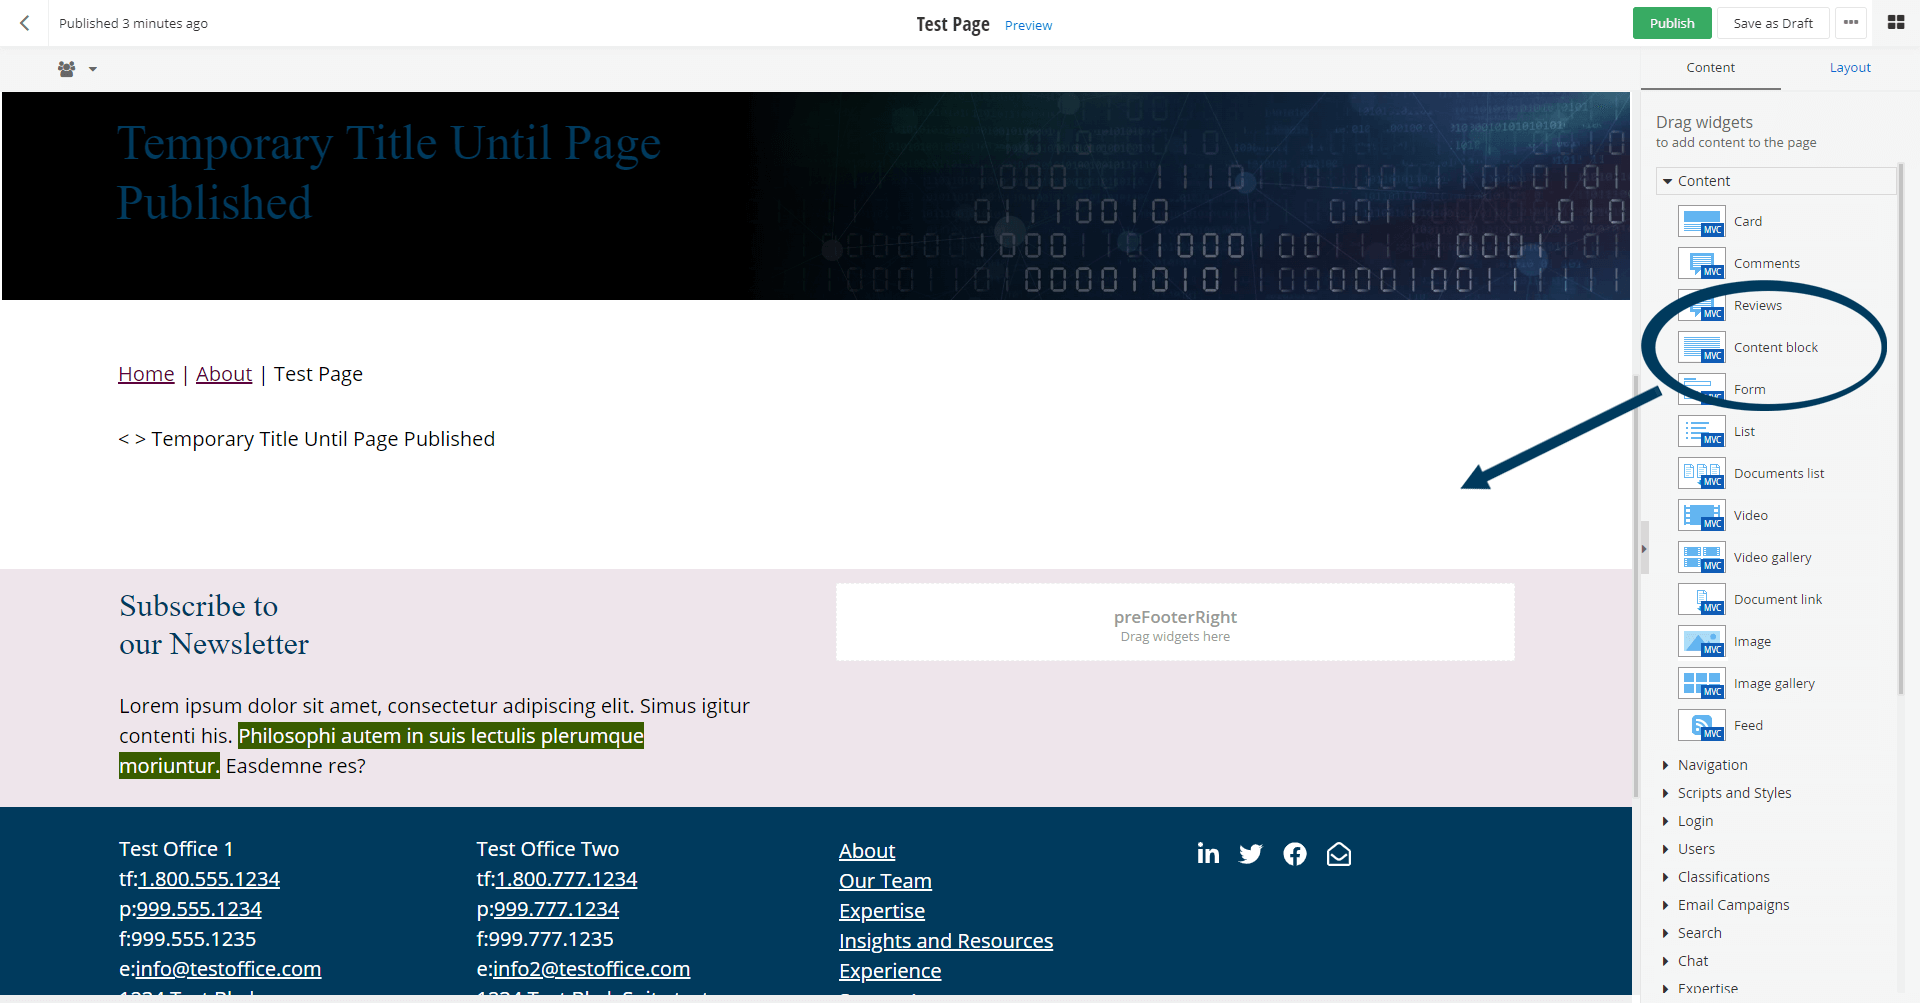
Content mode appears by default when editing a page. Whilst in content mode, you are able to “drag and drop” any widget from the right most column onto the page. Although you can drop widgets outside of the predefined regions (signified by Drag widgets here), it is not recommended because those regions may not contain the core styling applied to the site. It is also important to note that you can stack widgets, meaning that multiple widgets can be placed in the same region.
The most commonly used and most powerful widget you will use is the Content Block.
Note: For detailed instructions on how to use the Content Block and its features, click here.
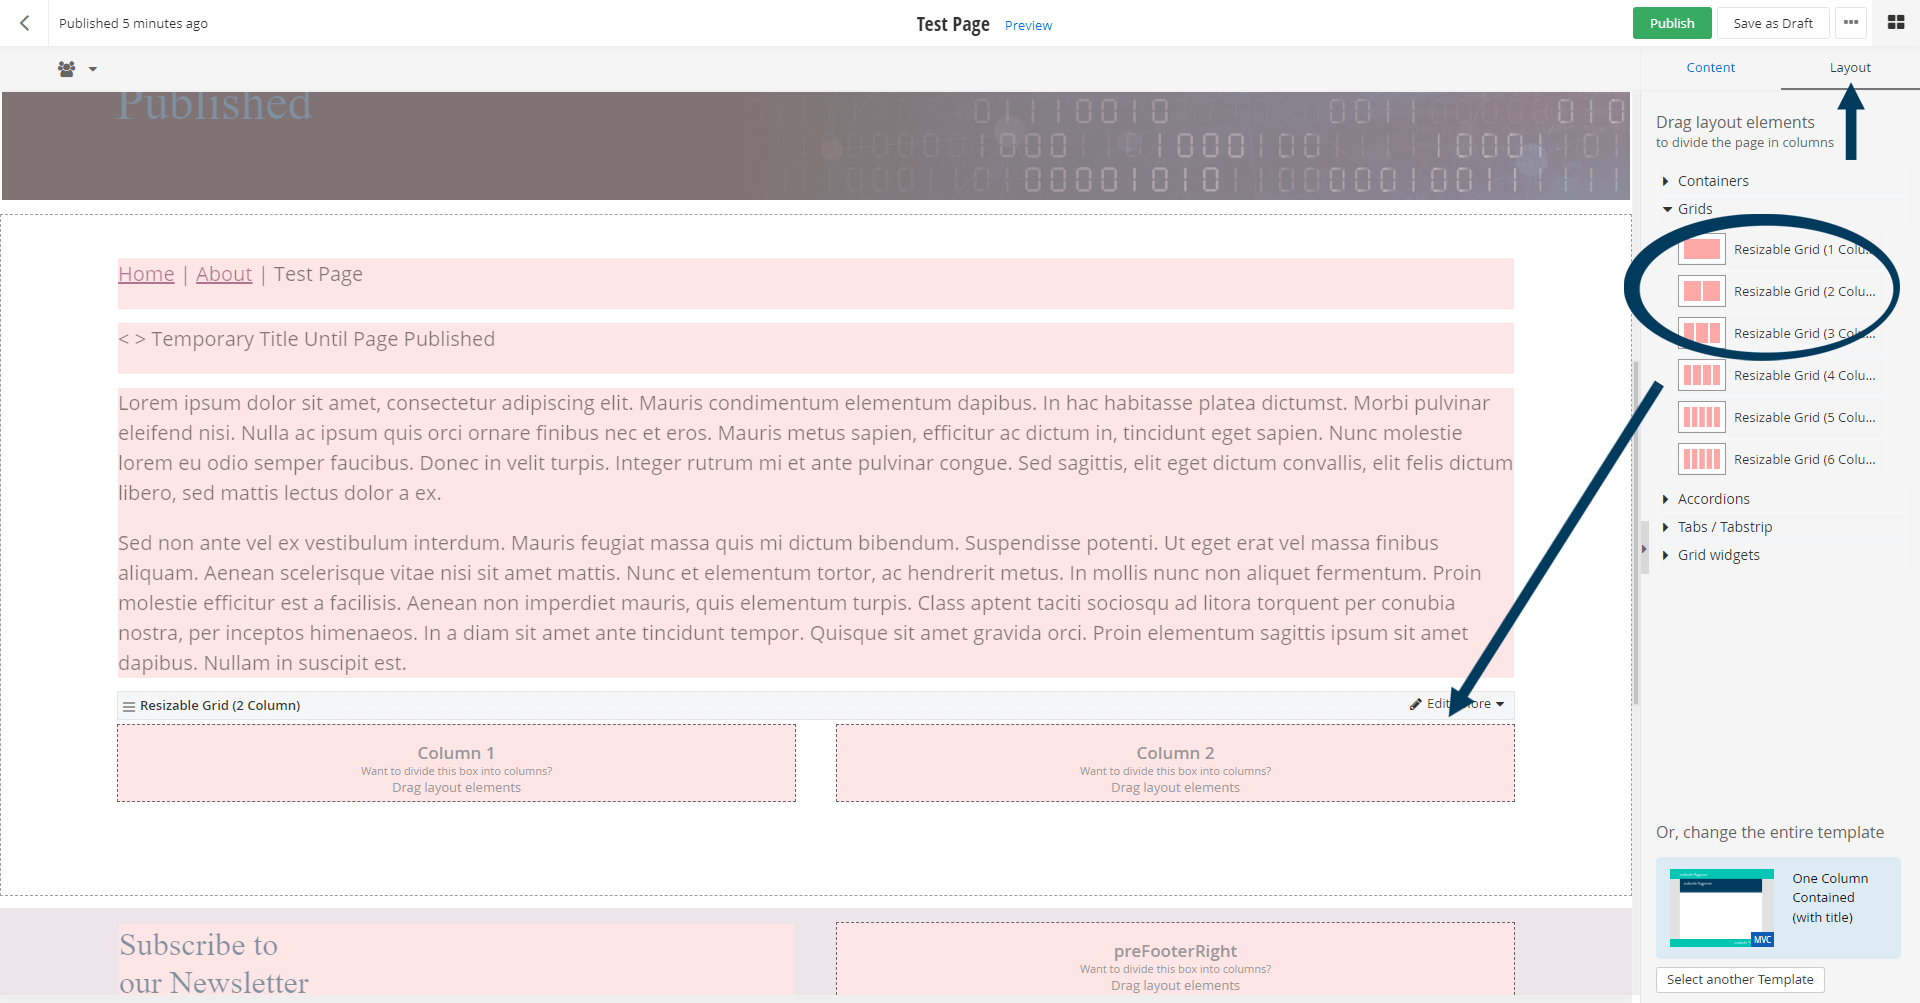
Step 5: Divide the page by using layouts.
To switch a page into “Layout” mode, you can press the layout button. Layout mode allows you to further subdivide your page areas for more flexible layouts. The example below illustrates how you can split the single widget area into two equal parts by dragging a 50-50 layout widget. Once a layout has been added switch back to “Content” mode where you can drag and drop content widgets into these two new layout areas.
Step 6: Preview the page.
You can use the preview feature to view the page prior to publishing. This will show exactly how the page will look once published. To preview, you must first click the grey Save as Draft button. This will make the Preview text link appear at the top center of your browser window.
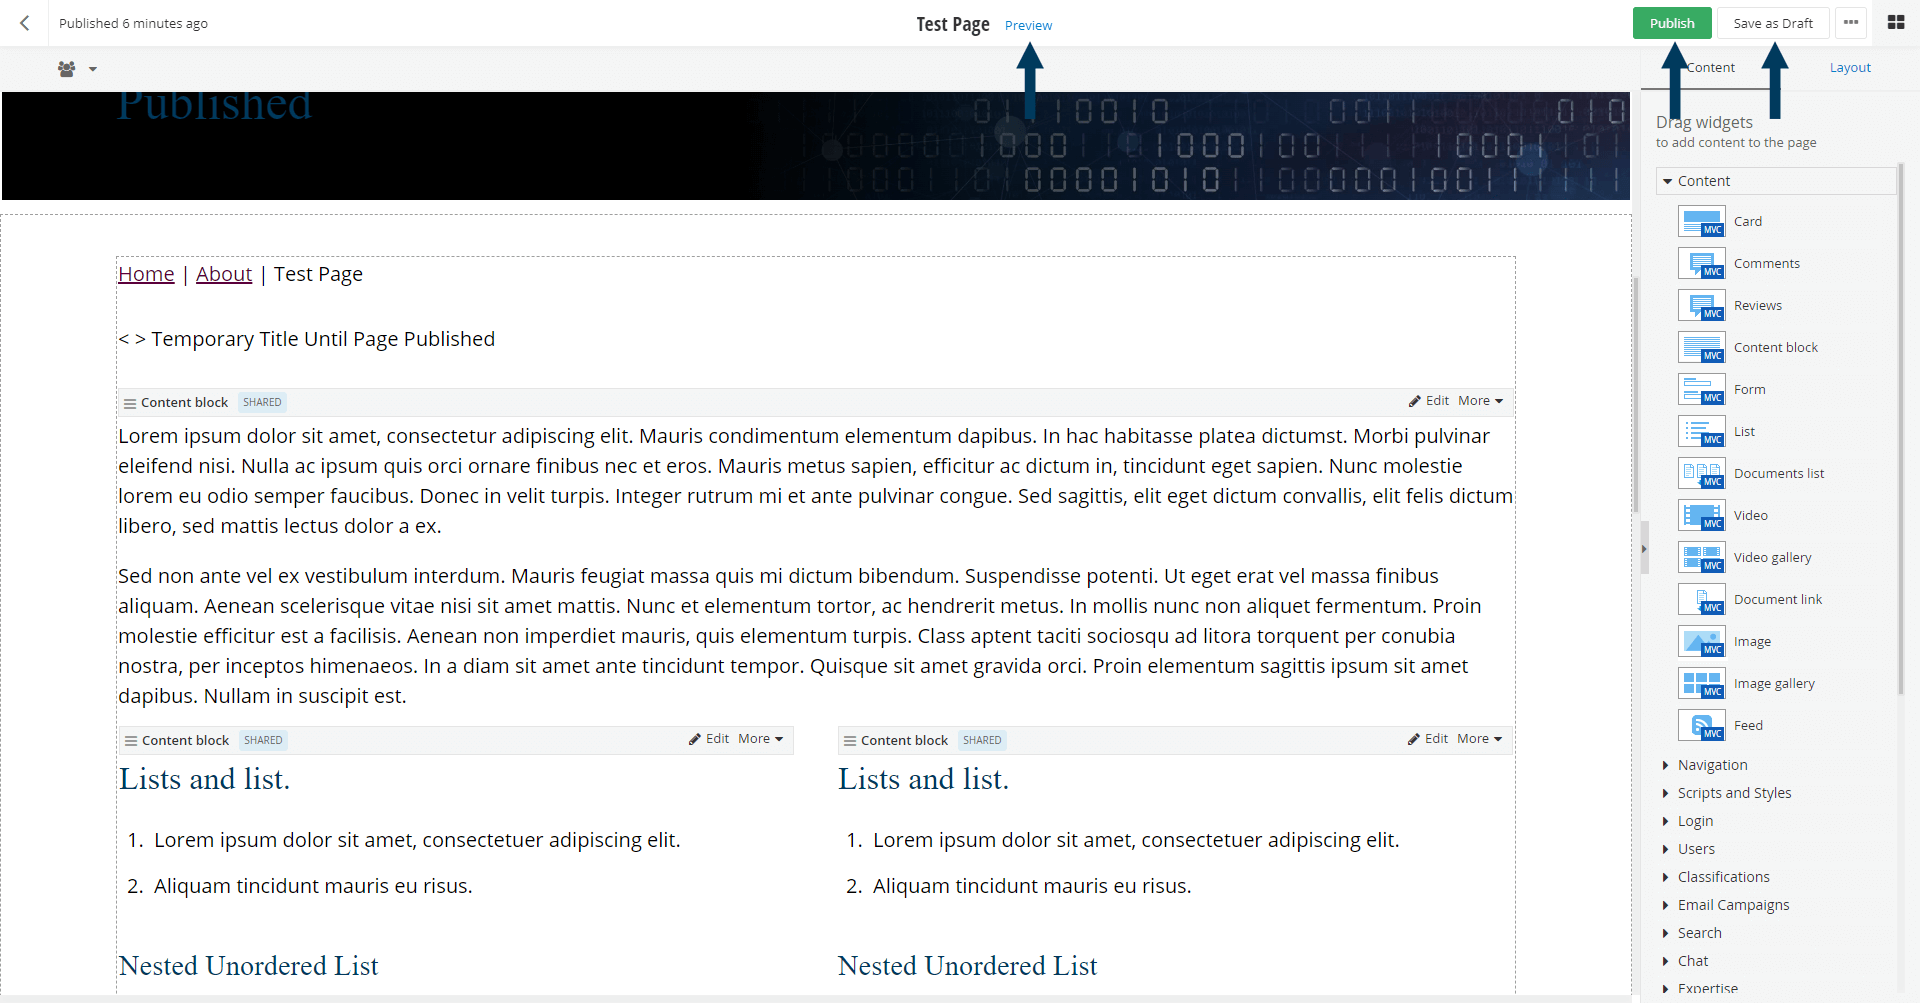
Step 7: Status the page.
Click the Publish button in the status bar to make the page live on your website. Click here for a further explanation of statuses.
Related Videos
-
 05:35
05:35
