Organize Documents
Introduction:
Videos are best viewed full screen at 1080p resolution.
Video Duration: 04:37
Step by Step Instructions:
Step 1: From the top navigation, click on Content drop down and then Documents & Files.
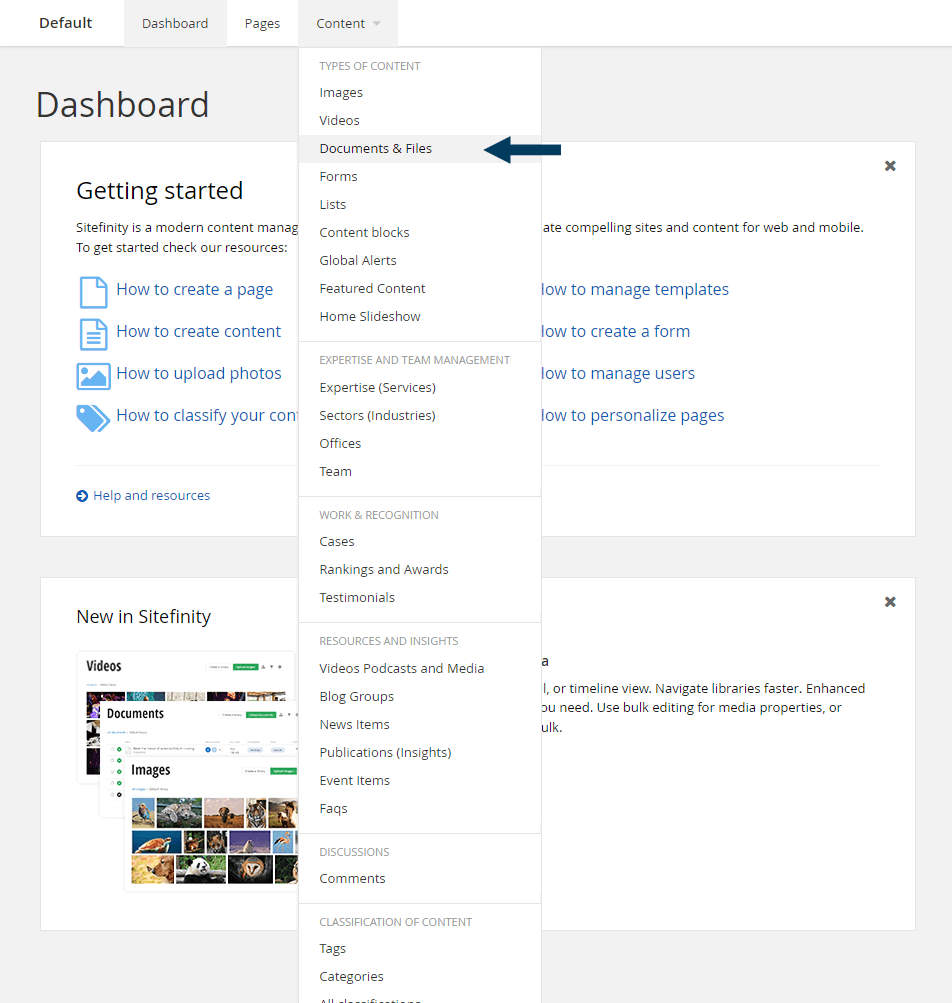
This will bring up the Documents view that shows all document libraries.
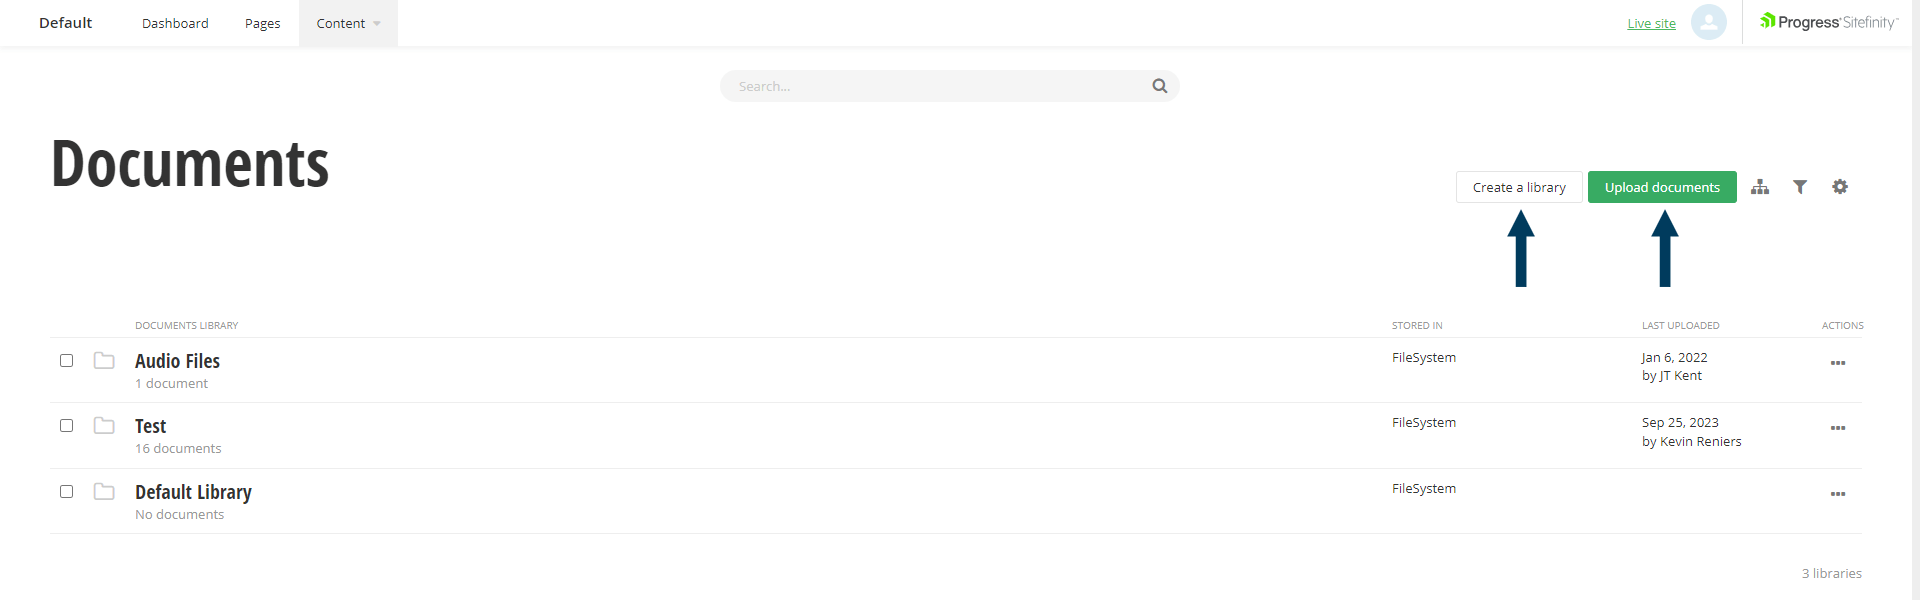 Step 2: Create a library/libraries.
Click the Create a library button to bring up the library creation dialog.
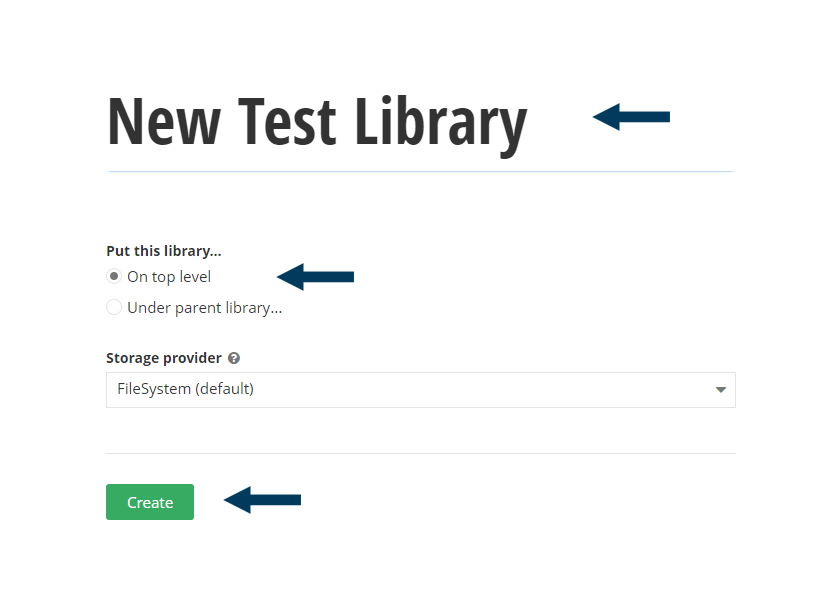
Step 2a: Create a Parent Library.
The first step in creating a parent library is to fill in the new Library name field, optional fields such as description are not required. Leave the "On top level" radio button checked and click the Create button
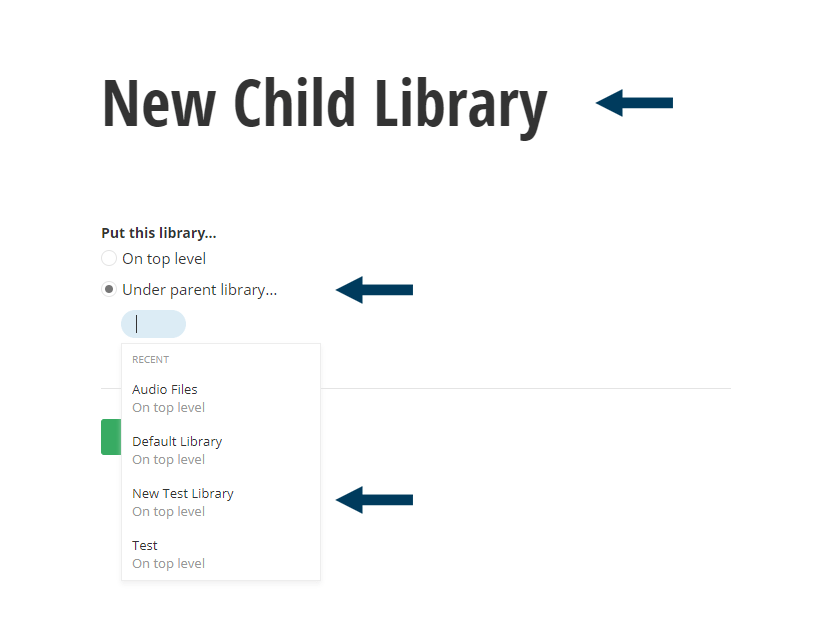
Step 2b: Create a Child Library.
Similar to creating parent libraries, the first step in is to fill in the new Library name field. Check the "Under parent library..." radio button to bring up the select a library dialog. In the "select document library" dialog highlight the library you wish to place this new library under and click the Create button.
Step 3: Upload your document(s).
You could browse into the library/child library you wish to upload documents to and then click the Upload Documents button or click it from default/parent list page. You will have the ability to confirm which library to store the document within before confirming the upload.
For complete details on how to upload a document refer to the Upload Multiple Documents video.
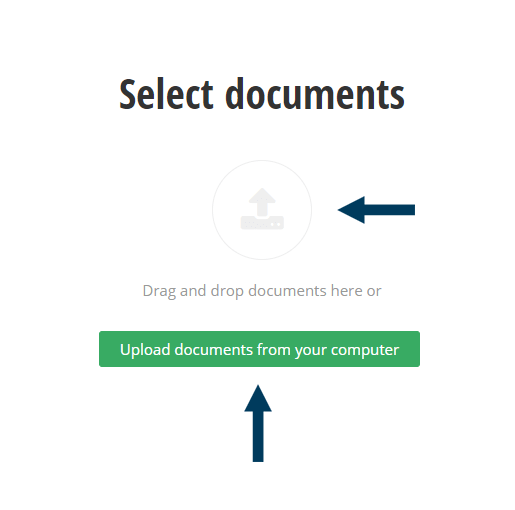
Step 3a: Drag and Drop files or Select files from Computer
You could drag and drop multiple files onto the Upload icon, or use the Upload documents from your computer button to open your file explorer.
Step 3c: Confirm Library/Child Library for file storage.
Step 3d: Click Upload and Publish and close dialog once complete.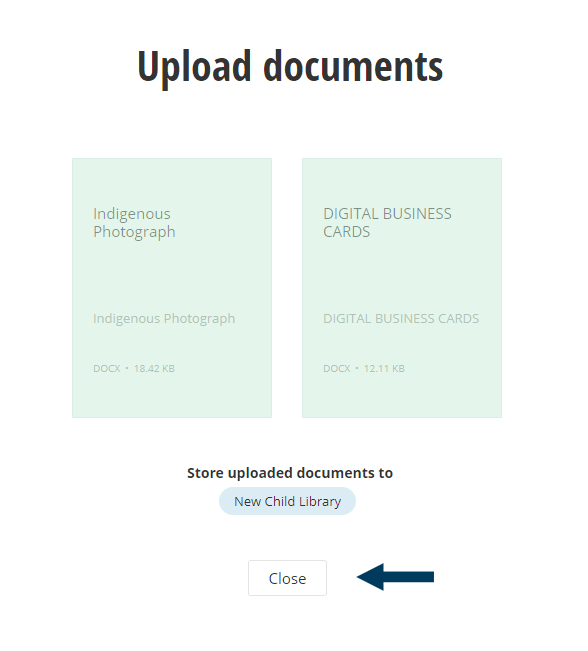
Related Videos
-
 03:46
03:46 -
 07:27
07:27

