Upload an Image - Inline with Text
Introduction:
Videos are best viewed full screen at 1080p resolution.
Refer to the video below.
Video Duration: 04:16
Step by Step Instructions:
Step 1: Drag on a "Content Block" widget or start editing a "Rich Content" field inside of a module and bring it into "Edit" mode.
Note: If you are editing "Rich Content" inside a module input it is already in Edit mode.
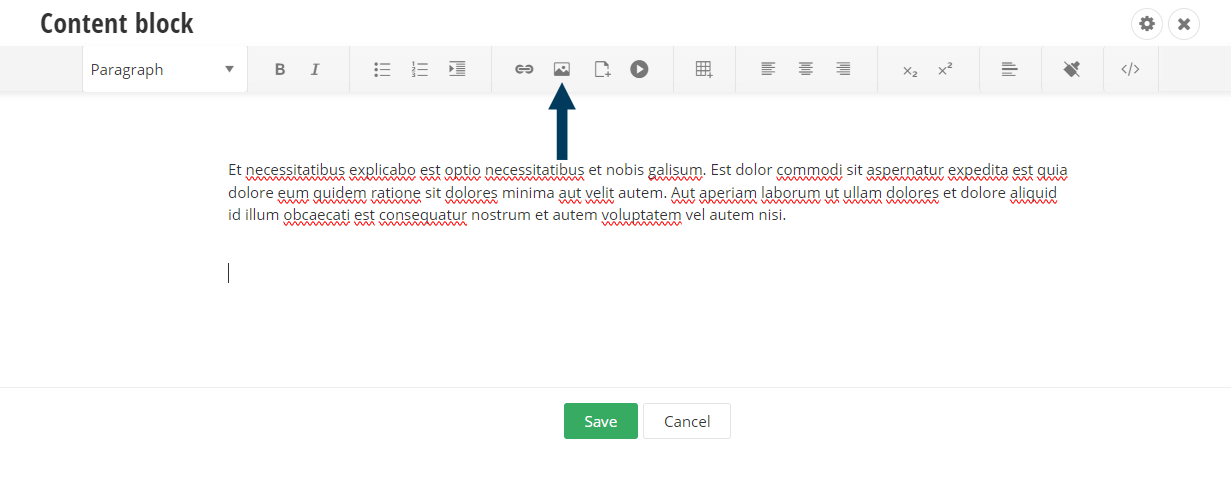
Step 2: Add an image by clicking the Image Manager icon. This will open the Select an Image dialogue screen.
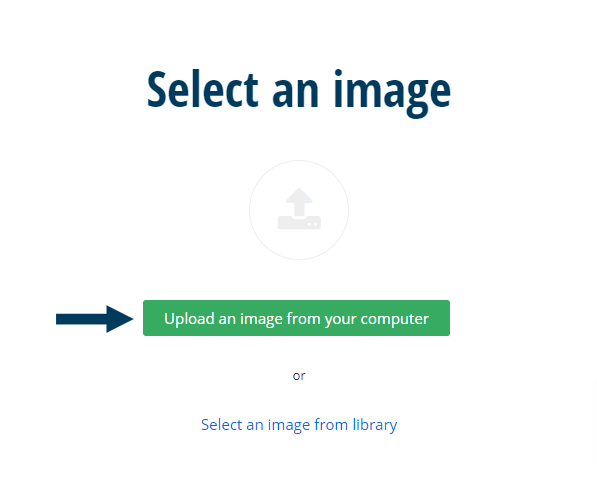
Step 3: Click on the Upload an image from your computer button.
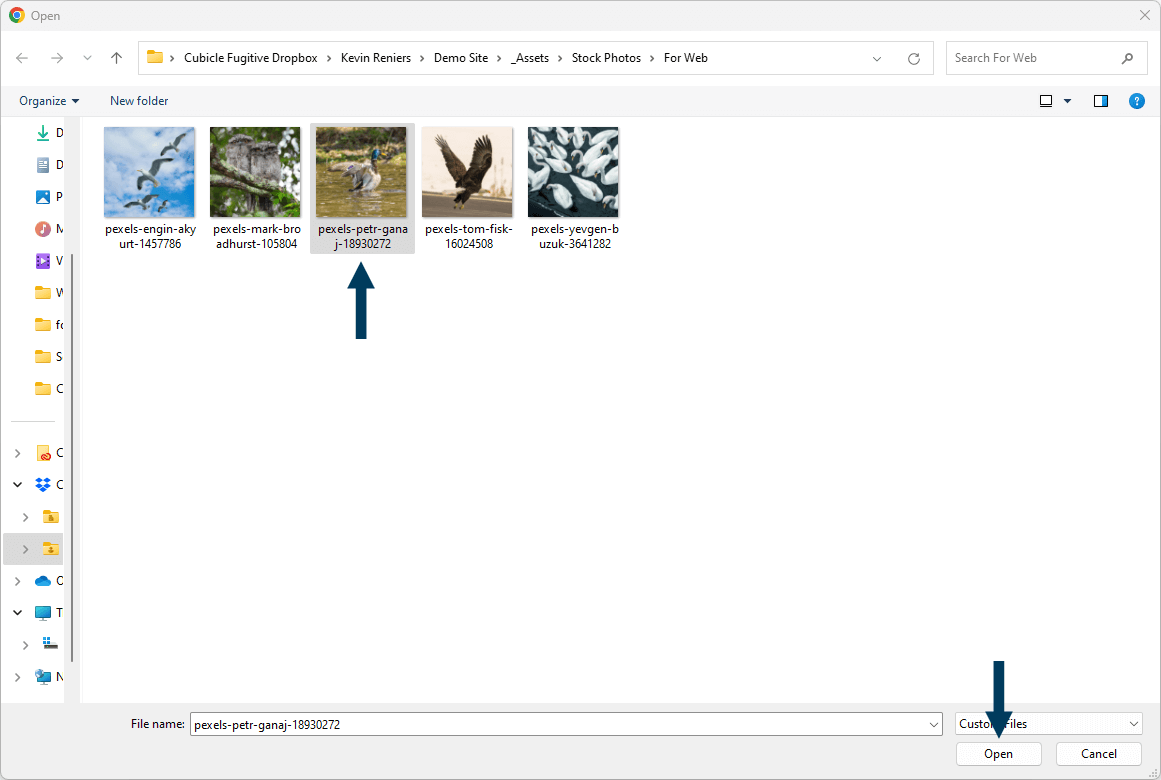
Step 4: Find the image on your computer.
Browse to the image on your computer you wish to upload, highlight it, and then click the Open button.
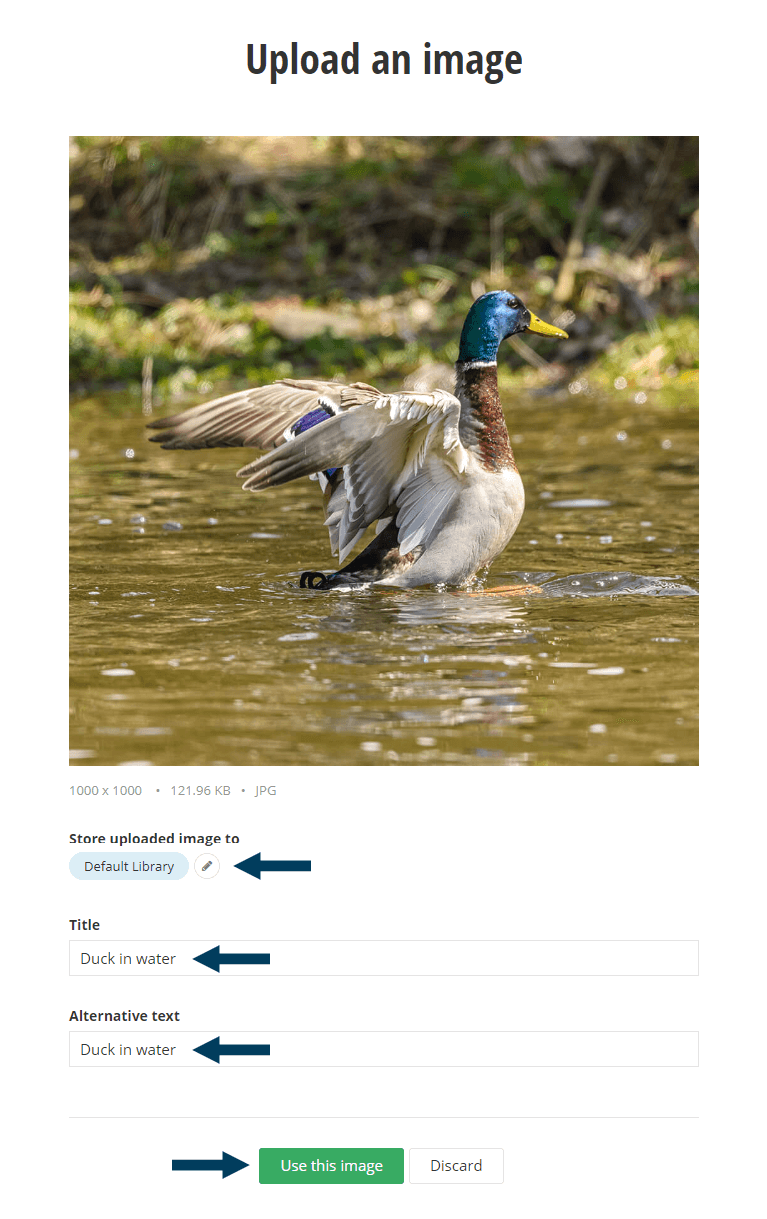
Step 5: Image Properties.
Select the library where your new image will be stored. Title the image and fill in the alternative text field. Then click the Use this image button.
Step 6: Save the content block.
Your new image should now be visible in your content block (or rich content field). You can play with the image alignment and position within the block/field. Then click the Save button.
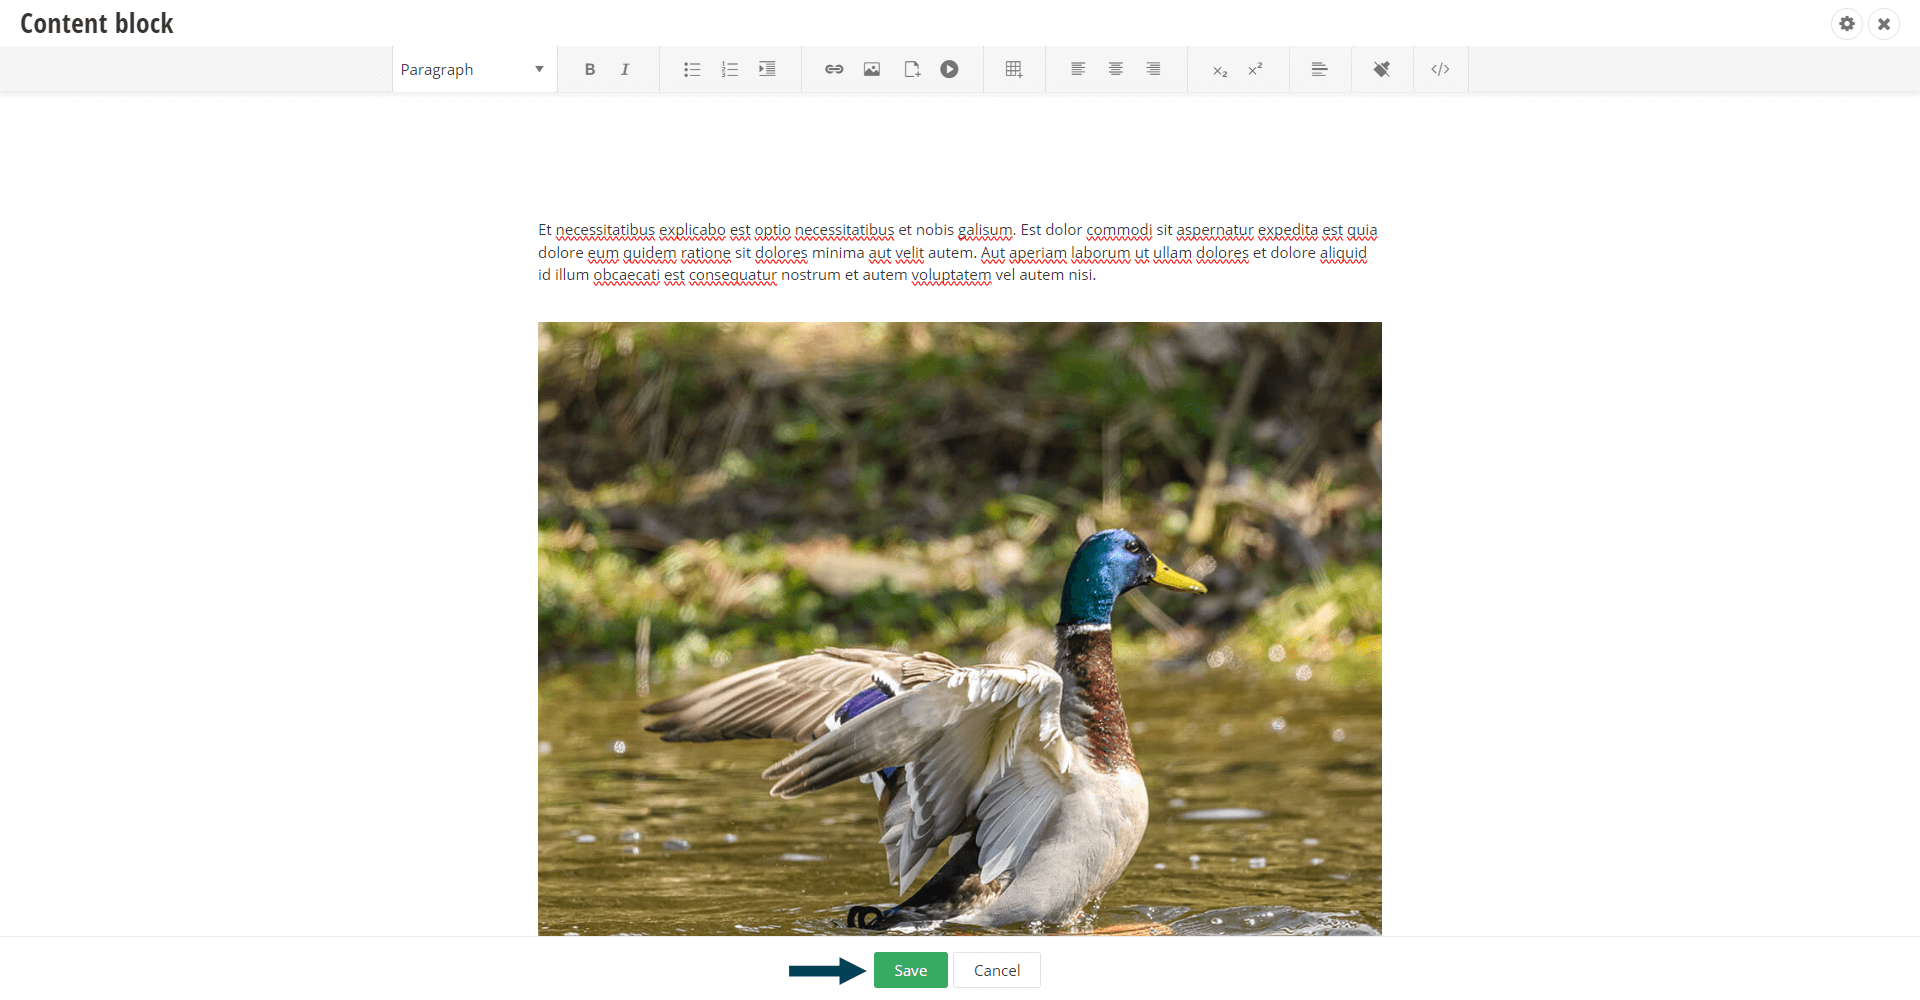
Note: This step is not required if you are editing rich content within a module.
Step 4: Status the Page/Content.
Using the status bar, make the page/content live on your website by clicking the Publish button.
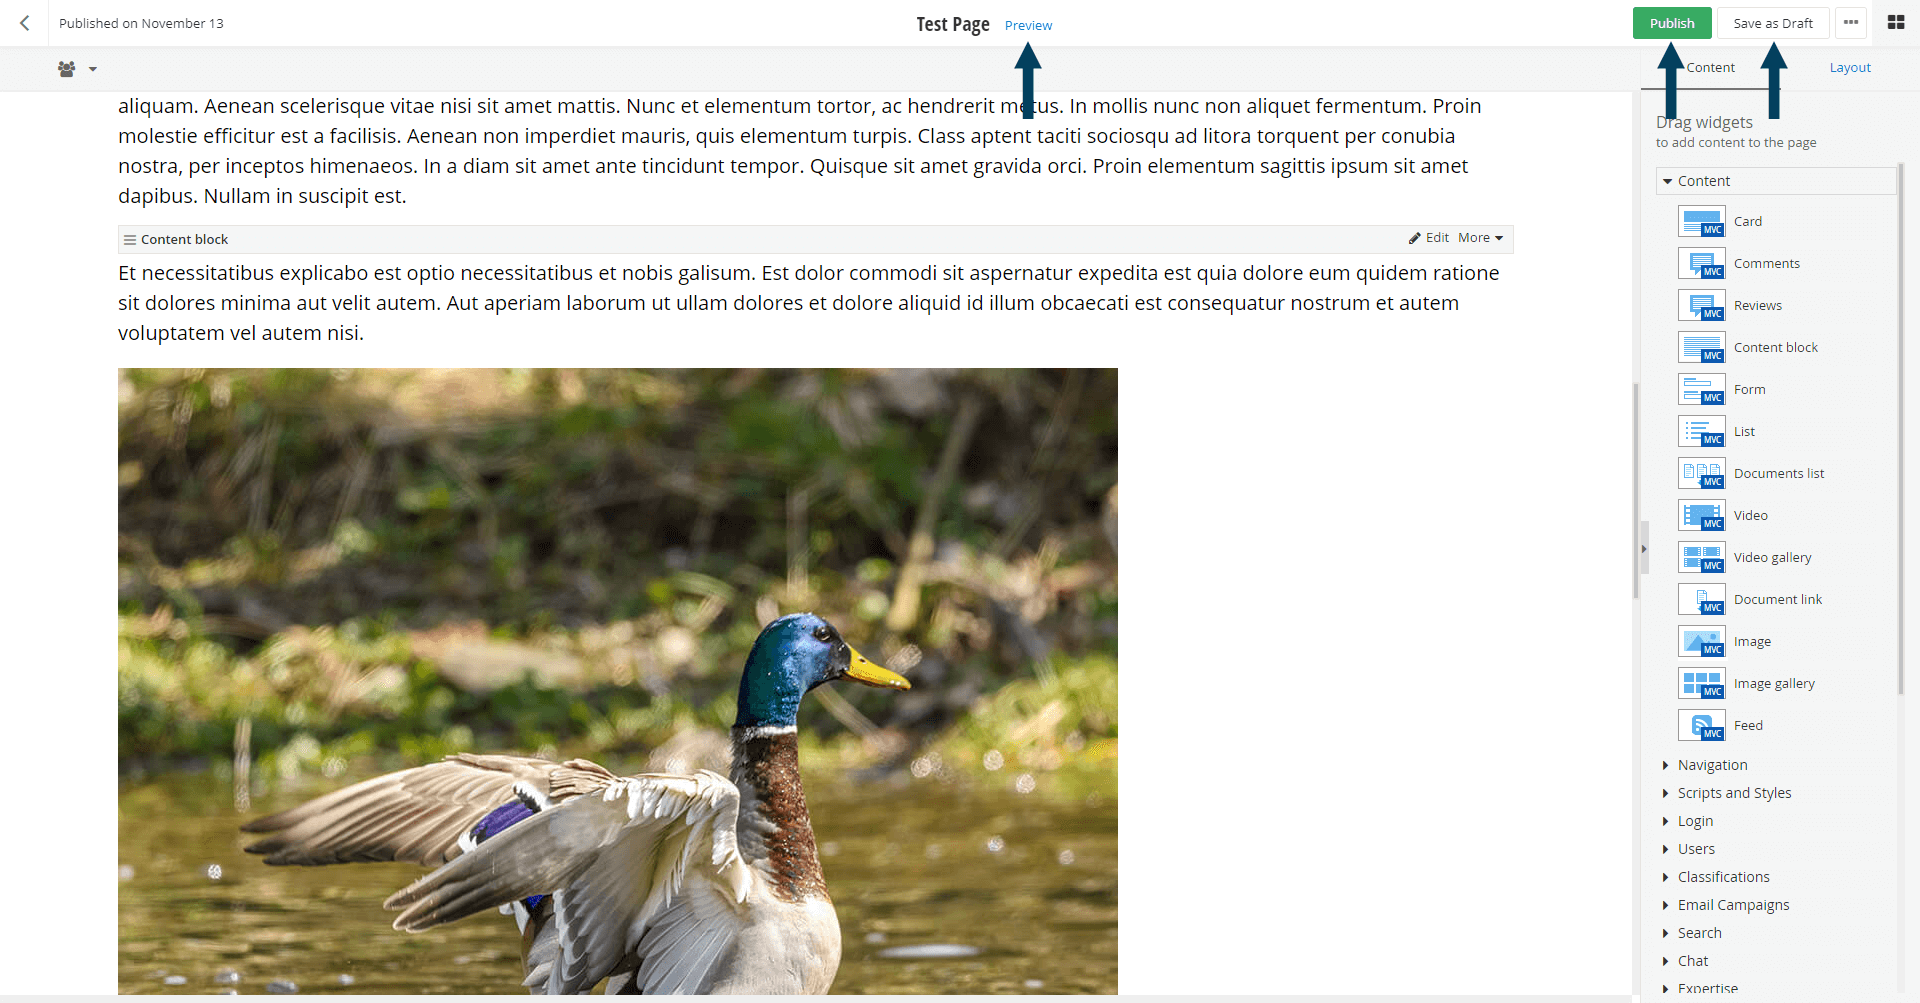
Note: To view the content prior to publishing you can use the preview feature. This will show exactly how the content will look once published. To preview click the Preview button (Content must be statused as draft prior to previewing).
Related Videos
-
 02:59
02:59 -
 05:04
05:04


