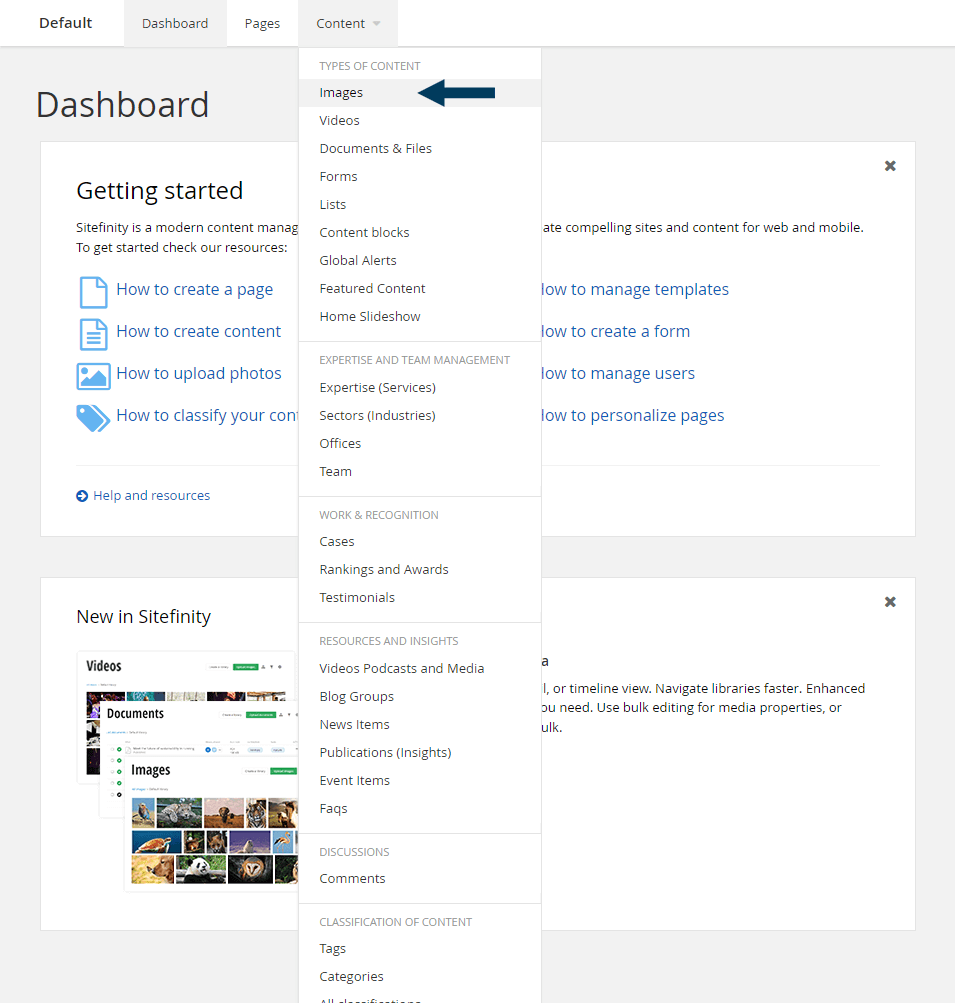
Step 1: From the top navigation, click on Content drop down and then Images.
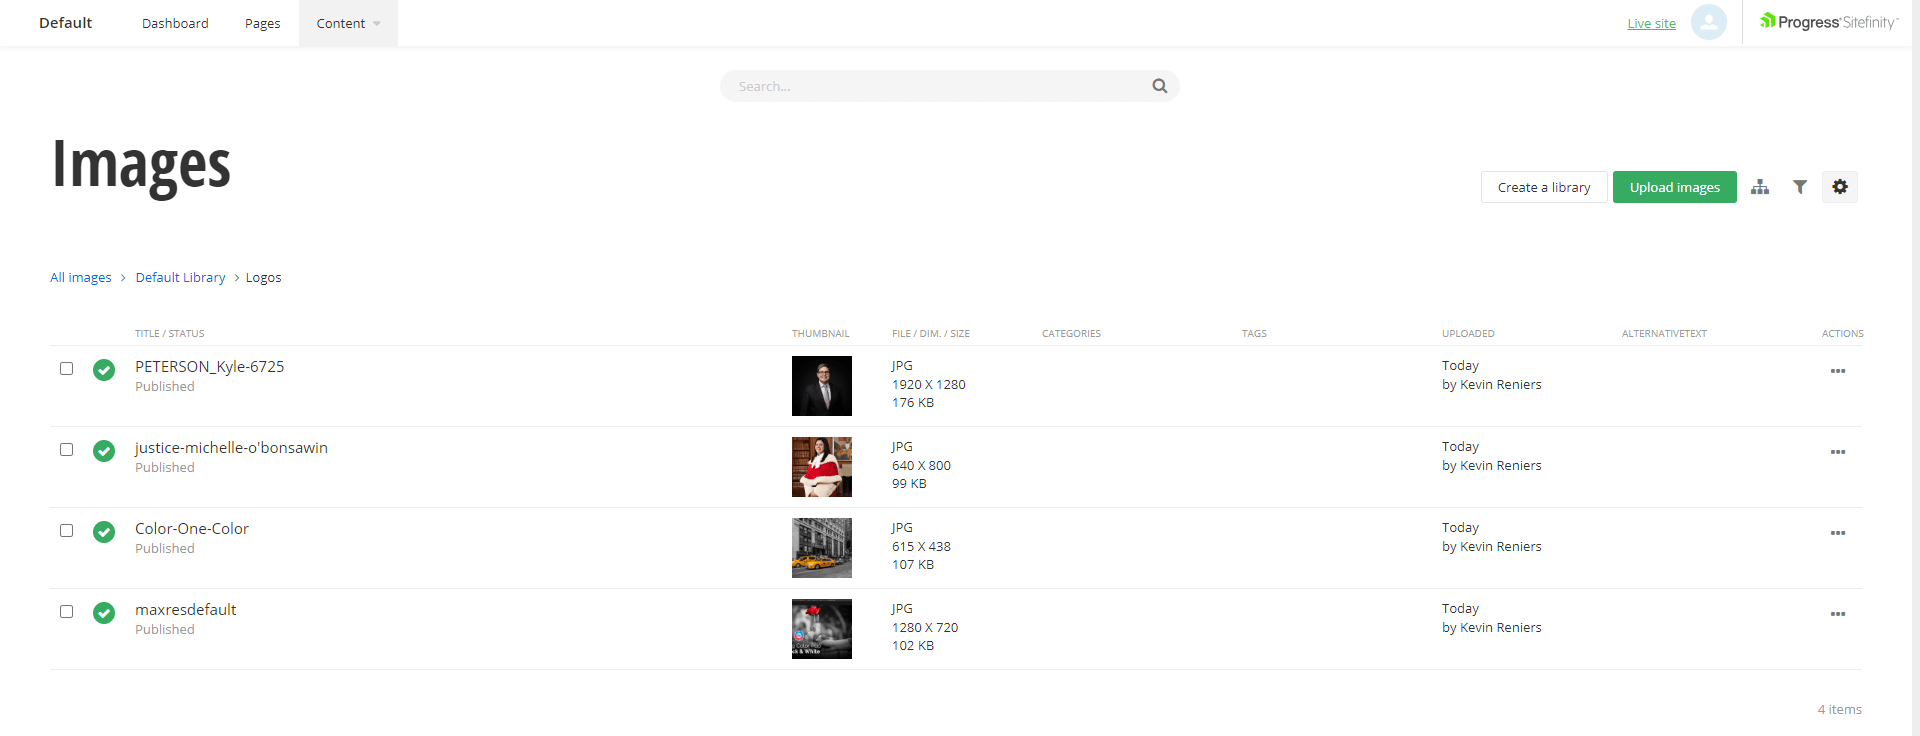
This will bring up the Images view that shows all image libraries.
Step 2: Browse to a library.
Click the name of the library you wish to upload images into (continue to navigate down to child libraries in the same manner if necessary).

Step 3a: Upload Images.
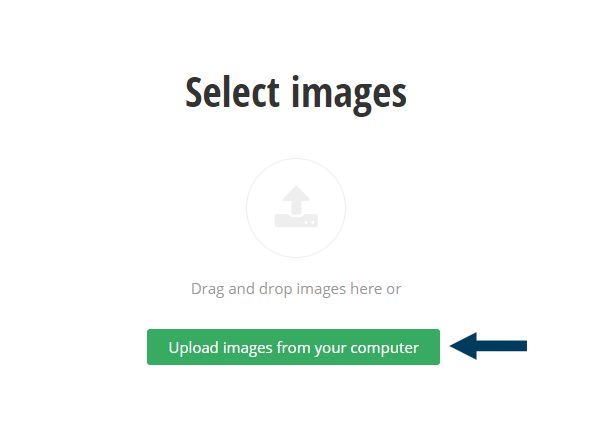
Click the Upload images button which will bring up the Images Upload dialog. Now click the Upload images from your computer button.
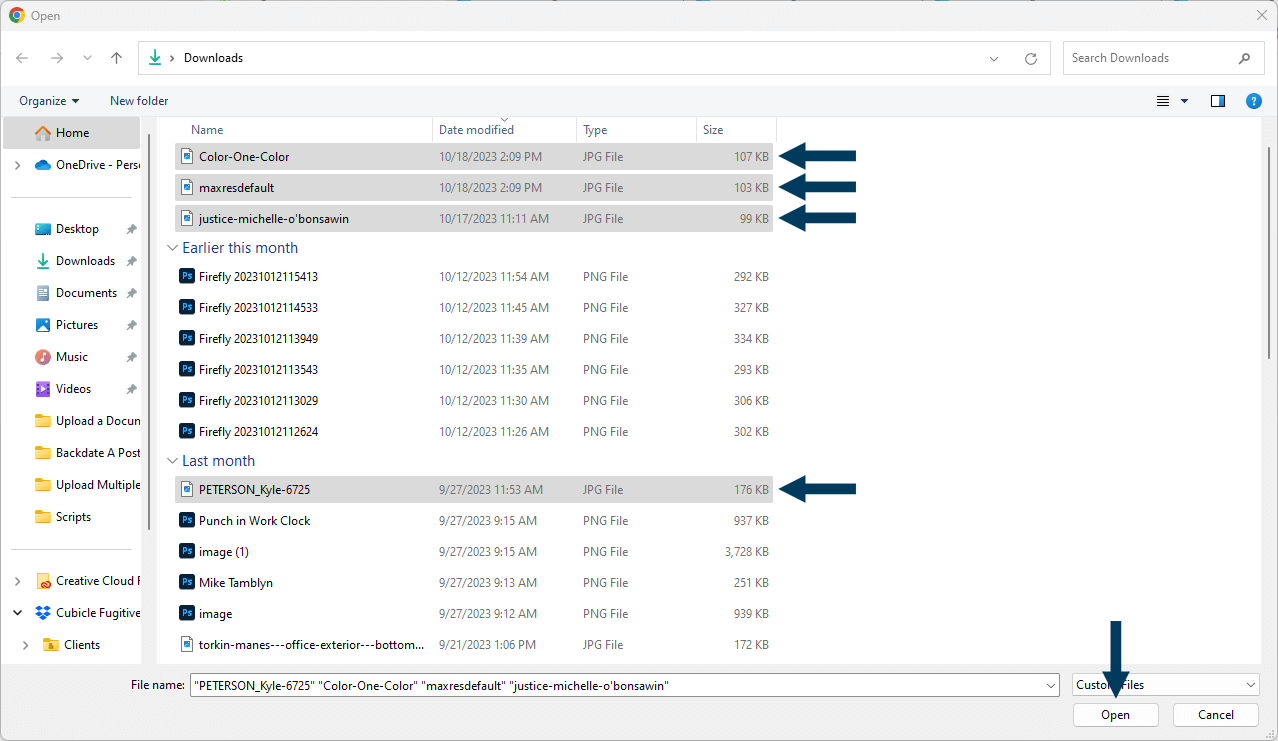
Step 3b: Browse to a folder on your computer and highlight one or more images that you wish to upload. Once the images have been highlighted click the Open button.
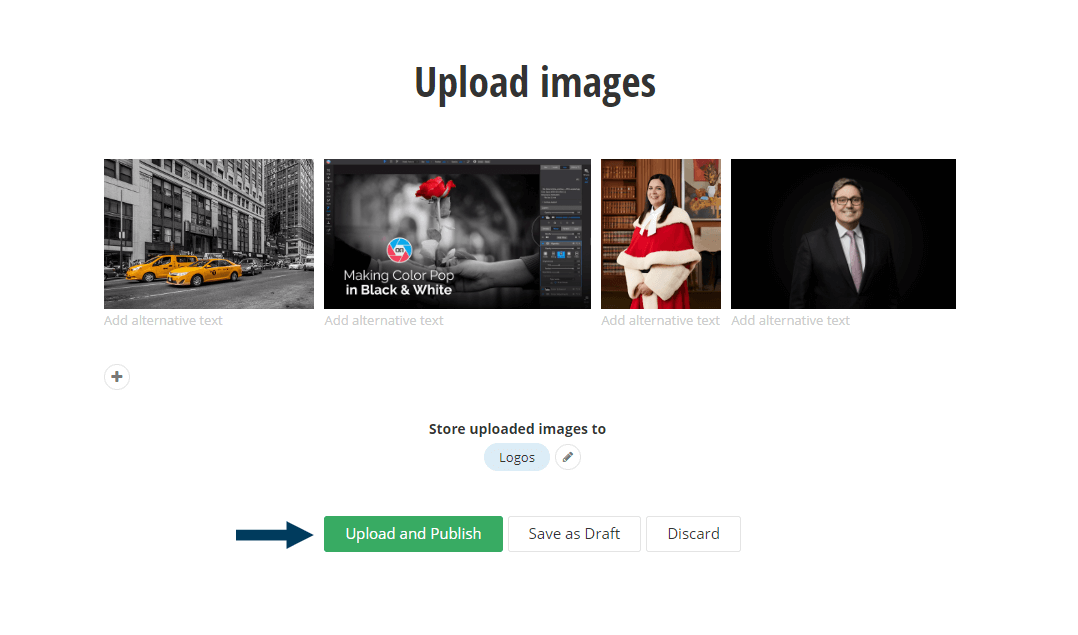
Step 3c: Alternative Text and Library.
You should now see a preview of all the images you selected. You can add 'alternative text' for each image by typing in the small box under each image thumbnail. The library you were inside before hitting the upload images button should already be filled in as the library for storing the images - you could change the library for storage if necessary. When ready, click the Upload and Publish button.
Step 4a: Finishing.
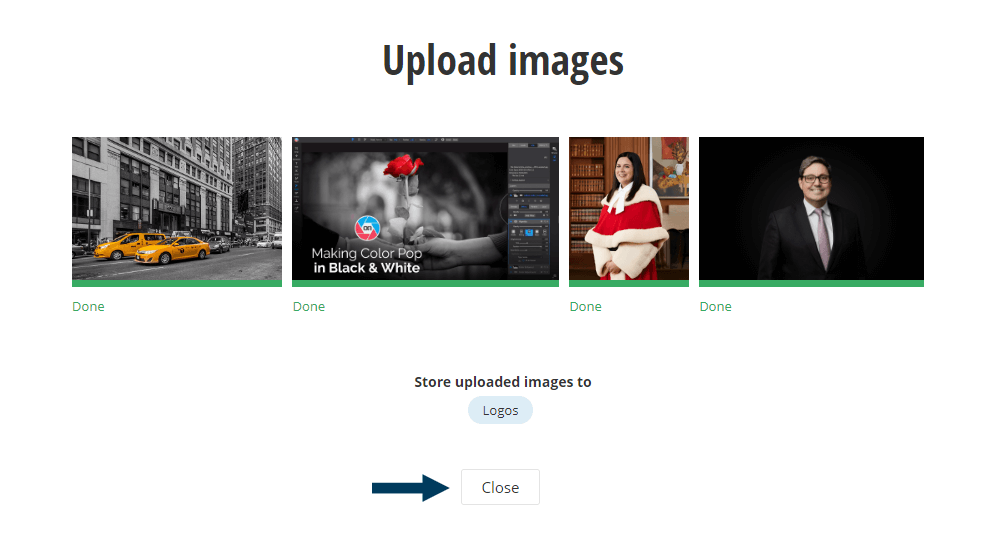
A green status bar will appear under each image. When the images are finished uploading the green bar will be the full width of the image, and the word Done will appear under each image. Once the images have finished uploading, click the Close button.
Step 4b: Back in the image library.
This will return you to the image library you were inside before clicking the Upload Images button. You should see your uploaded images.
