Replace an Image
Introduction:
Videos are best viewed full screen at 1080p resolution.
Depending on what version of the CMS your website uses, the Content drop down may display Services instead of Practice Areas.
Video Duration: 03:10
Step by Step Instructions:
Step 1: From the top navigation, click on Content drop down and then Images.
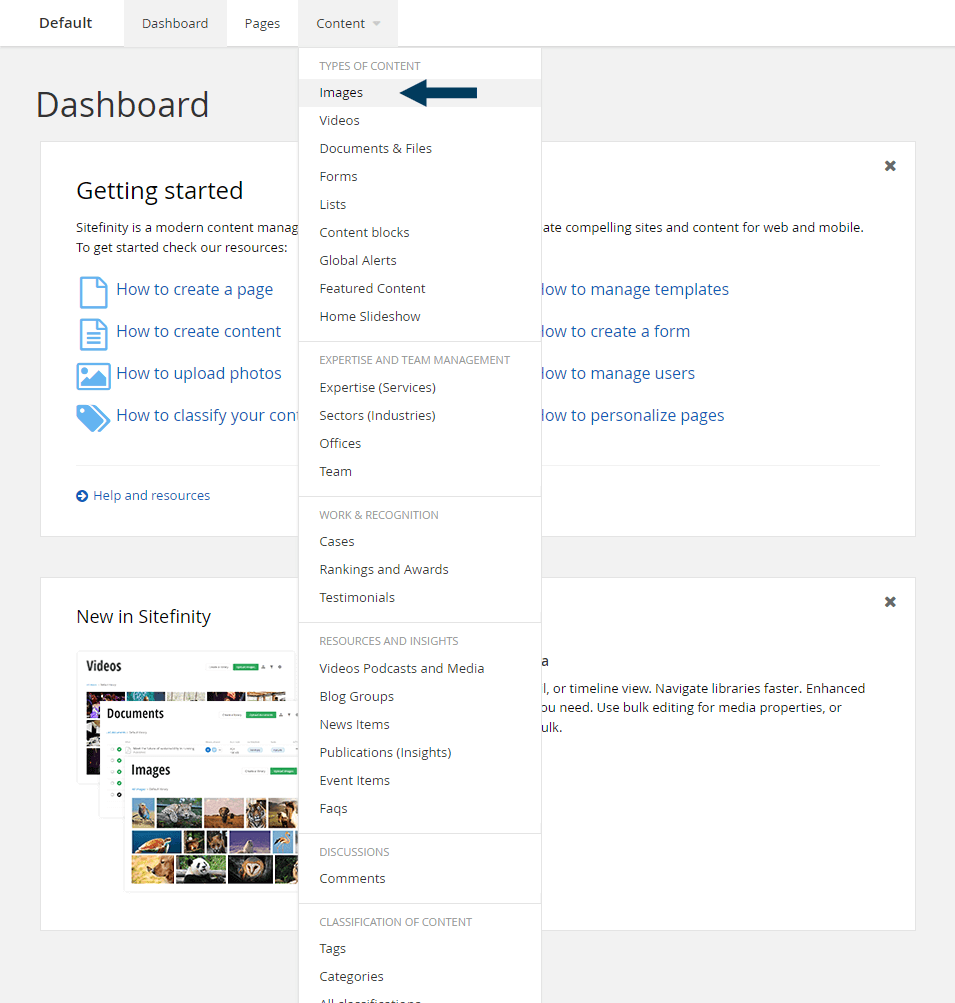
This will bring up the Images view that shows all image libraries.
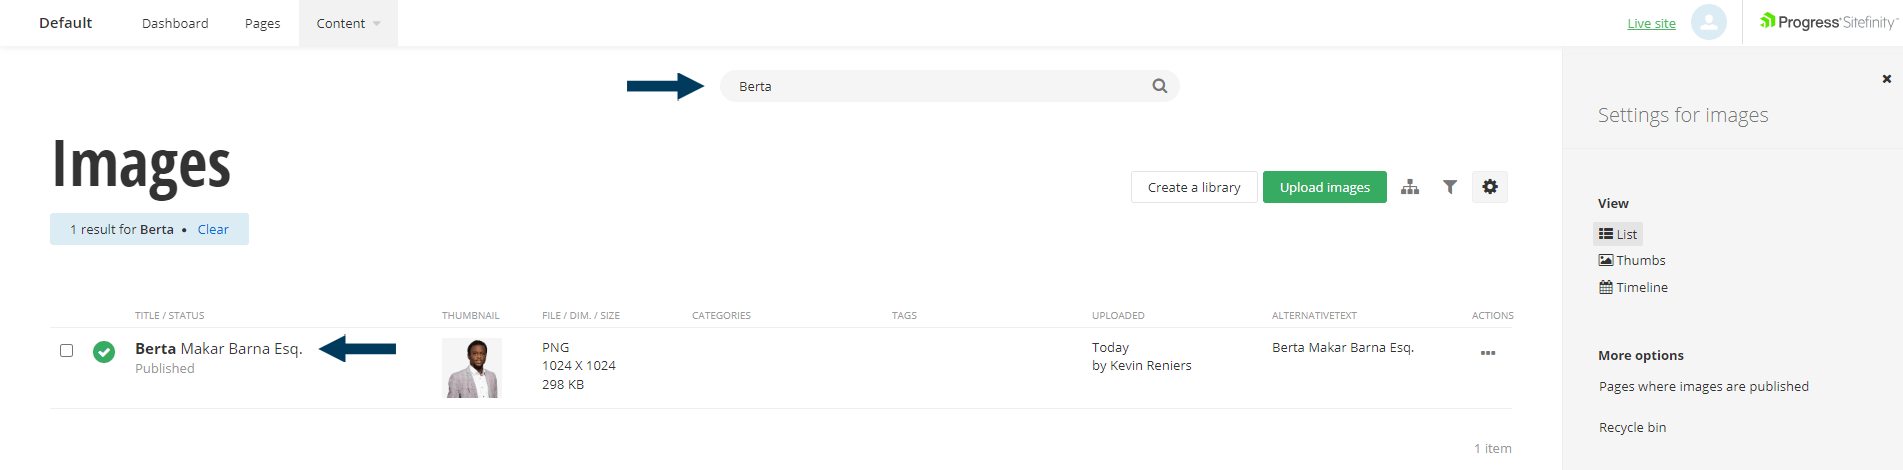
Step 2: Find the Image.
Browse the folder where the image you want to replace is contained.
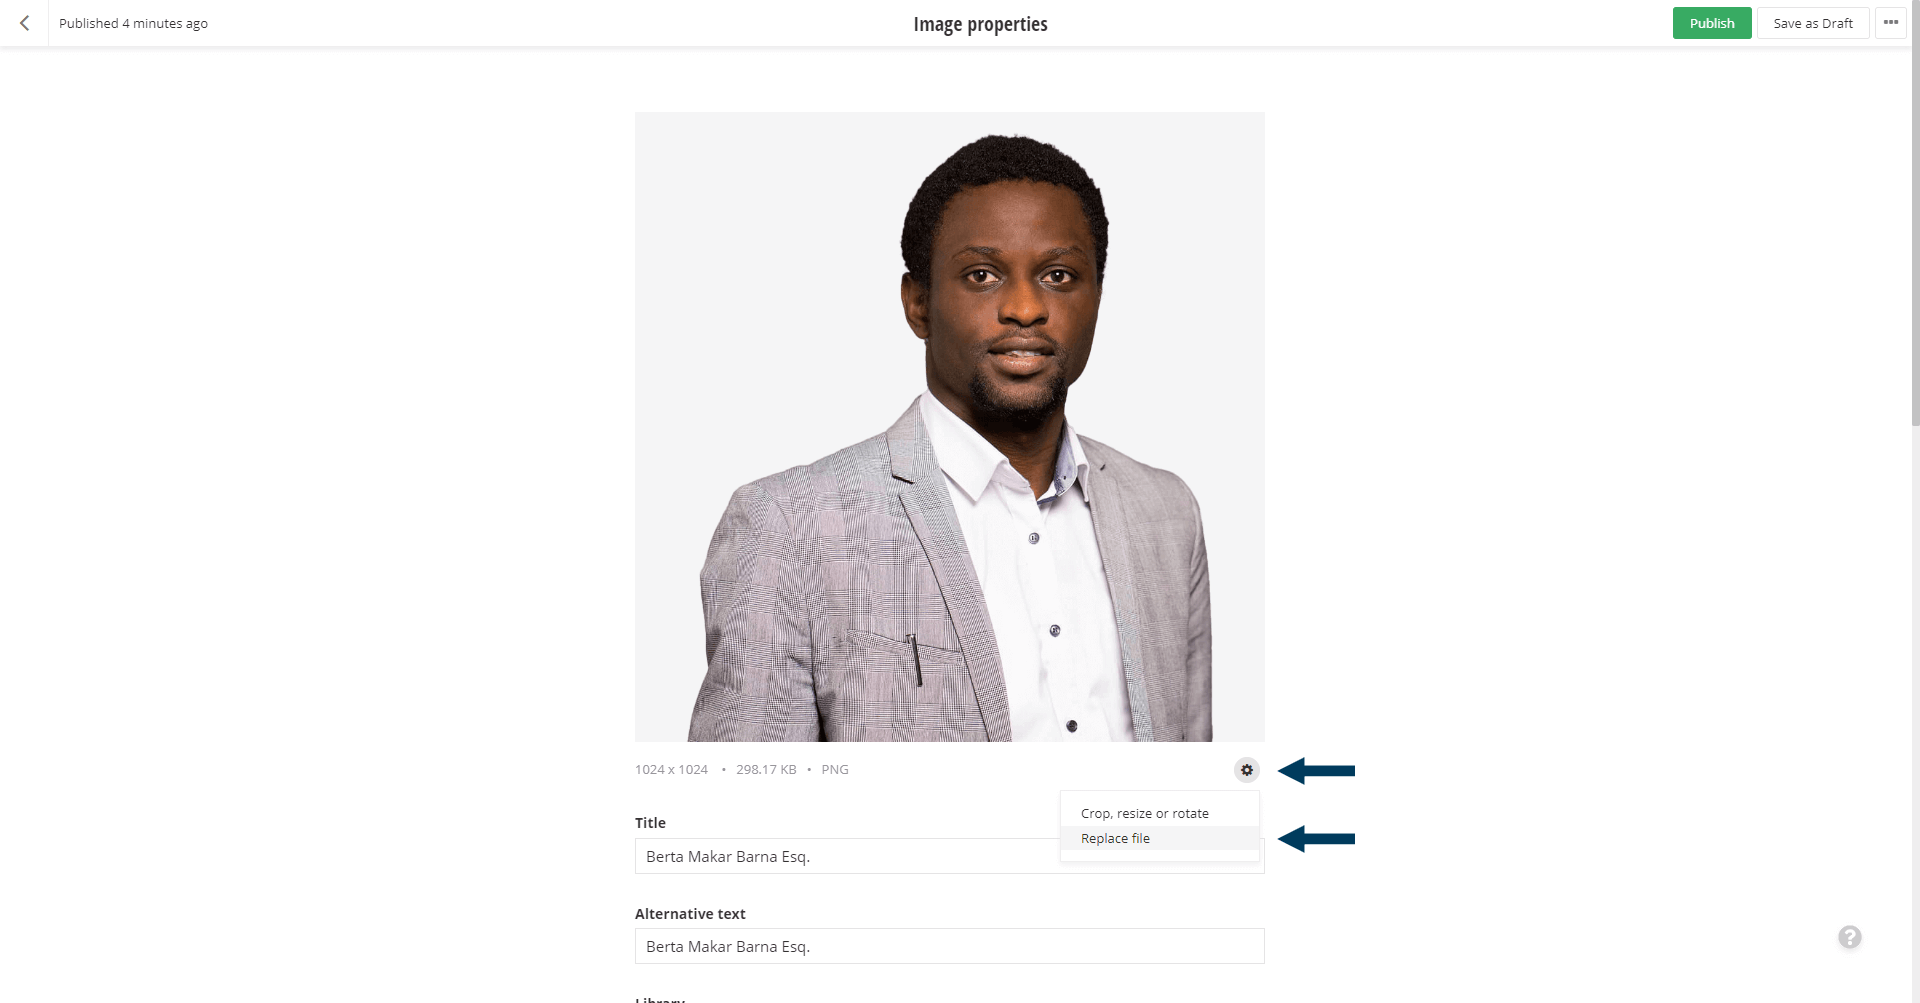
Step 3. Bring the image into Edit mode.
Option 1: Click on the Image Thumbnail.
Option 2: From the Actions (3 dots) drop down menu click the Image Properties link.

Step 4. Replace the file.
Expand the Gear Icon and click the "Replace file" link.
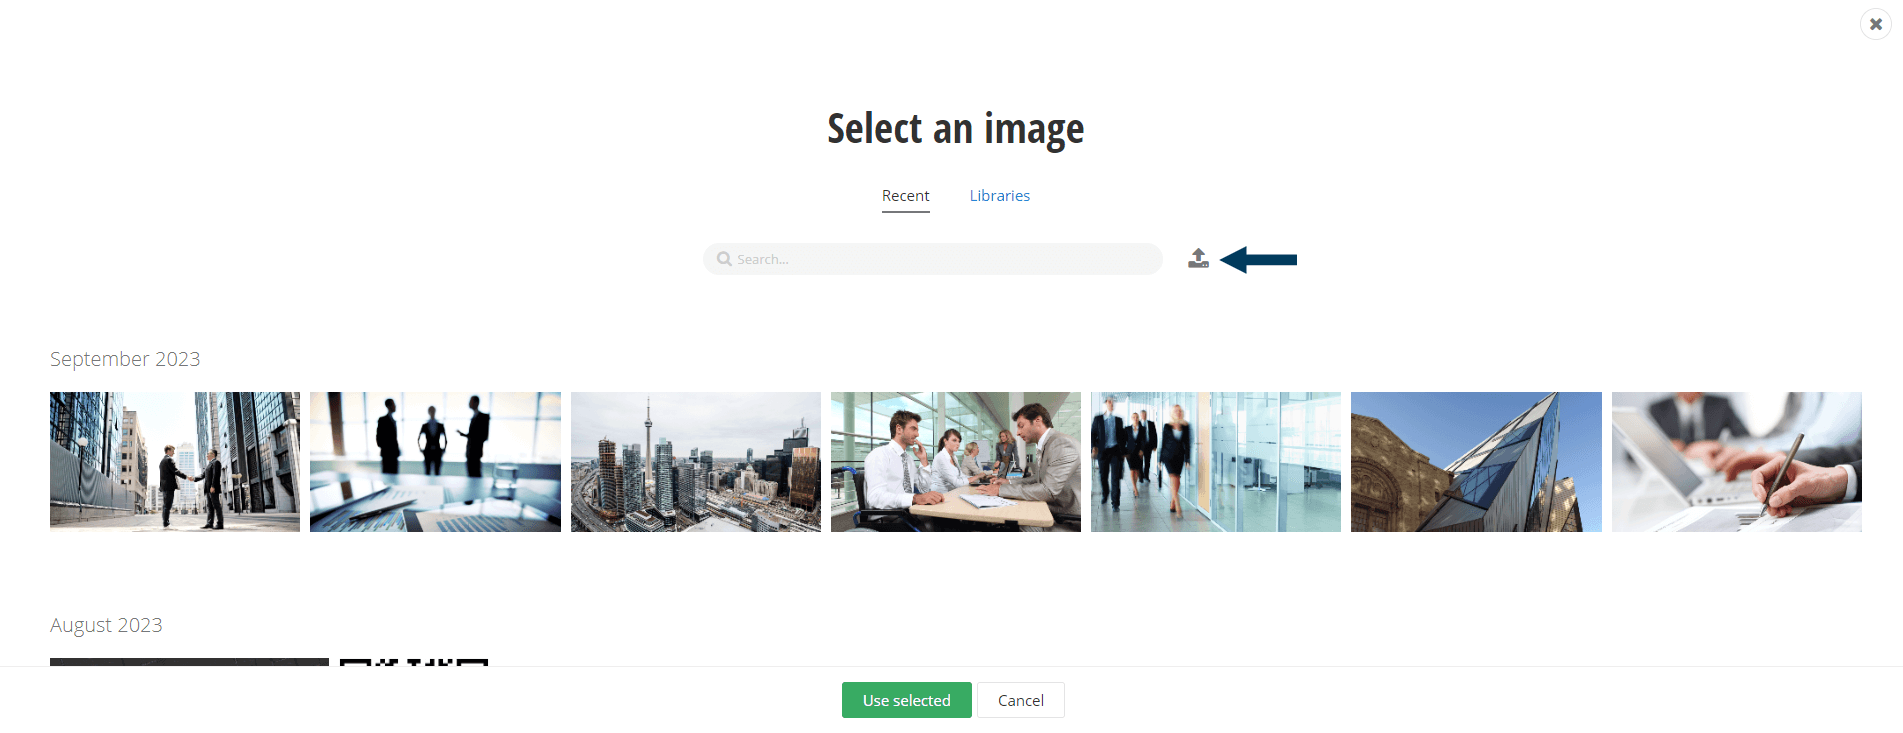
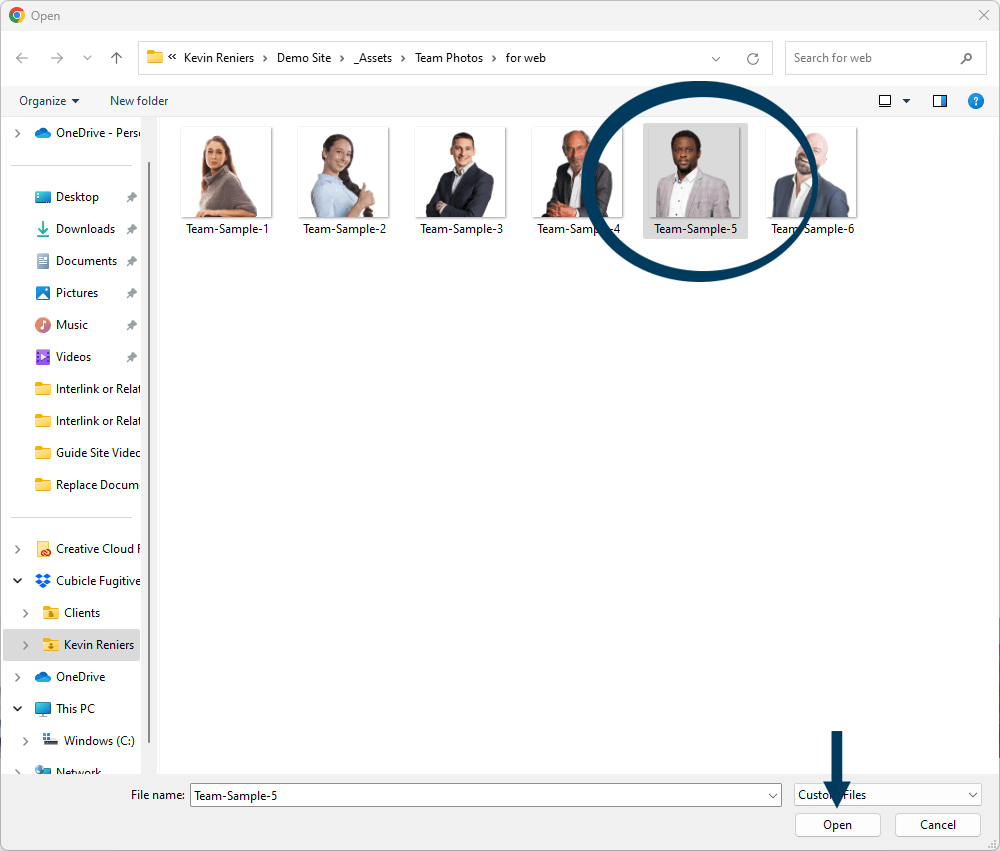
Step 5: Select the replacement document from your existing files, or upload a new document.
Click on the "Upload file" icon link and browse to the new file on your computer. Once selected, click the Open button.
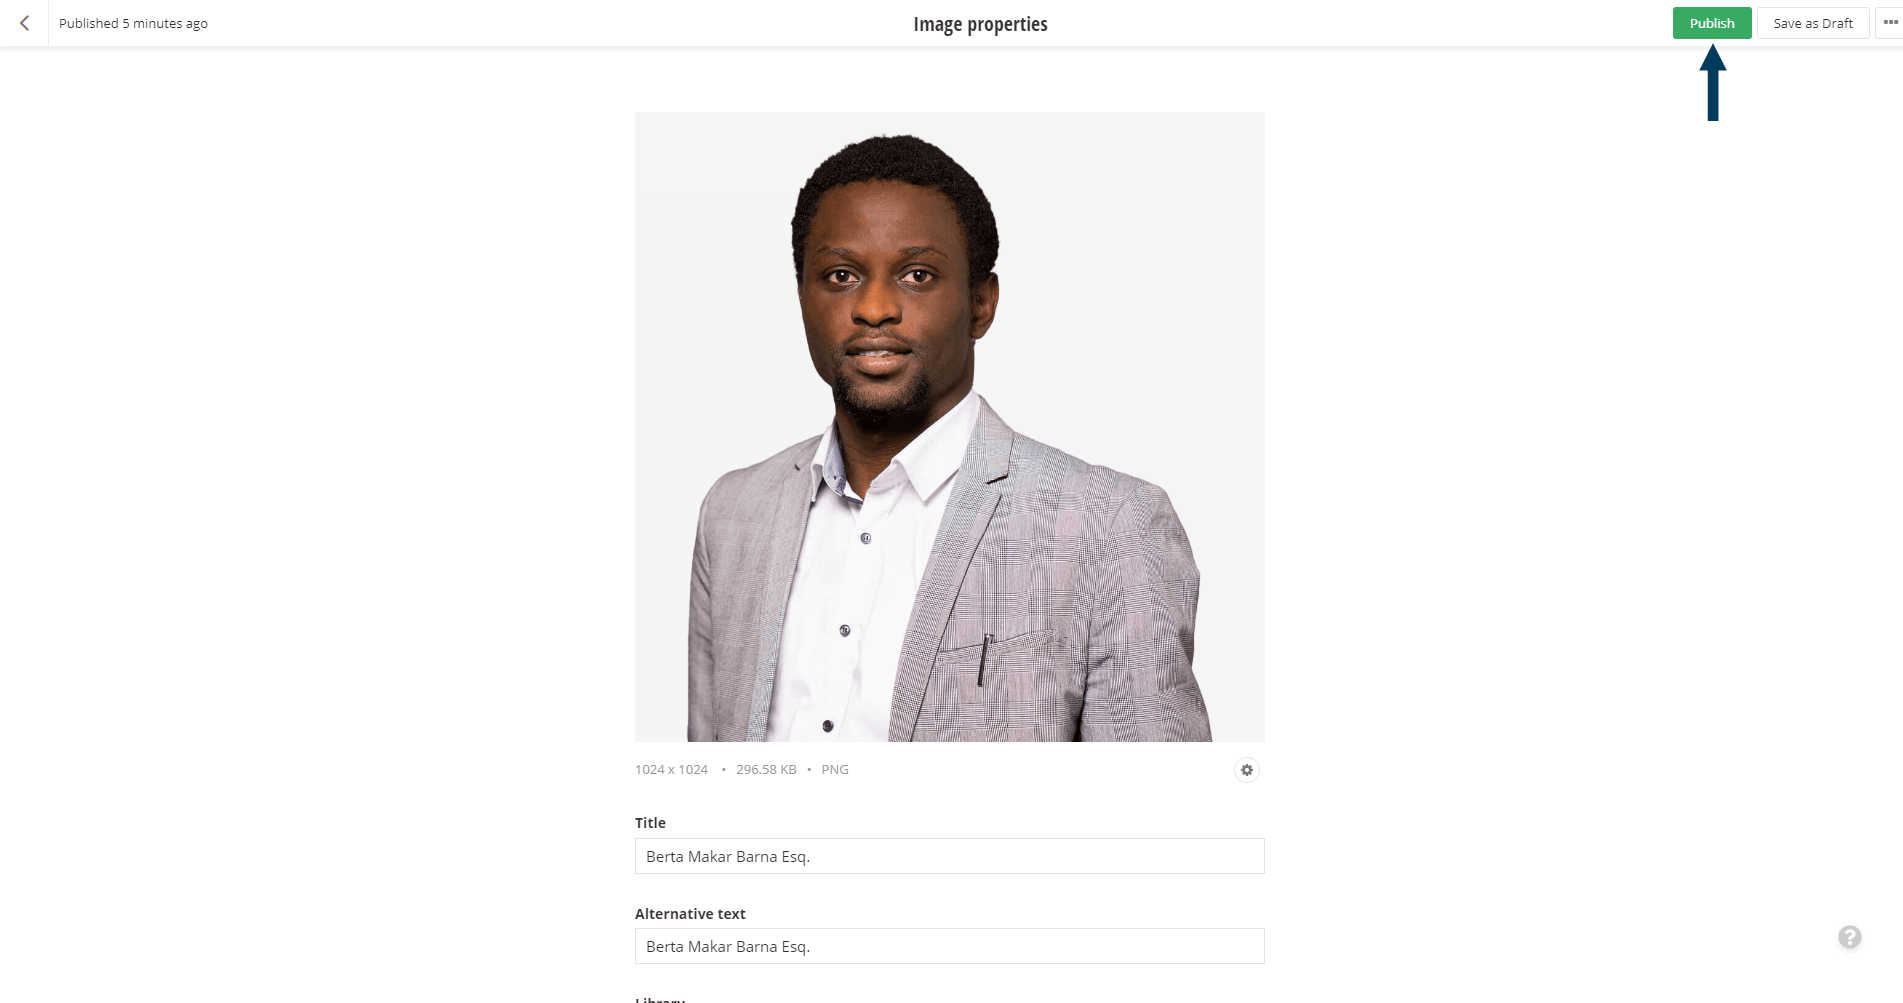
Step 6: Check the document properties, and then Publish.
You can change the title of the new image, and change which library the file will be stored in. Then click the Publish button to save the file replacement.
Related Videos
-
 03:44
03:44 -
 05:04
05:04 -
 07:27
07:27


